Arduino Brushless Motor Wireless Control
Planning to build an Arduino Controlled RC plane, RC helicopter or RC boat? Wanna drive a brushless motor Wireless using Arduino? Then you are on the right place? This tutorial will show you how to set up and configure an ESC, connect it to a brushless motor with wireless control using Arduino and an HC12 module using a joystick and run the brushless motor wireless at different speed. We will go through the components used and their explanations, hardware set up, and the coding. We will explain everything step by step with block diagram so that everyone can follow and build their own setup.
Arduino Brushless Motor Wireless Control
Here we will be using Arduino as our controlling unit. Arduino is not just a Micro Controller. Arduino is a wide open source platform mainly focusing on electronics software and hardware for anyone. Arduino can help us to interactive projects on home automation, robotics for beginners as well as experts in home level as well as industrial level. It helps to make the technical environments more easily accessible.
Brushless Motor
To fully understand the usage of a brushless RC motor, you should know the basic princpiples and working of it. A conventional DC motors cannot be used for operations that require, very high speed, long term working and stability, because, they have so many mechanical parts that constantly moves and in time, it will wear off. Brushless DC motors are high speed motors that uses minimal mechanical parts and more electronics to provide a stable movement. In these motors, we place the magnets on the rotor and the electromagnets are moved to the stator. Then small circuits are used to power up the electromagnets which in turn rotate the shafts.
What we are Looking At
You like this video, click the subscribe below to subscribe my youtube channel for future updates.
Note:
You should be careful while buying a brushless motor for your RC Plane or Boat. You will need to have an idea about the weight of finished product and calculate the torque needed to lift it.
After that it’s mainly down to deciding how much you want to spend. For “as little as possible” try Giantcod. For somewhat higher quality (at a cost) look for the well known names e.g. AXI, Hacker etc.
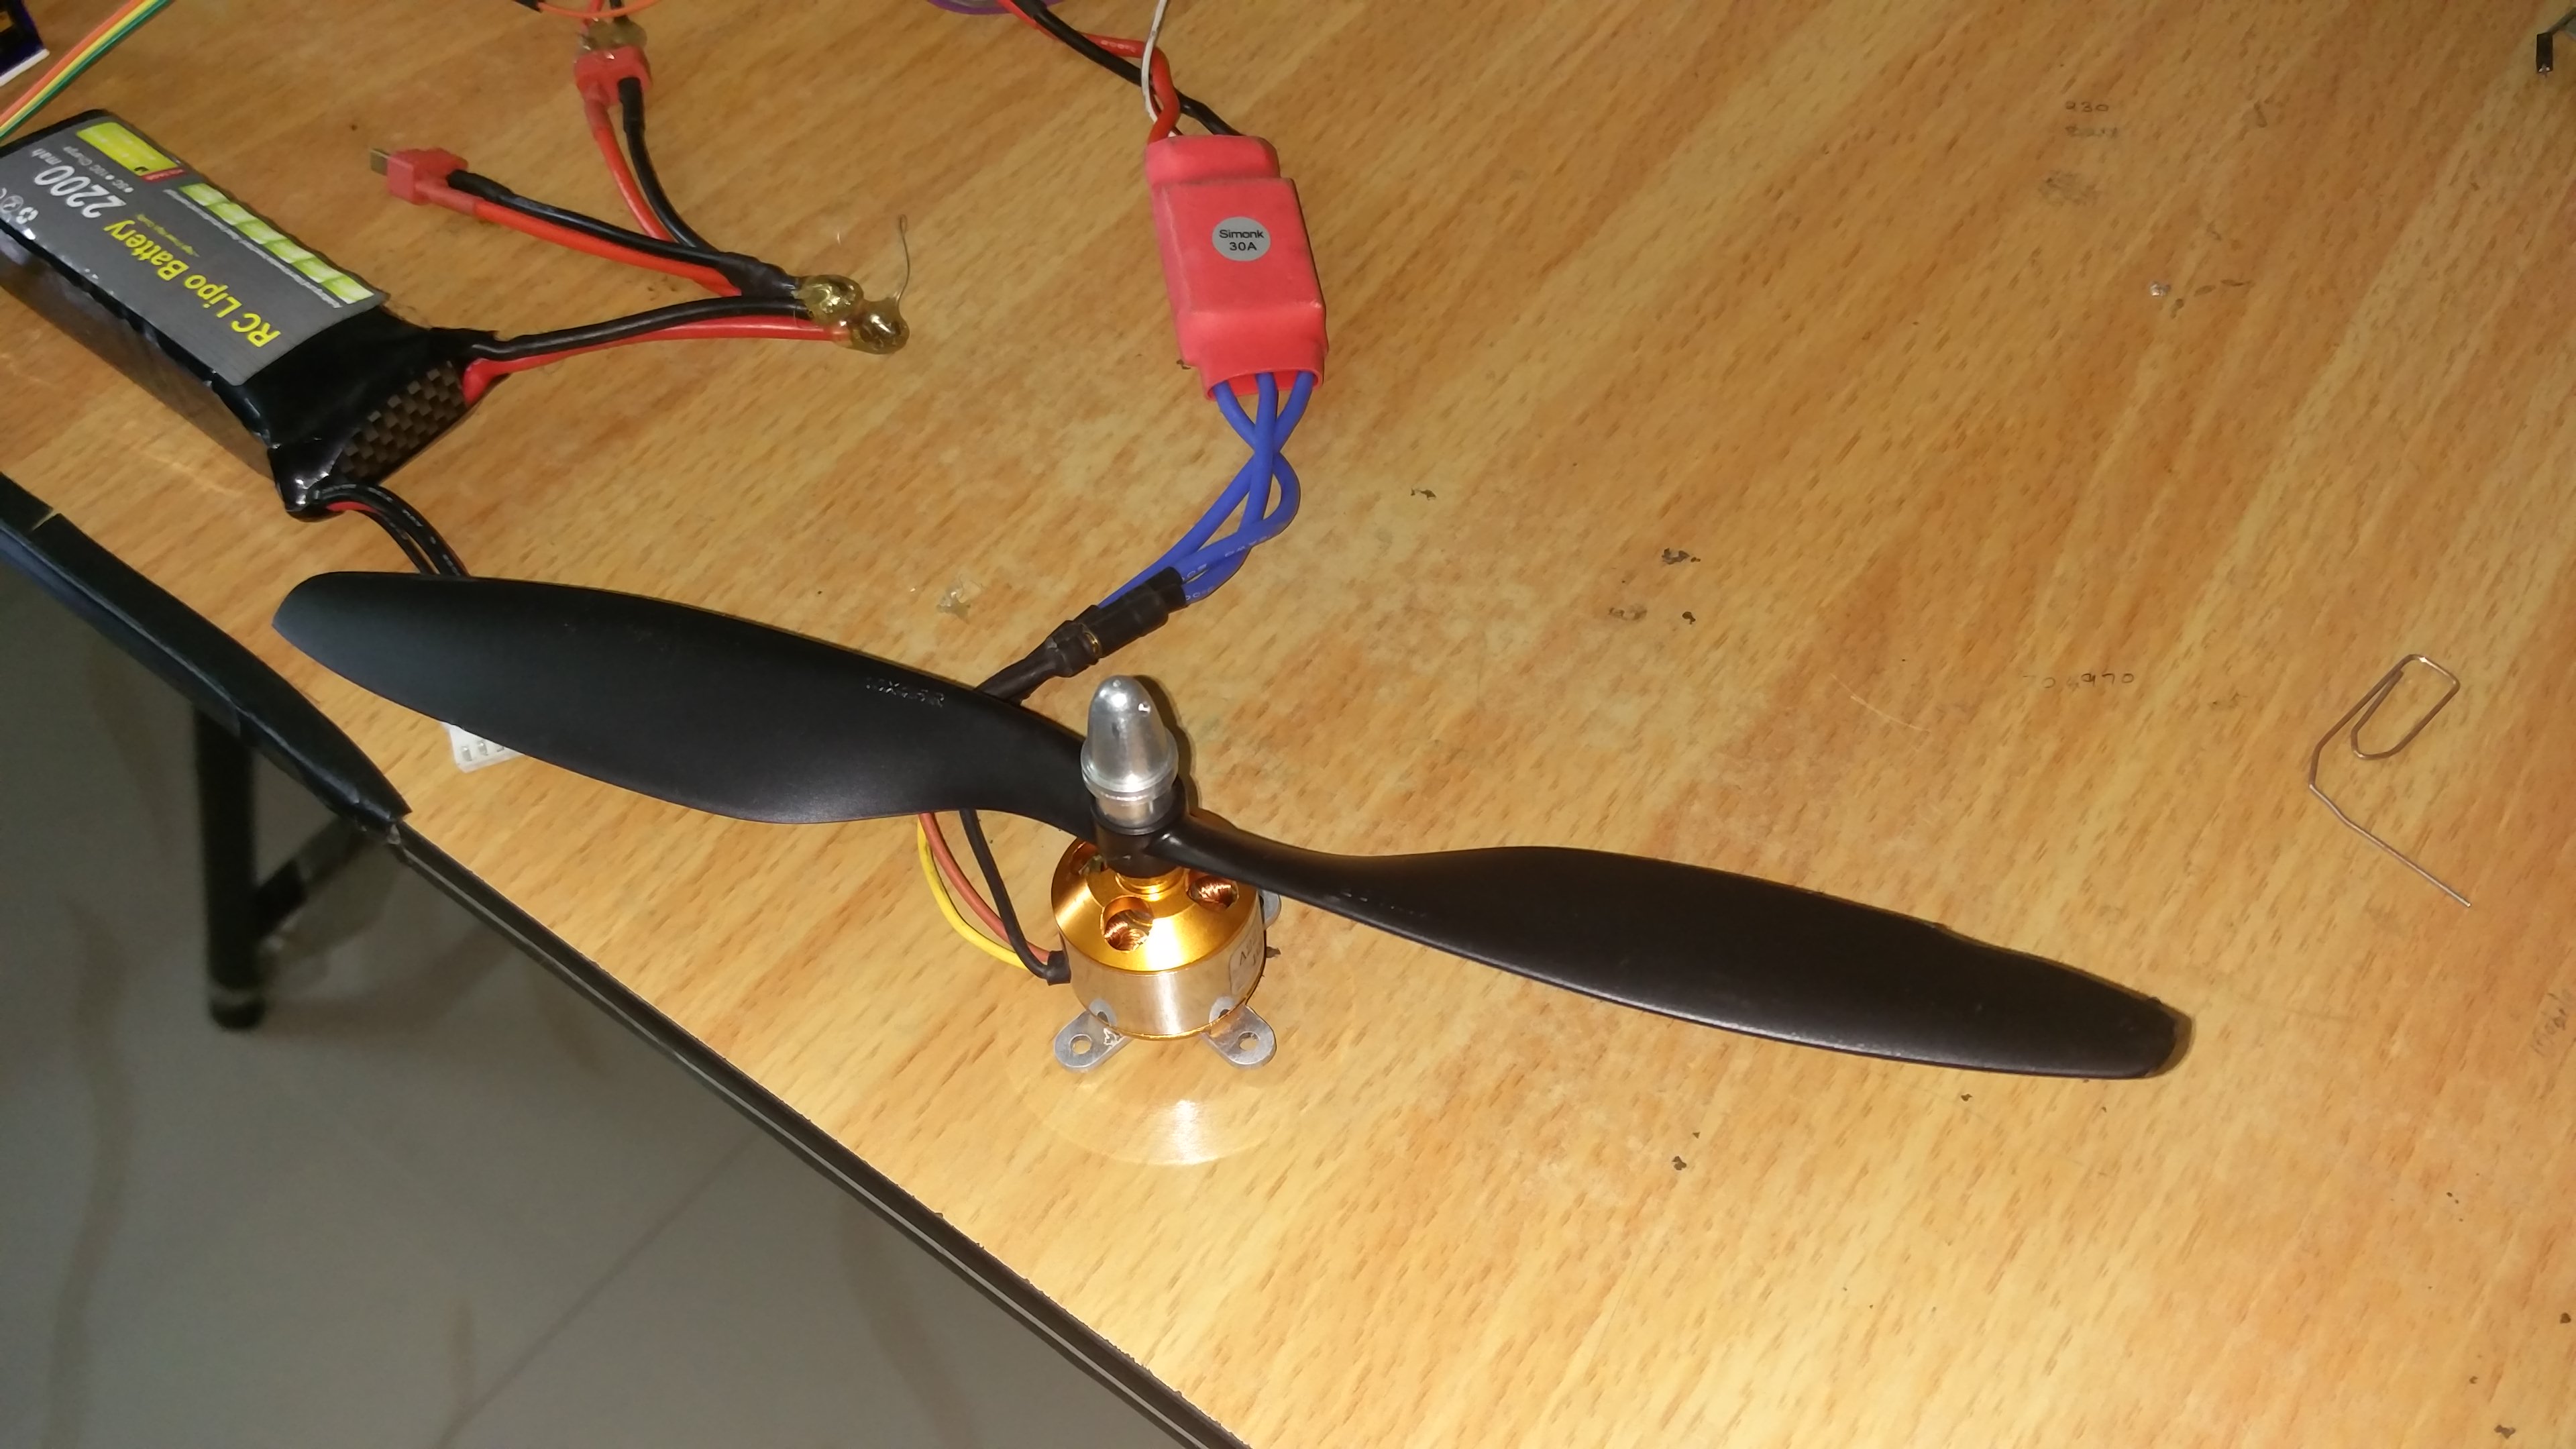
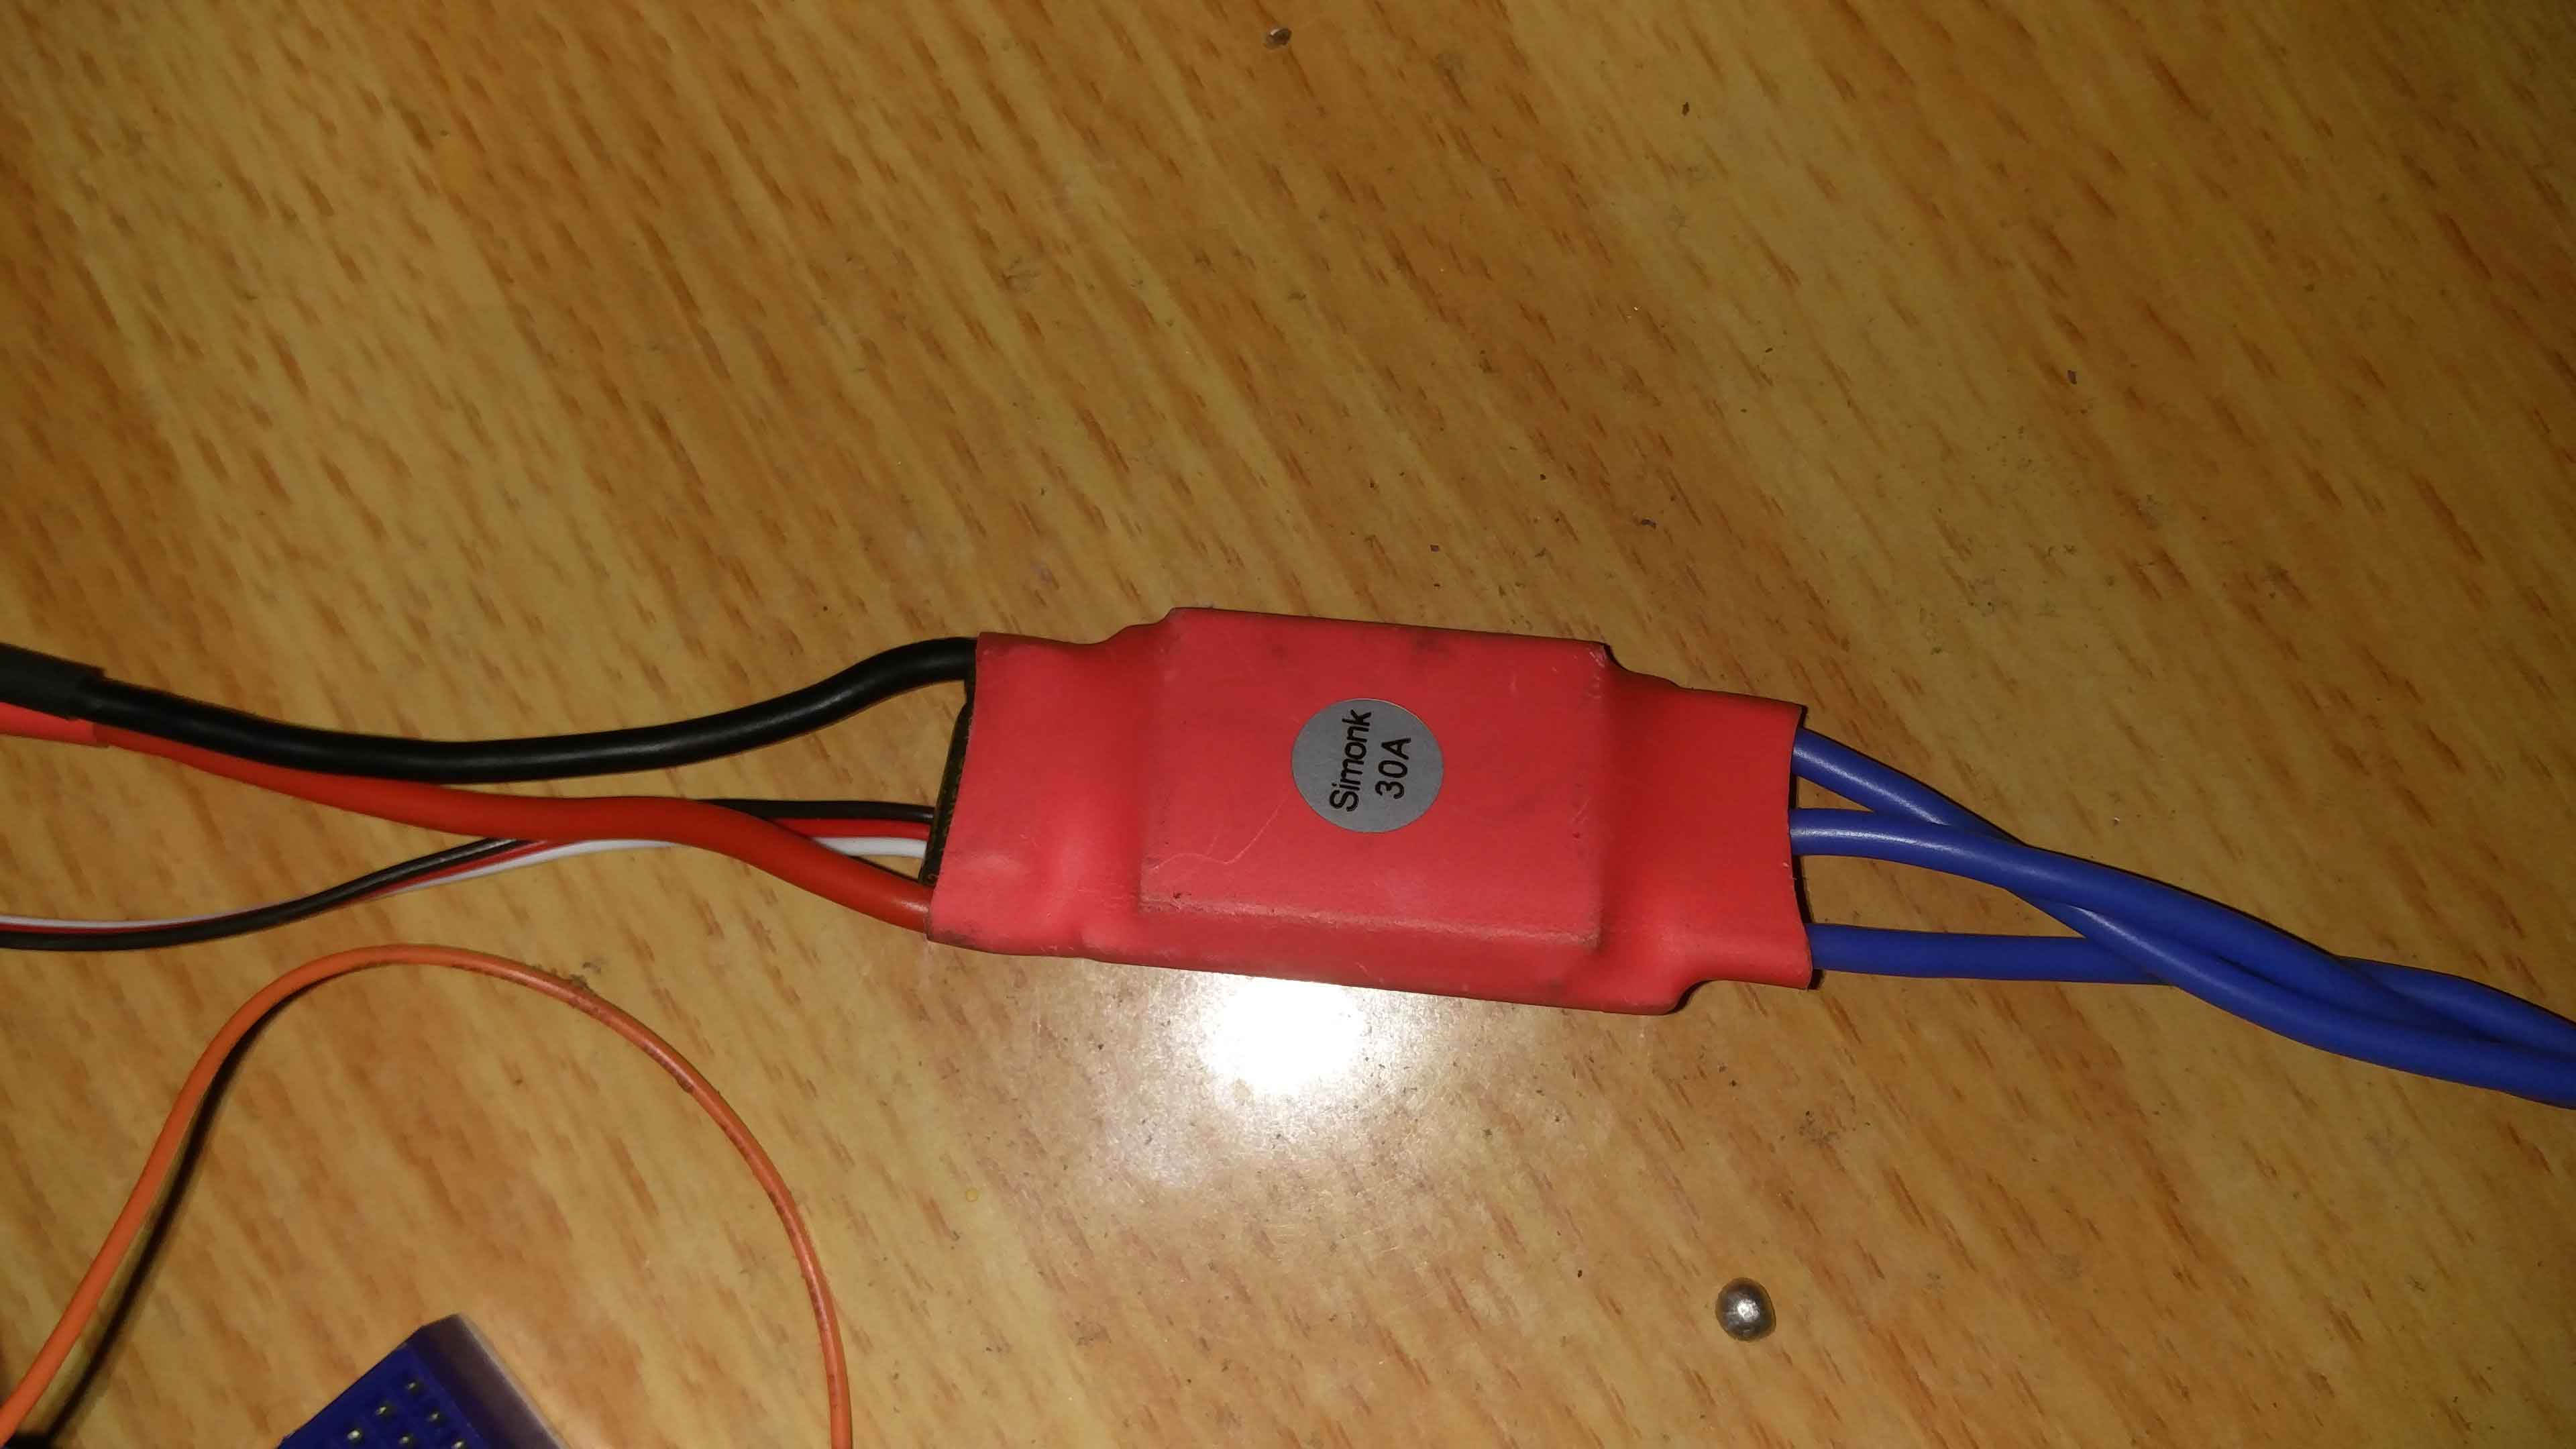
An ESC is simply an electric circuit which controls the speed and direction of the brushless motor. In some situations, they can also acts as dynamic brakes. They convert our DC power supply to three phase AC power and fed to the motor, energizing the electromagnets that are kept inside the stator of the motor. The position of the motor is sensed by the ESC (usually by Back EMF feedback systems) and are used to set the correct phase of the AC power supplied to the motor.
Configuring the ESC using Arduino
ESC configuration is different for different units. Here I will show you how i configured mine. When we power up the ESC, it will create a “beeep beeep beeep” and then a “beeeeep” sound. This means it is waiting for the top speed input (full speed). Now pull the joystick to the top most position. After the ESC record this input, it will make another “beeeeeep”. Now keep the joy stick on the neutral position (0 speed position). After that it makes a “beeeeeeeeeeeeeeeeeeeeeeep” sound. After this, the motor ESC will make the motor rotate at the speed depending up on the position of the joystick.
Testing
The below script will test the brushless motor. Download the Code From Below Link

[AdSense-A]Download
Going Wireless
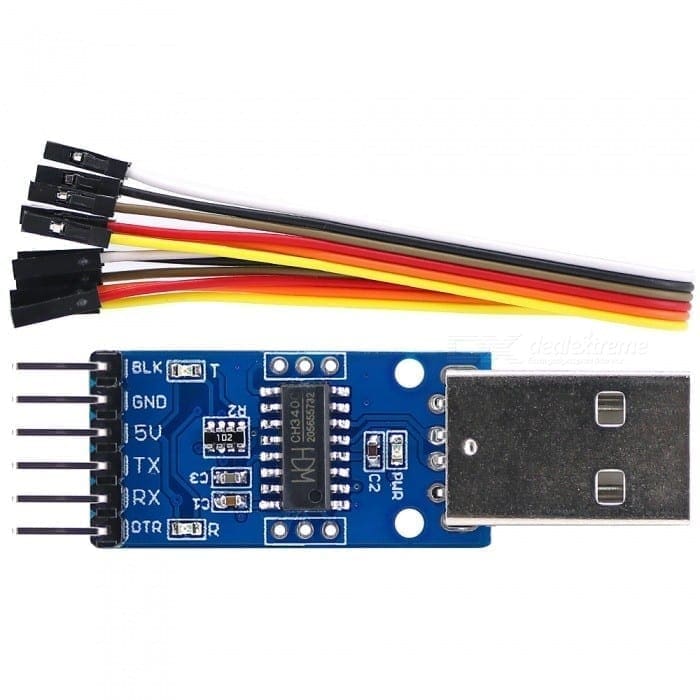
We can use any wireless module such as ZIGBEE, bluetooth, wifi etc. But in this project I will be using a low cost Wireless module called HC12. I have explained everything in detailed Here, so to get a complete picture, I suggest you to go through that post.
As usual, for a wireless communication, we will be using a transmitter and a receiver part.
The Transmitter
The transmitter of Arduino Brushless Motor Wireless Control consist of a joystick connected to an arduino nano which is connected to a HC12 module. The whole unit is can be powered by a 5 V power supply. In my case, I used a mobile phone power bank to power up the arduino. Joystick and HC12 module are powered by the 5V out of arduino nano. In the transmitter.
Block Diagram
![]()
The Code

[AdSense-A]Download
In the above code, I used SoftwareSerial library so that I can see the what is being sent in the Serial monitor if I want to. The Analog Pin A0 reads the analog value out of the joystick and is stored in the variable ‘thr’. Before storing, the value between 0-1023 is mapped to a value between 0-180; the reason will be explained in the receiving module. This data is then sent to the HC12 transmitter.
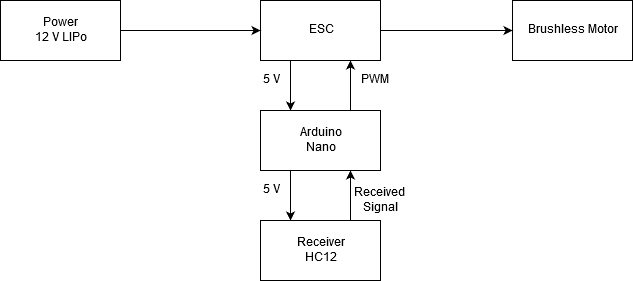
The Receiver
Block Diagram
The Code

For Arduino Brushless Motor Wireless Control, I used a clone of arduino which caused some difficulty with the software serial during the test and because of that, I didn’t use the pins mentioned in the SoftwareSerial library. First we read the data coming from the receiving module to a variable named it as throttle which is a value between 0 and 180.Driving the brushless motor using arduino is similar to that of servo motor so we use servo.h library to drive the brushless motor (this is why I mapped the analog reading to a value between 0 and 180).
We output PWM signals from arduino nano to the signal input pin of the ESC which is connected to the brushless motor using functions inside the servo.h library.
Testing
Hardware part of our Arduino Brushless Motor Wireless Control is now ready. Now let us take care of the software part. Upload these codes in your transmitter and receiver modules. In the receiver module you should hear some beep sounds. Those beep sounds means the Arduino is configuring the ESC. After the beep sound, the motor will rotate at half the maximum speed for one second and it will stop. Once it is done, you are good to go. You should be able to control the speed of the brushless motor using the Joystick.

Can i use this to control gimbal roll?or how can i do that using a potentiometer to control gimbal roll.