Automatic Hand Sanitizer Dispenser using Arduino | DIY Contactless Hand Sanitizer
Automatic Hand Sanitizer Dispenser using Arduino
Today, we are going to make an automatic hand sanitizer dispenser using an Arduino board. As you all know, COVID-19 is spreading like wildfire and all you hear is, wear a mask, clean your hands, use contactless alternatives, and practice social distancing.
Why Contactless Hand Sanitizer Dispenser using Arduino?
Hand sanitizer is one of the best ways to get rid of all the harmful germs and viruses in our hands. But what if a healthy person uses a hand sanitizer, which was previously used by a person who was infected by COVID19? In this case, there is a chance of spreading the virus.
In this post, we will build an automatic hand sanitizer dispenser which will help you to dispose of hand sanitizer without contact. You will find complete details and the code in the link below. This is an easy project that can be set up in a few minutes.
Why not make a PCB for your Project?
Making a PCB for your DIY project is not hard nowadays. PCB helps to get rid of all messy wires and stuff and gives your project an awesome look. And it’s cool to make your own PCB for your project right?
I use Altium Designer to draw the circuit and design the PCB. It is a powerful tool that can be used to design and create your own PCBs for your project as well as complex and multiplayer PCBs for industrial use. Here is the link to the Altium trial version. So make sure you check it out.
I use Altium Designer to draw the circuit and design the PCB. It is a powerful tool that can be used to design and create your own PCBs for your project as well as complex and multiplayer PCBs for industrial use. Here is the link to the Altium trial version. So make sure you check it out.
Things Needed to make Contactless Hand Sanitizer Dispenser
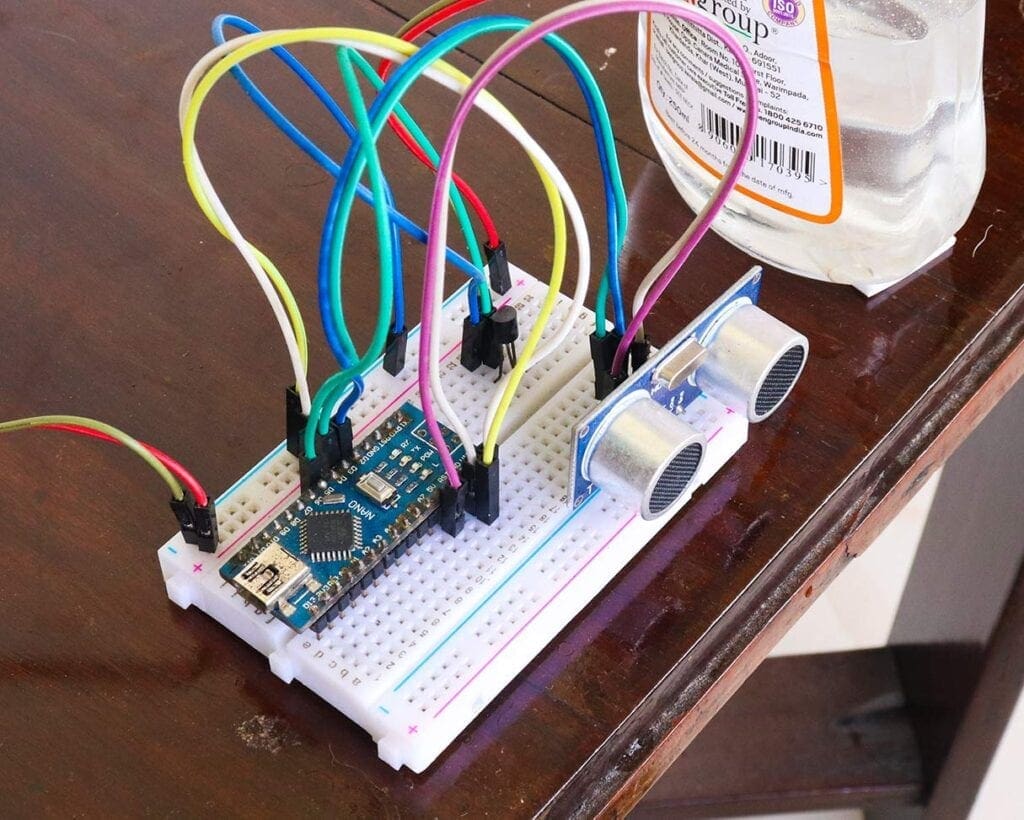
All you need is a Breadboard, Arduino, Transistor, Ultrasonic sensor and a 12 V pump.
How Automatic Hand Sanitizer Dispenser using Arduino works?
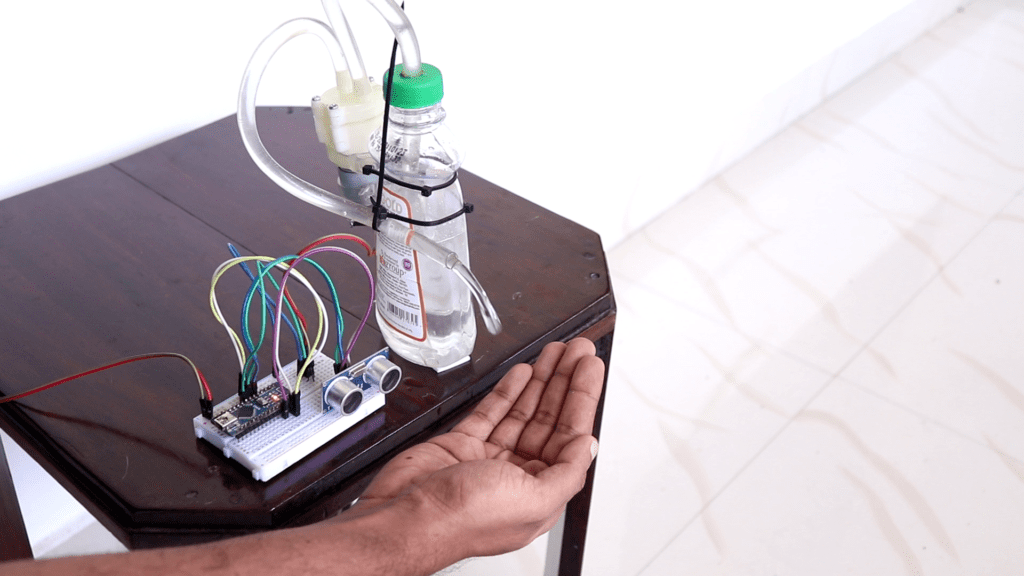
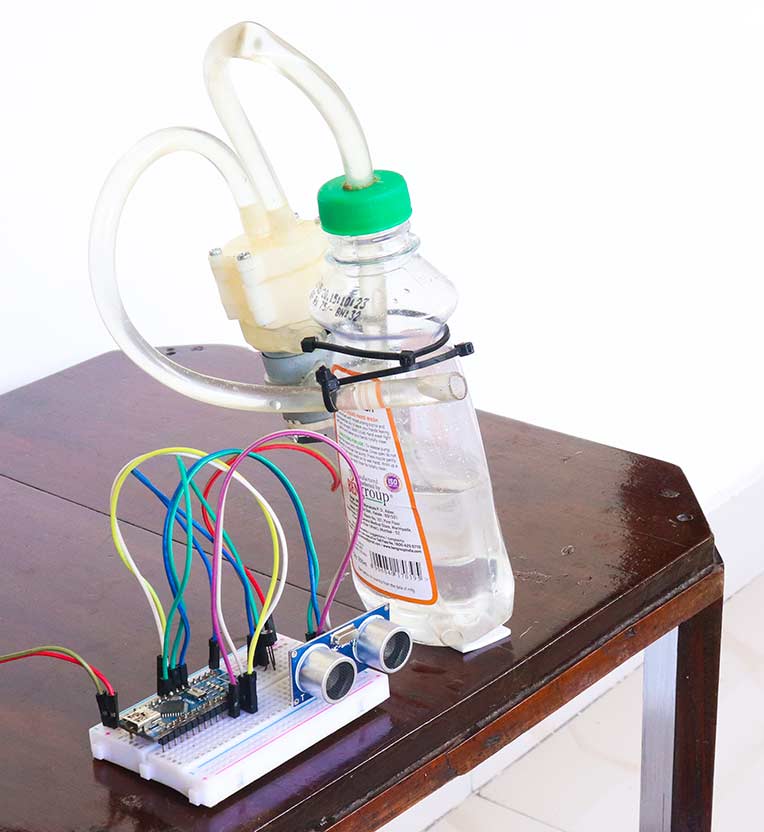
So let’s get started. Here, we use an ultrasonic sensor to calculate the distance of our hand from the sensor. If the hand is close to the dispenser, Arduino will activate the pump and the sanitizer will be expelled out of the bottle through the tube.
Ultrasonic Sensor
An ultrasonic sensor is a device that is capable of transmitting and receiving ultrasonic sound waves out into the air and calculates the distance from the sensor to the obstacle by making use of the time required for the sound wave to reach back the sensor. If you are not sure about the Ultrasonic sensor and distance calculation, we have an entire article just for that. I will leave the link here.
Using this, we can calculate the distance of our hands from the dispenser bottle. If the hand is right below the valve, that is 5 cm from the sensor, we turn on the pump using a transistor which is connected to pin 5 of the Arduino.
Learn Arduino the Easy Way
Are you new to Arduino? Do you want to improve your skills in Arduino programming? You are in the right place. We have a complete beginner-level tutorial for Arduino which covers everything from scratch. In this free Arduino Tutorial for Beginners guide, we will be taking a look at Introduction to Arduino platform, getting started with Arduino IDE, different types of Arduino boards, and a lot of DIY projects using Arduino. Check it Out!
How to make Automatic Hand Sanitizer Dispenser using Arduino?
Contactless Hand Sanitizer Dispenser Circuit
So here is the circuit. Here we have a 12V DC adapter that is connected to the Vin of Arduino and to the Positive terminal of the pump. D2 and D3 are connected to Echo and Trigger pin respectively. And D5 is connected to the Transistor. When the transistor switches On, the pump will get turned on. Here, one end of the pump is connected to the tube that goes inside the sanitizer bottle and the other end is held free.
Arduino Code
Let’s take a look at the code.
#define echoPin 2
#define trigPin 3

long duration;
int distance;

void setup() {
  pinMode(trigPin, OUTPUT);
  pinMode(echoPin, INPUT);
  pinMode(5, OUTPUT);
  Serial.begin(9600);
}
void loop() {

  digitalWrite(trigPin, LOW);
  delayMicroseconds(2);
  digitalWrite(trigPin, HIGH);
  delayMicroseconds(10);
  digitalWrite(trigPin, LOW);
  duration = pulseIn(echoPin, HIGH);

  distance = duration * 0.034 / 2;
  Serial.print("Distance: ");
  Serial.print(distance);
  Serial.println(" cm");
  if (distance<=3)
  {
    digitalWrite(5, HIGH);
    Serial.print("Pump On");
    delay(150);
    digitalWrite(5, LOW);
    Serial.print("Pump OFF");
    delay(2000);
  }
  else
  {
    digitalWrite(5, LOW);
    Serial.print("Pump OFF");

  }
  delay(50);
}
The code is pretty simple. Here we initialize the pins, the echo pin, the trigger pin and the pump, set the pinmode and initialize the serial interface. Then, we make use of the Ultrasonic sensor to measure the distance from the hand, convert it to centimeters and store the value in the variable distance. In the final step, we write a condition to turn on Pin 5 for a particular duration when the hand is close to the sanitizer bottle.
Testing
Connect the board. Select the right port and board and hit upload.
That’s it, guys. The automatic sanitizer dispenser is now ready. Now put everything together and try bringing your hands close to the bottle.
Learning DIY Robotics has Never been so EASY!
DIY Robotics is a fun and easy thing you can learn within a matter of minutes if you have a proper guide. Do you want to learn Robotics but don’t know where to start? Then THIS is for you. Here, we will help you get started with DIY Robotics with easy-to-follow, 100% FREE, step-by-step instructions starting from Robotics basics, parts of Robot, and then we will start complete step-by-step tutorials. Here you will also find an awesome collection of Robotics Project Tutorials from beginner level to advanced for you to get started with DIY Robotics.

These DIY Robots are Really Awesome

Google Mobile ALOHA: The Future of Household Robotics

Robotic Revelations: 36 Fun Facts About the World of Robots 2024

Transforming Learning through Robotics with mBot 2 Neo – Robot Kit for Beginners
Nature’s Blueprint: Bio-Inspired Robots Redefining Innovation
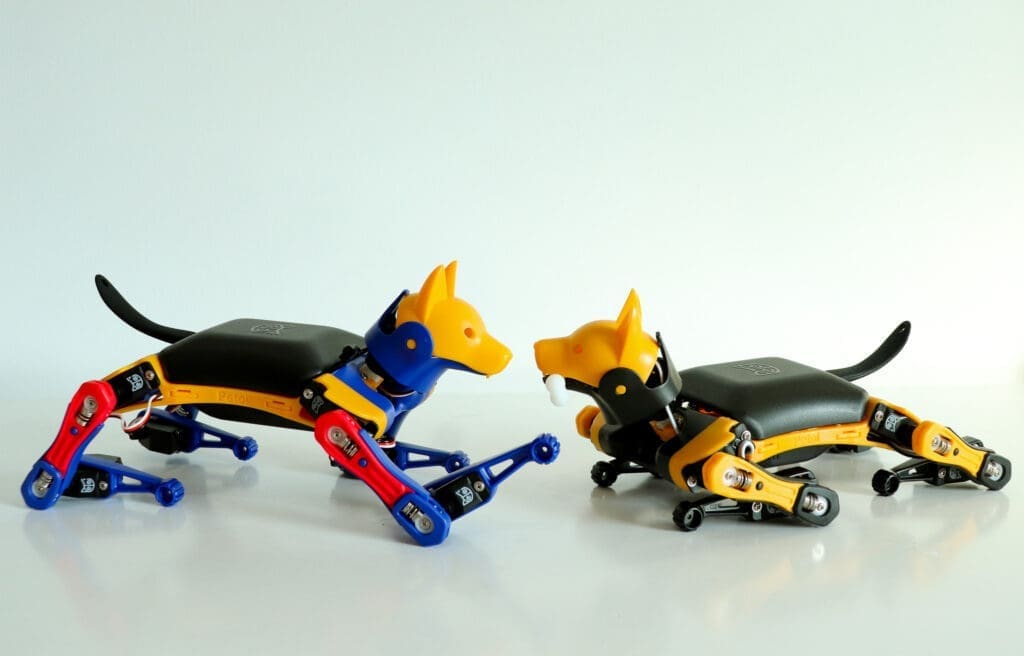
Best DIY Affordable Arduino Robot Dog | Get your own Boston Dynamics Spot!
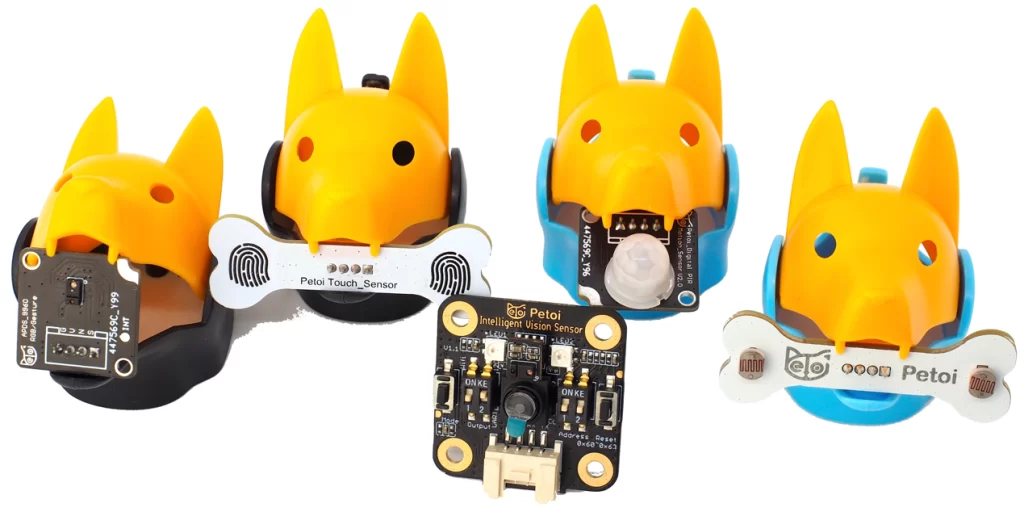
Bittle: The Robot Dog Companion Now with Supercool Sensor Pack

Next-Generation Robots – The New Era!
As technology continues to advance at an unprecedented pace, the next generation of robots is…

Let’s Use Arduino To Take Charge Of The Bittle| Petoi Bittle The Arduino Programmable Robot
Hey, guys welcome back. How about making a DIY Arduino robot dog? What if the…

Petoi Bittle – The Robot Dog Inspired by Boston Dynamics Spot
Hey guys, are you interested in doing a robot dog project? Then, I just wanna…
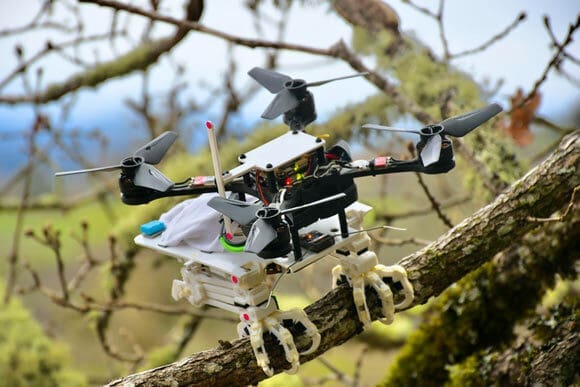
Engineers Create Perching Bird-Like Robot

Latest Robotics Innovations | Robots you don’t want to miss in 2022

I am doing this project but cant understand power adapter connection as its not in the above details. I have ordered 12v dc adapter. Please send details of power coonection. I have 9v battery but pump is not pulling water using that bettery power.