Read A Web Page Using 3G Network – Arduino MKR GSM 1400 Project Tutorial
In this project, we will connect our Arduino GSM 1400 to a 3G mobile network using a SIM card and view a Web Page / File in the terminal window.
Components Needed
- Arduino MKR GSM 1400
- Antenna
- A Valid SIM Card
Steps
Step 1 – Install and Setup Arduino IDE
First you will have to setup Arduino IDE in your PC. In older versions, you will have to add MKR GSM 1400 board to the board list using Board Manager. Watch the below video to set it up.
You will also see see step by step instructions from here – Setting Up Arduino IDE for MKR GSM 1400[AdSense-C]
Step 2 – Installing Libraries

For this program to compile successfully, you will need to install ‘MKRGSM.h’ and ‘arduino_secrets.h’. MKRGSM library is available in Library manager and can be installed easily.
‘arduino_secrets.h‘ is available to download from here.[AdSense-C]Simply download the file and paste it inside ‘arduino-1.8.5/libraries/WiFi/src/’

Step 4 – Connection
Arduino GSM 1400 doesn’t have an internal antenna. So you will have to get an antenna that can receive GSM signals. Connect the antenna to you GSM 1400 Board and connect the board to the USB port of your computer.
Step 5 – The Code
Next thing to do is copy the code to Arduino IDE
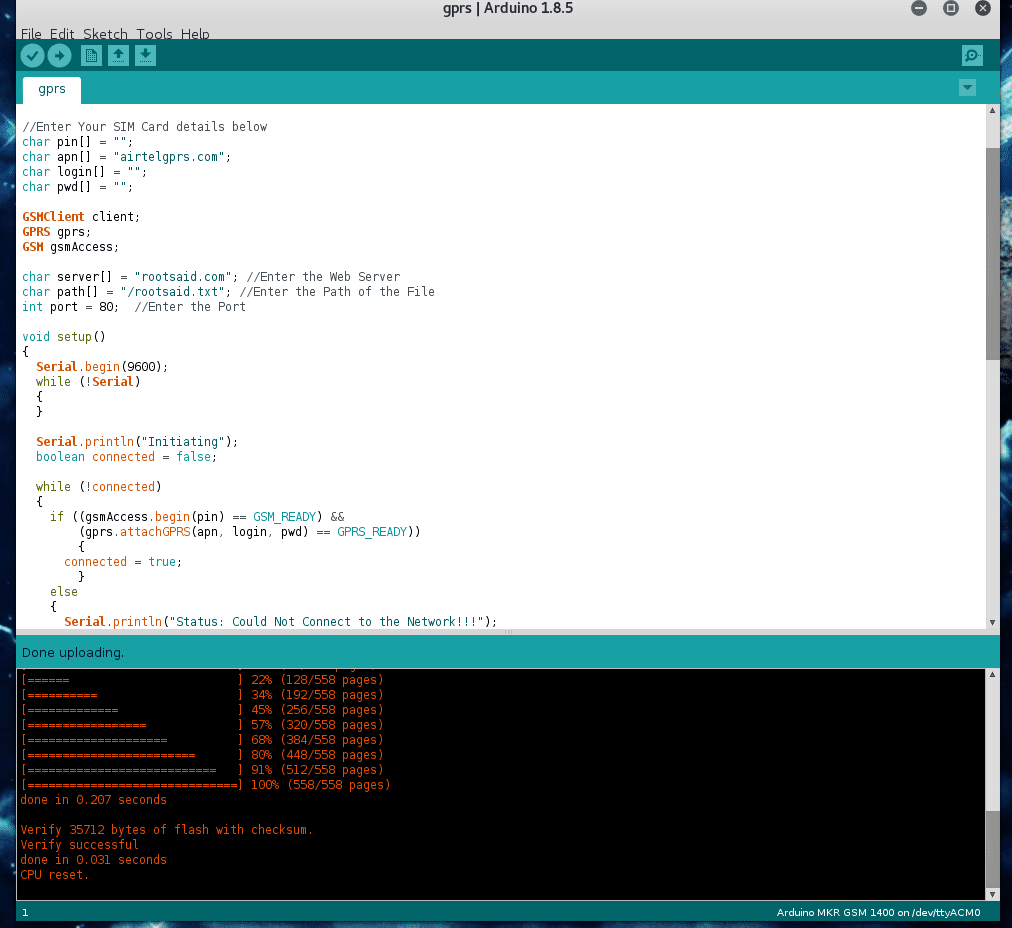
//Program to read a File from a Website via Cell Phone Network

#include <MKRGSM.h>
#include "arduino_secrets.h"

//Enter Your SIM Card details below
char pin[] = "";
char apn[] = "airtelgprs.com";
char login[] = "";
char pwd[] = "";

GSMClient client;
GPRS gprs;
GSM gsmAccess;

char server[] = "rootsaid.com"; //Enter the Web Server
char path[] = "/rootsaid.txt"; //Enter the Path of the File
int port = 80; //Enter the Port

void setup()
{
 Serial.begin(9600);
 while (!Serial)
 {
 }

Serial.println("Initiating");
 boolean connected = false;

while (!connected)
 {
 if ((gsmAccess.begin(pin) == GSM_READY) &&
 (gprs.attachGPRS(apn, login, pwd) == GPRS_READY))
 {
 connected = true;
 }
 else
 {
 Serial.println("Status: Could Not Connect to the Network!!!");
 delay(1000);
 }
 }

Serial.println("Connecting To Server....");

if (client.connect(server, port))
 {
 Serial.println("Connection Established...");
 Serial.println("Sending Request...");
 client.print("GET ");
 client.print(path);
 client.println(" HTTP/1.1");
 client.print("Host: ");
 client.println(server);
 client.println("Connection: close");
 client.println();
 }
 else
 {
 Serial.println("Something went wrong... Could not Connect to the Server");
 }
}

void loop()
{

if (client.available())
 {
 char c = client.read();
 Serial.print(c);
 }

if (!client.available() && !client.connected())
 {
 Serial.println();
 Serial.println("Terminating Connection");
 client.stop();
 for (;;)
 ;
 }
}
Code Explained
char pin[] = "";
char apn[] = "airtelgprs.com";
char login[] = "";
char pwd[] = "";
This is where you provide the details of the SIM card. If your SIM card has a pin, assign it to the ‘pin’ variable. Enter the ‘apn’, ‘login’ and ‘password’. I used an old airtel SIM card and the connection didnt require any pin, login or password.
while (!connected)
 {
 if ((gsmAccess.begin(pin) == GSM_READY) &&
 (gprs.attachGPRS(apn, login, pwd) == GPRS_READY))
 {
 connected = true;
 }
 else
 {
 Serial.println("Status: Could Not Connect to the Network!!!");
 delay(1000);
 }
 }
This part of the programme connect your arduino to the GSM network network using the provided apn, login and password.[AdSense-C]If the connection wasnt successful, it will throw out an error message.
if (client.connect(server, port))
 {
 Serial.println("Connection Established...");
 Serial.println("Sending Request...");
 client.print("GET ");
 client.print(path);
 client.println(" HTTP/1.1");
 client.print("Host: ");
 client.println(server);
 client.println("Connection: close");
 client.println();
 }
This part of the code connects to the predefined webserver and send a GET request to download the file.
if (client.available())
 {
 char c = client.read();
 Serial.print(c);
 }
The response will will be stored in the variable and will be displayed in the serial monitor.
Now compile the code, choose the correct port, board and upload.
The Output
Make sure that the code has been uploaded completely and correctly. Once the code is uploaded, the board will reset and starts to run the code from the beginning. First it will establish a connection with the GSM network using the provided APN, PIN, username and password.
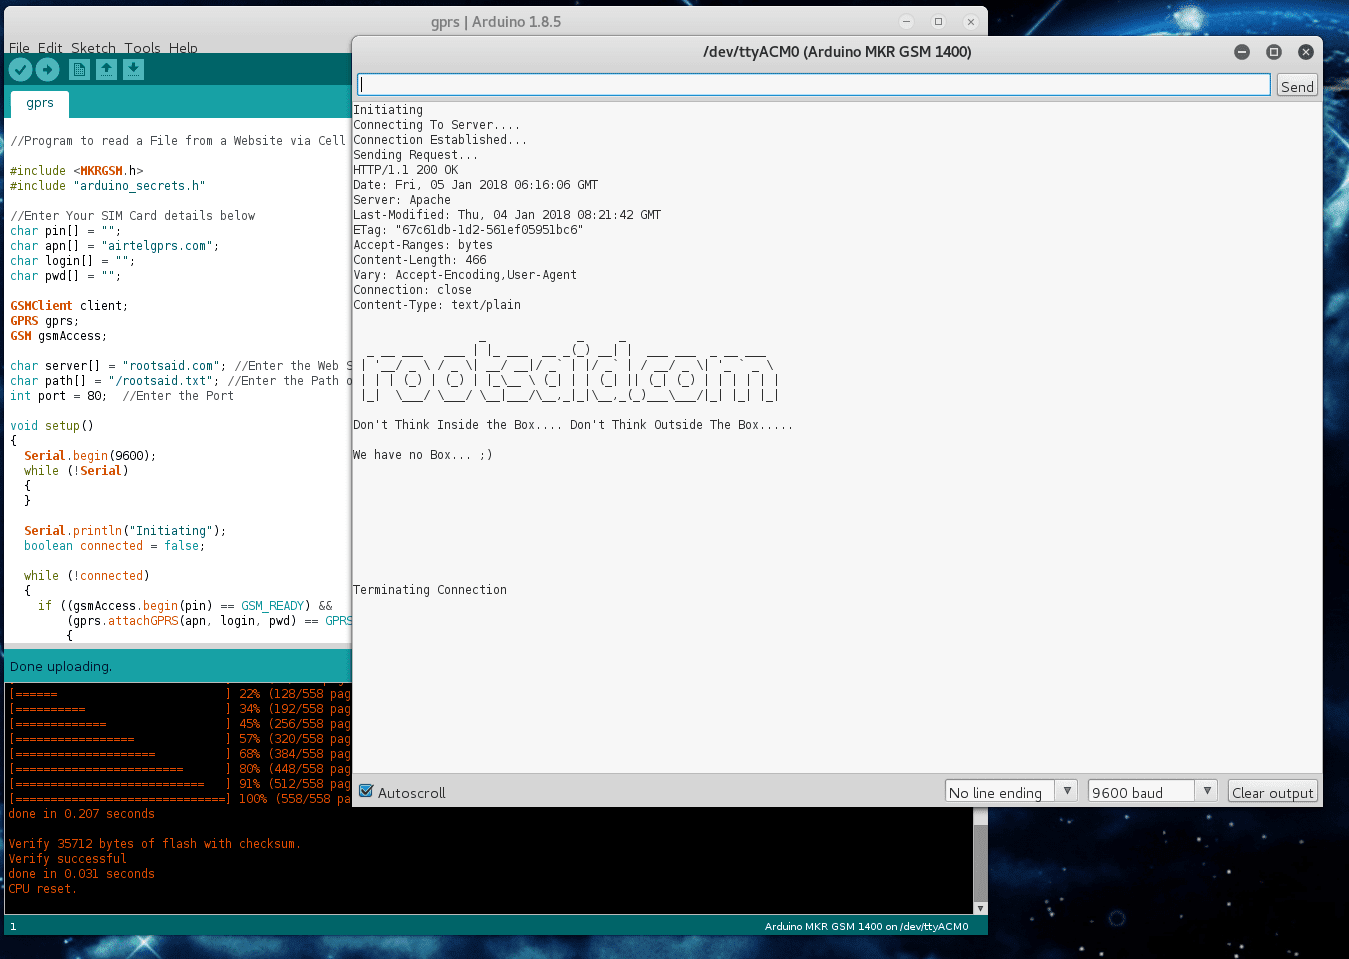
Once the connection is established, it will try to connect to the server. After connecting, it will download the file and display it in your Serial Monitor.


how i send data from mkr gsm 1400 sim card 3g to a node-red server
Not each web page is indexed by the search engines.