Ultrasonic Sensor – Arduino Tutorial for Beginners
Bats and Ultrasonic sound
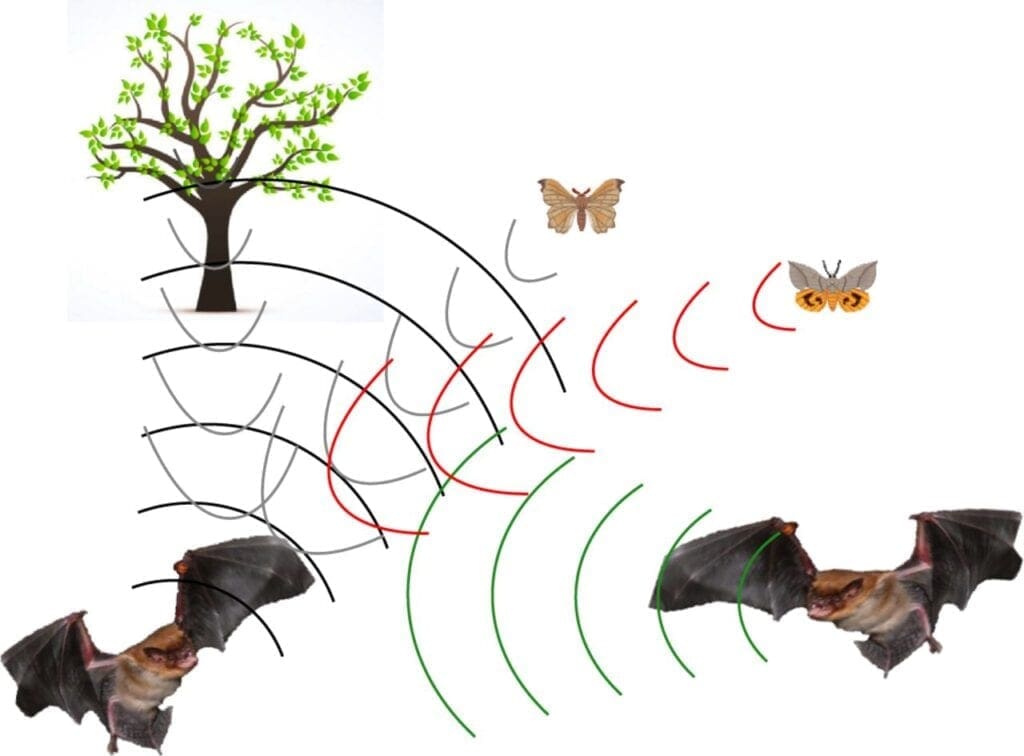
Have you ever wondered how bats find their prey in the dark? The uses of ultrasonic sound waves to locate their prey at night. They emit a special type of sound waves, sound waves of a particular frequency known as ultrasonic sound waves which will travel across space and gets a bounce back when they hit a surface. These bats can sense the reflected sound waves and can find out so many details about the surface from where the sound waves got reflected. Like the texture of the surface how far the surfaces and things like that. This is known as echolocation.
Today we will be using this same principle to find out the distance from an object using Arduino and ultrasonic sensor.
Components Needed
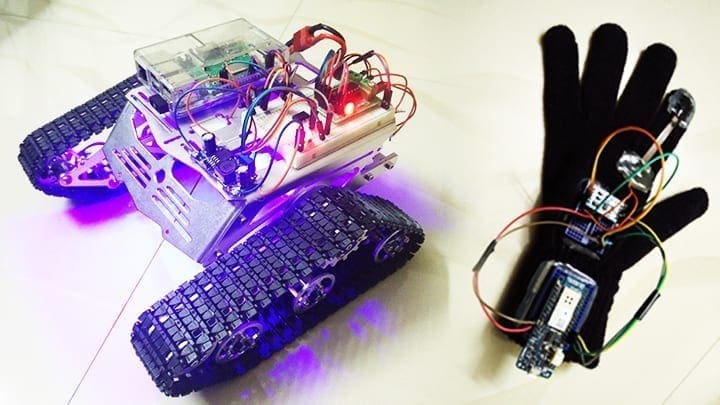
To do this project all you need is an Arduino, an ultrasonic sensor, and a breadboard.
Steps for Connecting UltraSonic Sensor to Arduino
Step 1 – What is Ultrasonic Sensor?
First, we will talk a little bit about the ultrasonic sensor. The ultrasonic sensor is one of the most commonly used sensors for DIY hobby projects as well as robotics. It is very easy to use and integrate with order no as well as raspberry pi. This sensor mainly consists of a transmitter and receiver.

Step 2 – Ultrasonic Sensor Pinout
The ultrasonic sensor mainly has 4 pins VCC and ground as well as trigger and echo pins. Vcc is connected to 5 volts and the ground pin is connected to zero volts. Trigger pin and echo pins are connected to Arduino.
Step 3 – Ultrasonic Sensor Working
When is a signal or short pulse is sent to the ultrasonic sensor using the trigger pin, the transmitter of the ultrasonic sensor emits ultrasonic sound waves. These sound waves travel through space and get reflected after striking a hard surface. When this reflected sound weighs reaches the receiver its sensor signal back to Arduino using echo pin.
Step 4 – Circuit
Connection connections are very simple. All you have to do this connect
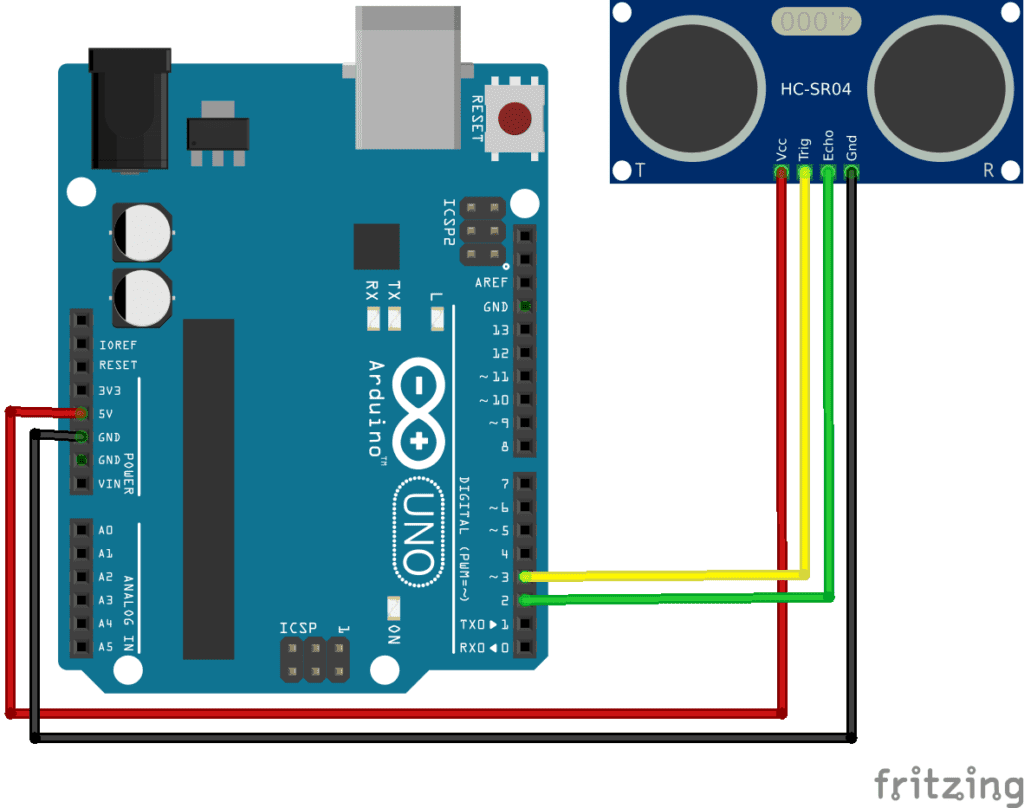
- vcc to 5 volts,
- ground to zero volts,
- the trigger to pin number 2 of Arduino, and
- echo to pin number 3 of Arduino.
Step 5 – Arduino Ultrasonic Sensor Code
define echoPin 2 // attach pin D2 Arduino to pin Echo of HC-SR04
define trigPin 3 //attach pin D3 Arduino to pin Trig of HC-SR04
long duration;
int distance;
void setup() {
pinMode(trigPin, OUTPUT);
pinMode(echoPin, INPUT);
Serial.begin(9600);
Serial.println("Ultrasonic Sensor HC-SR04 Test");
Serial.println("with Arduino Nano");
}
void loop() {
digitalWrite(trigPin, LOW);
delayMicroseconds(2);
digitalWrite(trigPin, HIGH);
delayMicroseconds(10);
digitalWrite(trigPin, LOW);
duration = pulseIn(echoPin, HIGH);
distance = duration * 0.034 / 2;
Serial.print("Distance: ");
Serial.print(distance);
Serial.println(" cm");
}
Code Explained
In this code what we do is, define the pins that will be using to connect to echo and trigger pin. Then we define two variables duration and the distance which will be used to store the value of duration as well as an echo.
In the setup function, we set the pin mode of trigger pin as output and echo pin as an input. And we initialize serial communication.
In the loop function, we send short pulses to the trigger pin which will cause the ultrasonic sensor to send ultrasonic sound waves right into space in front of it. Then we will listen to our echo pins for incoming reflected sound waves. Once these waves are received, we will find out the time duration for the sound waves to travel back and forth, and using that time duration we will calculate the distance between the ultrasonic sensor and the object using this formula.
Then we simply print the value of the distance on the serial monitor. That’s it guys once you have finished coding select the right port and board and click the upload button.
Running the Code
Once the program is uploaded start the serial monitor and place an object in front of the ultrasonic sensor. Serial monitor, you should see the distance between the object and the ultrasonic sensor moving the sensor or the object in front of it. You should see the distance changing accordingly