How to Connect to Raspberry Pi Using SSH Without IP Address (No Monitor Needed)
Setting up a headless Raspberry Pi doesn’t have to involve hunting for its IP address. With mDNS (Multicast DNS) and a proper preconfiguration in Raspberry Pi Imager, you can SSH into your Pi using its hostname (e.g., rootsaid.local)—no screen, keyboard, or router login required. This guide walks you through the exact steps and explains how mDNS works behind the scenes.
Why connect without an IP address?
- Faster headless setup for projects, servers, and IoT.
- No router access needed to look up DHCP leases.
- Human-readable hostnames instead of changing IPs.
- Works great on macOS and Linux (and Windows with mDNS support).
What You’ll Need
- Raspberry Pi (any model with Wi-Fi or Ethernet)
- microSD card (8GB+ recommended) and a card reader
- Raspberry Pi Imager installed on your computer
- A Wi-Fi network (or Ethernet) with internet access
- A computer running macOS or Linux (Windows works with Bonjour/mDNS)
Tip: Decide your Pi’s hostname now (e.g.,
rootsaid). Your mDNS name will be<hostname>.local(e.g.,rootsaid.local).
Step-by-Step: SSH into Raspberry Pi by Hostname (No IP Needed)

1) Use Raspberry Pi Imager to Create the Image on the SD Card
Open Raspberry Pi Imager and select your microSD card. This tool writes the operating system and lets you preconfigure everything for a seamless headless boot.
2) Choose the OS (Raspberry Pi OS Preferred)
Pick Raspberry Pi OS (32-bit) or Raspberry Pi OS Lite if you don’t need a desktop. The Lite image boots faster and is perfect for servers or headless projects.
3) Configure Wi-Fi, Username, Password, Hostname (and SSH) Before Writing (Important)
In Raspberry Pi Imager, open the advanced settings:
- On macOS: press ⌘ + Shift + X
- On Windows/Linux: press Ctrl + Shift + X
Then set:
- Enable SSH
- Username and Password
- Hostname (e.g.,
rootsaid) - Wi-Fi SSID, password, and country
- (Optional) Set locale/time zone and enable passwordless sudo if you prefer
Click Save, then Write to flash the card.
4) Insert the SD Card into the Raspberry Pi
Remove the card safely and insert it into your Raspberry Pi.
5) Power Up the Pi
Plug in power. Your Pi will boot, auto-connect to Wi-Fi, obtain an IP address via DHCP (you don’t need to know it), and advertise itself via mDNS as <hostname>.local.
6) Connect from macOS/Linux via SSH Using the Hostname
Open Terminal and run:
ssh <username>@<hostname>.local
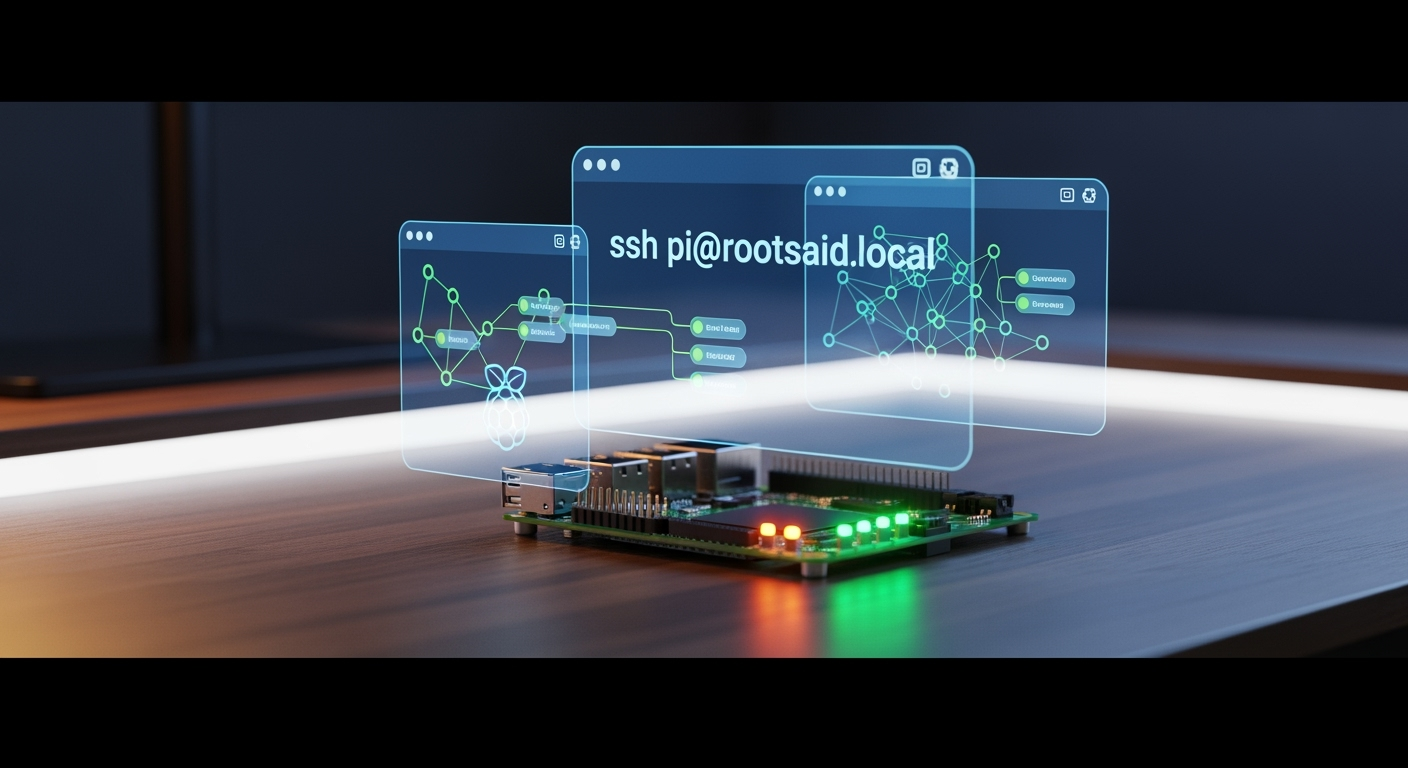
Example:
ssh pi@rootsaid.local
- On first connect, type
yesto accept the host key. - Enter the password you set in Step 3.
You’re in—without ever checking the IP.
What Is mDNS and How Does It Work?
mDNS (Multicast DNS) lets devices on the same local network resolve hostnames without a central DNS server.
- Your computer sends a multicast query to the local network:
“Who hasrootsaid.local?” - The Raspberry Pi (running Avahi on Raspberry Pi OS) replies:
“That’s me—here’s my IP.” - Your computer temporarily maps
rootsaid.local → <Pi’s IP>and SSH connects to that IP.
The Problem mDNS Solves
- Without mDNS: You’d need to open your router, hunt for the Pi’s IP, or attach a monitor.
- With mDNS: You simply type
ssh pi@rootsaid.local, and your computer asks the local network, “Who isrootsaid.local?” The Pi answers, and you connect – no IP lookup needed.
Key facts:
- mDNS uses UDP 5353 on 224.0.0.251 (IPv4) /
ff02::fb(IPv6). - The
.localdomain is reserved for mDNS hostnames. - macOS ships with Bonjour (mDNS) built-in.
- Linux typically uses avahi-daemon and libnss-mdns.
- Windows may require Bonjour (bundled with iTunes or standalone) for best compatibility.
Verifying and Troubleshooting
If ssh <user>@<hostname>.local doesn’t connect, try these checks:
- Does the hostname resolve?
ping <hostname>.local - On the Raspberry Pi (if you can access it later): confirm Avahi is running
sudo systemctl status avahi-daemon - On Linux (your laptop): install mDNS support
sudo apt install avahi-daemon libnss-mdns - Try the SSH service name discovery (macOS/Linux):
dns-sd -B _ssh . # macOS avahi-browse -at # Linux - Fallback: connect using the Pi’s IP if needed
ssh <user>@<pi-ip-address>
Windows note: If
.localdoesn’t resolve, install Bonjour or use your router to set a DHCP reservation and local DNS entry for the hostname.
Common Questions
Do I need to enable SSH manually?
No – enable SSH in Raspberry Pi Imager’s advanced settings (Step 3). It will be active on first boot.
Will the hostname always end with .local?
Yes, for mDNS. You connect as <hostname>.local.
Does this work over Ethernet?
Yes. mDNS works over any local network segment where multicast is allowed.
Conclusion
You don’t need a monitor—or even your Pi’s IP—to get started. By preconfiguring Wi-Fi, SSH, username, password, and hostname in Raspberry Pi Imager, your Raspberry Pi announces itself on the network via mDNS. Then you simply:
ssh <username>@<hostname>.local
This headless Raspberry Pi SSH setup is quick, reliable, and perfect for servers, automation, and IoT projects.