


L293D Piggyback for High Current Motors|High Current DC Motor Driver
L293D Piggyback Introduction
Months before, I pubished a post about H Bridge and L293D Motor Driver IC – What a H-bridge and L293D motor is and how to use it to control DC motors. If you are interested, please feel free to check out the post.
In this post, I will tell you about L293D piggyback soldering; how you can drive multiple motors or high current motors using piggybacking L293D motor Driver IC; High Current DC Motor Driver.


Sponsor Link
This Project is Sponsored by UTSource. UTSource is a professional electronic components supplier.
The Story Goes Like This
I was building a 6 Wheel Drive RC Car with Suspension as a hobby project. I used to make a lot of wheeled robot so I already had some PCBs I designed with Arduino Pro Mini, HC12 wireless module and an L293D motor Driver IC.
All my previous robots where 3 wheeled or 4 wheeled and most of them had 2 or a maximum of 4 simple DC motors. So I didn’t had to worry about the current. But this was the first time I was dealing with 6 high speed DC motors on the same robot. These motors draw around 350 mA.

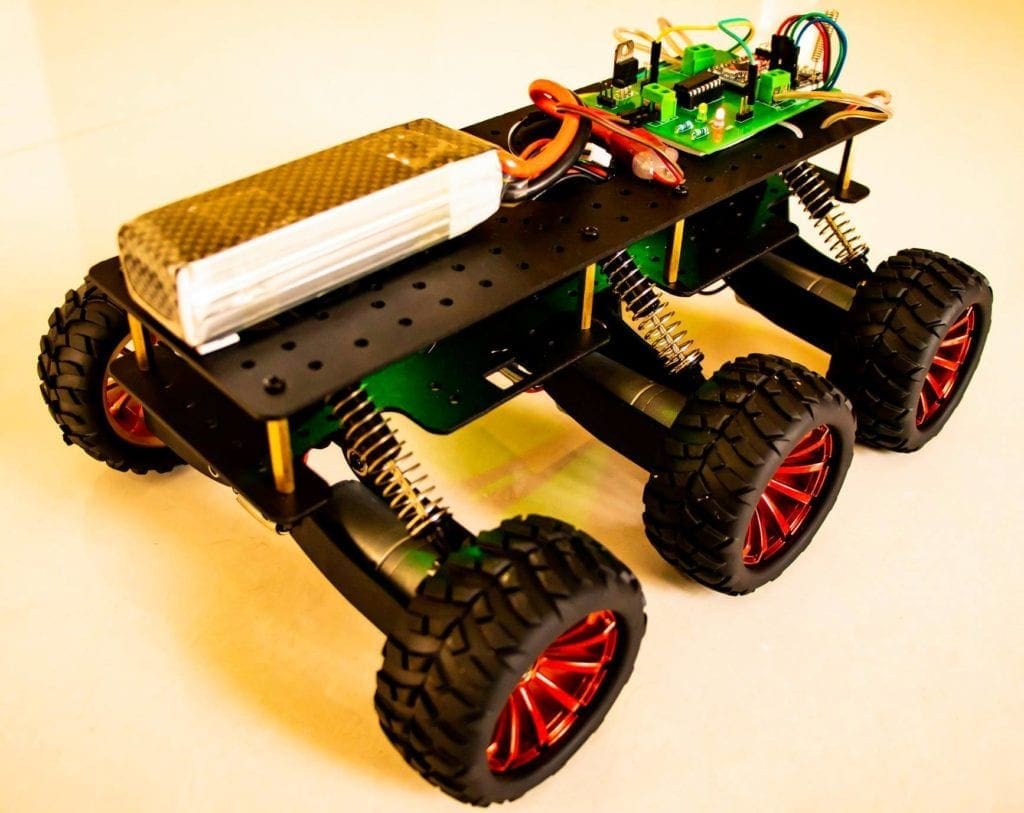
I assembled the robot, connected all the motors in one side to the output of Motor 1 of the motor driver IC; similarly I did with the other side. Everything was perfect.
The problem started when I pushed the throttle. The bot moved like a tortoise and the motors made a humming sound. When I touched the IC, it was scorching. Single L293D was not able to provide enough current to drive all the DC motors. Actually I was supposed to use separate DC motor Drivers to drive the motors seperately. Or I needed a High Current DC Motor Driver. It was a mistake from my side.
But in the end, I managed to use the same PCB to drive the robot without any lag or heating up the IC. How I solved this issue? Let us take a deeper dive and learn more about L293D Piggyback.
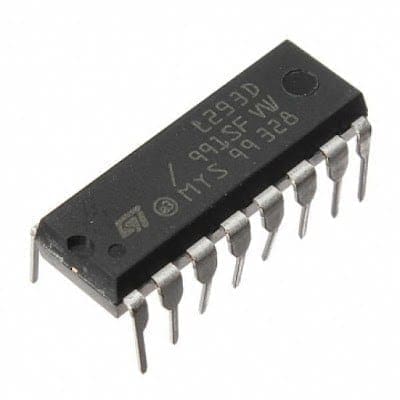
L293D Dual H-Bridge Motor Driver IC
L293D is a reduced type of H Bridge circuit as an IC that utilizes the previously mentioned H Bridge circuit. It is an IC with 8 pins on each side (16 pins altogether) which contains 2 free H Bridge circuits, which implies, we can control two motors separately utilizing a Single IC. L293D is a Motor driver or Motor Driver IC which permits DC motors to drive on either direction.
As mentioned earlier, in an L293D IC, there are two H Bridge circuits. The left side of the IC deals with one H Bridge (One Motor) and the right side deals with the other. There is a pin called ‘Enable Pin’ for both the H Bridge Circuits. The H bridge will work only if the Enable Pin is set to Logic 1. Due to the high current flowing through the circuit, there are 4 ground pins employed in this IC.

L293D and its Limitations
Of course L293D is the most widely used motor driver IC among hobbyists and engineers to drive DC motors in their projects. They are H Bridge circuits which can be used to control the direction as well as speed of the
But there are certain limitations to this L293D IC when it comes to High Load or High Current Motors. One of them is peak Current.

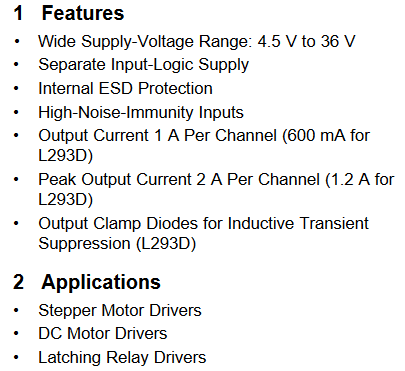
Check out the above piece of datasheet. The maximum current it can provide over a single channel is 600 mA (1.2A Peak). With this current, L293D cannot drive multiple DC motors or high current motors.
Since most of the PCBs are originally designed to work with L293D, you wont be able to use them for driving high current motors.
The Workaround – Path to A High Current DC Motor Driver
L293D Alternatives
You could either use another motor driver IC – L298N – The Big Brother of L293D which can handle an output current of upto 2A. But the pin-out is entirely different and so you wont be able to mount them in the place of L293D.
Piggybacking L293D
Well guys, my solution was pretty simple. Put one on top of the other and solder them in parallel. Yes, a High Current DC Motor Driver. Believe me guys, it worked like a charm.
L293D piggyback configuration is an Easy Way to Double (or in my case triple) The Current as well as the power of L293D Motor driver IC to drive high torque/ high current motor/ high resistance load. (This strategy should work for any L293D chips). L293D Piggyback is a speedy and simple technique to double the current output to the motor.

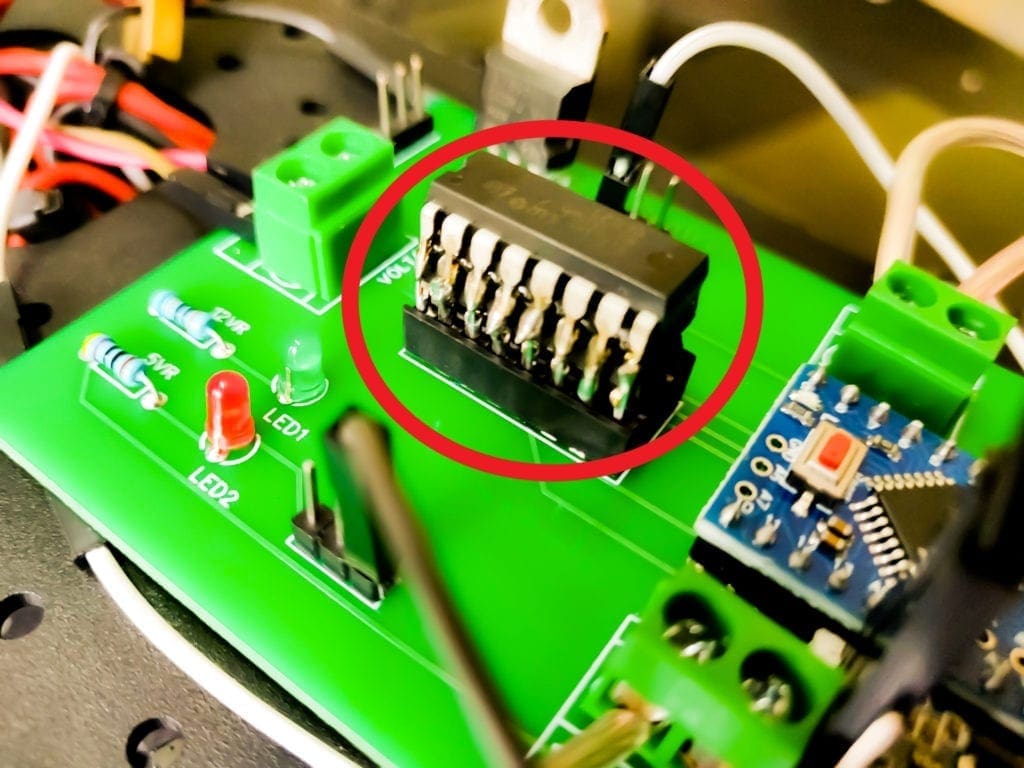
So the entire thought is to solder another L293D chip straightforwardly over the present one. Pin to Pin. This puts the two chips in parallel mode so the voltage will remain the same as before but the current increases. These chips are evaluated at about 600ma constant or up to 1.2A for a brief period. After piggybacking two of them together, they will provide output with 1.2A persistent current and 2.4A for brief periods.
In my case, I had 3 L293D ICs soldered on top which will act as a High Current DC Motor Driver so as to drive 6 High Speed DC motors for my RC Car. I checked the power of motor and current flowing through them before piggybacking and after soldering each L293D. There was a huge change in the power and speed of the motor.
Top Arduino Projects You can Try this Summer Vacation

Here is a list of the latest Arduino Projects 2019 implementing newer sensors and boards, which can be followed easily and are really interesting to implement you can try this summer vacation.
Top Robotics Projects You can Try this Summer Vacation

Here is a list of the latest Robotics Projects for 2019 based on Raspberry Pi Arduino Projects 2019 implementing newer sensors and boards, which can be followed easily and are really interesting to implement you can try this summer vacation.
Did you find this page useful? Help us to improve by rating this page.
[RICH_REVIEWS_FORM]
[RICH_REVIEWS_SNIPPET stars_only=”true”]


Hi,
I’m in the process to order and build the 6wd robot. Can you post the files for your PCB where you “I had 3 L293D ICs soldered on top which will act as a High Current DC Motor Driver so as to drive 6 High Speed DC motors for my RC Car. ” so I can order it and make it myself?
I can only find the PCB schematic from Rootsaid that drives only 4 motors.
Regards,
Edward from Norway