
Gesture Controlled Robot Arduino & PAJ7620 Gesture Sensor
Arduino Gesture Controlled Robot
Hey guys, welcome back. In this post, I am gonna show you how you can make this Gesture Controlled Robot using Arduino and PAJ7620 Gesture Sensor. I will explain what PAJ7620 Sensor is, detect various hand gestures and how to control this robot using this sensor. Let’s Get Started.
The Robot Chassis
This is the robot chassis I used to make my BLE Robot. I got this kit banggood.com. Not only this one, they have so many types of robot frames, motors and almost all the sensors for doing arduino, raspberry pi and other electronics and hobby projects.

Robot Chassis – Get it Now
You will get all these things for a cheap price with really fast and quality shipping.
And the great thing about this kit is they provide all the tools you need to assemble the frame together.
PAJ7620 Gesture Sensor

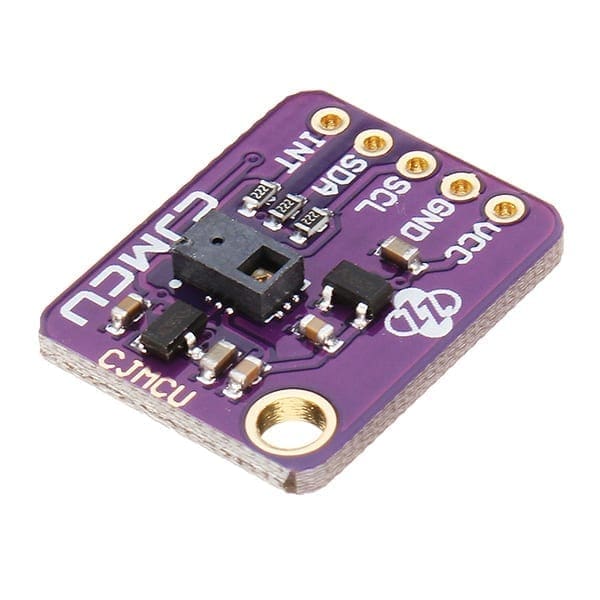
PAJ7620 Gesture Sensor is a quick and easy way to add gesture control to your Arduino or Raspberry Pi Project. This tiny little sensor can recognize various hand gestures such as moving your hands up, down, left, right, forward, backward, clockwise, anti-clockwise and waving . It employs an in built proximity sensor which can sense approaching and departing objects.

PAJ7620 Gesture Sensor
This is a simple board, connections are pretty easy and you wont need more than 2 minutes to set this up. You can use any arduino board like Uno, nano, micro or MKR series boards but here i will be using WEMOS D1 Mini.
HC12 Wireless Module

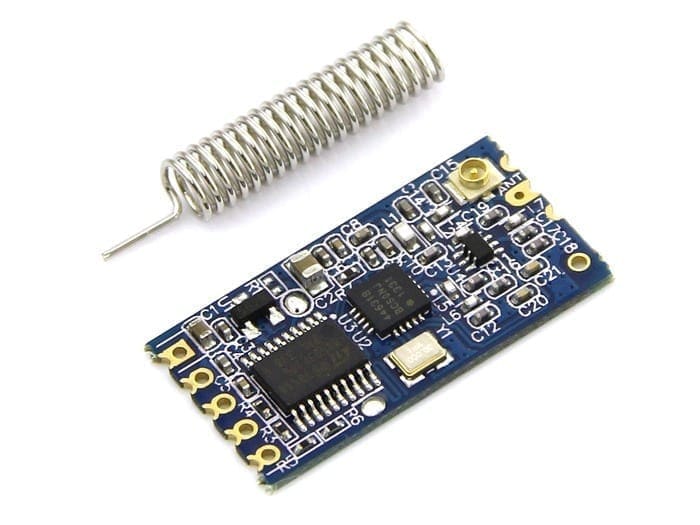
Here I will be using HC12 wireless module for sending data from the Sensor to the robot. It is one of the most commonly used wireless modules in the field of robotics and other remote control applications. it is very easy to use and have a very long range communication; upto 1 KM LOS.
Making Arduino Gesture Controlled Robot
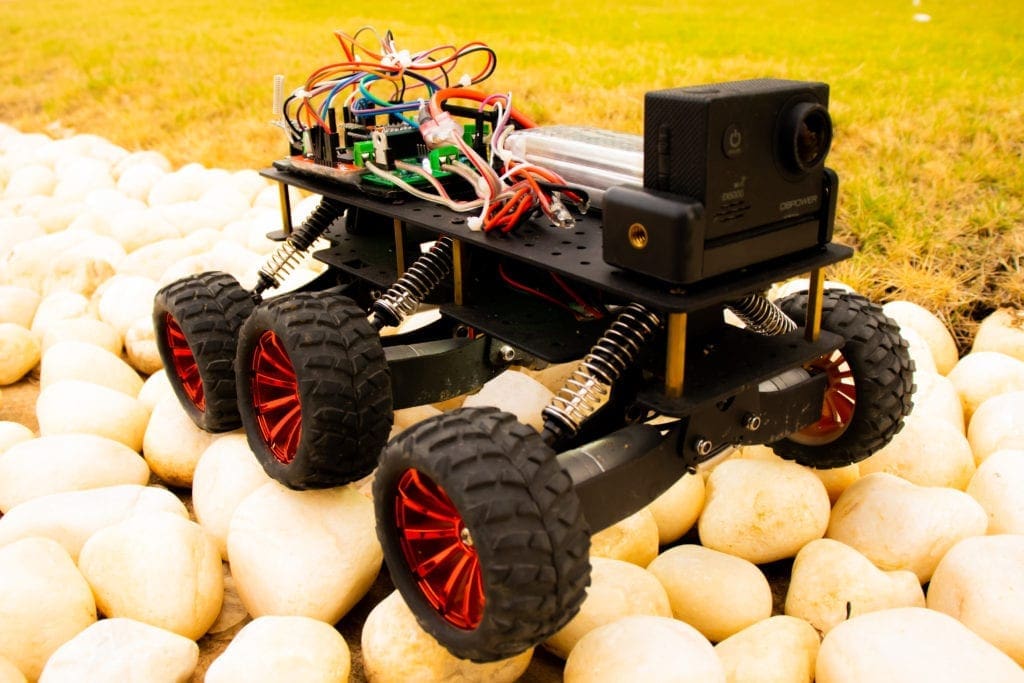
I hope you have seen my previous video on the remote controlled robot – The Robotin6.

It is an Off Road 6 Wheel Drive Crawler which can be remotely controlled using an Arduino remote controller. Here also we will be using the same robot, only thing different here will be the code which we will upload to the robots Arduino. If You haven’t seen that yet, click the link above and watch it first.
How to Make an Arduino Gesture Controlled Robot – Video Tutorial

Guys. Before going further, if you find this video useful, consider supporting my channel by giving this video a like and subscribe to my channel by clicking the subscribe button below. I would really appreciate it.
New to Robotics?
We have a beginners guide on “Getting Started with Robotics” which will give you a kick start in this field. Check out our free video tutorial below for a brief introduction.

Making the Gesture Controlled Robot
For ease, we will be dividing the Arduino Gesture Control Robot Tutorial into two parts – The Transmitter and The Receiver.
The Transmitter of the Gesture Controlled Robot consist of PAJ7620 Gesture sensor which senses the gesture, an Arduino that process the signal and a HC12 Wireless module that will transmit the signal to the Receiver
The Receiver part consist of a HC12 wireless module that receives the signal from the Transmitter module, an Arduino which will process the signal and drive our Arduino Gesture Controlled Robot.
1. Transmitter – PAJ7620 Gesture Sensor
First, the Transmitter. we will set this up on the breadboard.
2. Connections
Connections are pretty simple – Follow the below connections
PAJ7620 – Arduino
- Vin to 3.3 V
- Gnd to Gnd
- SCL to SCL
- SDA to SDA
Then we connect the HC12 module.
HC12 to Arduino
- Vin to 5V
- Gnd to Gnd
- Tx to Rx
- Rx to Tx
3. The Code
Now the code. This code is similar to the one we used in the previous tutorial. This uses I2C protocol to read data from the sensor and pass it onto the serial pins where we connect HC12 wireless module.
Click Here to Download the Code
4. The Receiver
The Transmitter is now ready, now we will set up the receiver.
5. The Connections
In the receiver side, the circuit is same as that of the previous Arduino RC robot.Click here and get the bot!!!
6. The Code
Now onto the code. We will receive the data from the remote controller. As I mentioned earlier, the hardware and circuit is exactly the same as that of the previous robot. In the receiving unit, I used Arduino nano clone here.
Download the Code from here.
First we read the data coming from the HC12 module to a variable named ‘input’. This ‘input’ contains the string which was sent by the transmitter module.
You can now use this variable to drive your robot the way you want.
The Amazing Robotin6


If you are an Arduino enthusiast, you will surely like my 6 Wheel Drive Off Road Crawler with Suspension using Arduino. Click here to see the demo!! Subscribe my channel for more updates.
Take care Guys.. See you next week..
Top Arduino Projects You can Try this Summer Vacation

Top Robotics Projects You can Try this Summer Vacation


can i have a full detail for this project. i need to do it for my project