ELECFREAKS micro:bit Robot Smart Cutebot Kit – A Fun and Educational DIY Robotics Kit
Robotics and coding are becoming essential skills in today’s world, and what better way to get started than with a fun and interactive robot car kit? The ELECFREAKS micro:bit Robot Smart Cutebot Kit is an excellent choice for beginners, students, and even experienced hobbyists looking to explore robotics. This DIY programmable robot car kit is designed for STEM education and provides a hands-on learning experience in coding, electronics, and engineering.
![DIY Robotics Kit for Beginners - Smart Cutebot Robot Car Kit [Everything you need to know]](https://i.ytimg.com/vi/uqdWdHWMMnk/hqdefault.jpg)
In this post, we’ll dive deep into what makes the Cutebot such a fantastic learning tool. We’ll cover its features, assembly process, programming options, and some exciting project ideas to get you started. Let’s get into it!
Unboxing the ELECFREAKS Cutebot Kit
The Cutebot comes in a compact and neatly arranged box, making it easy to store and transport. Upon opening, you’ll find:

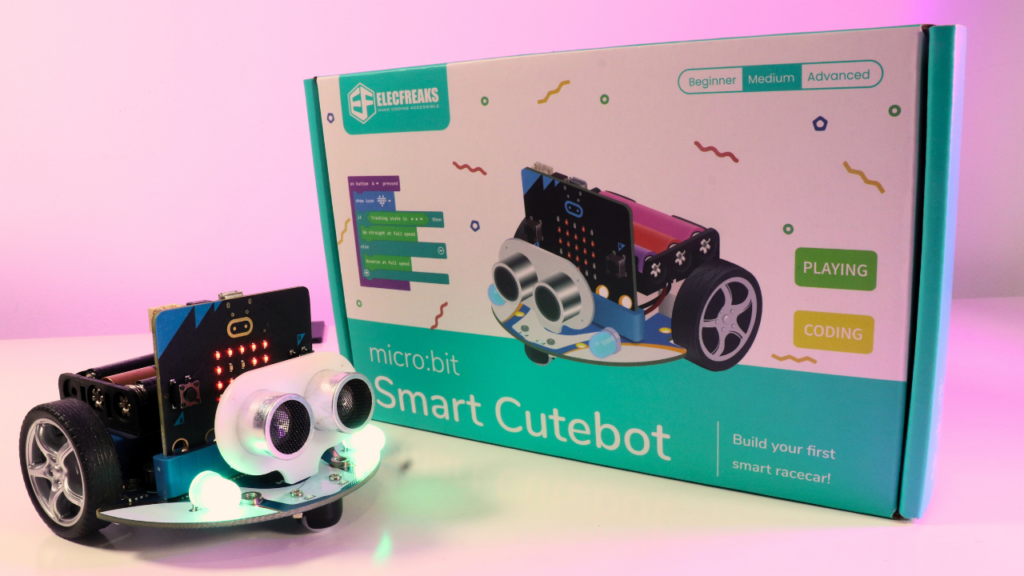
- The Cutebot car chassis
- A battery holder for power supply
- An HC-SR04 ultrasonic sensor for obstacle detection
- A line-tracking map for guided navigation experiments
- A detailed instruction manual and brochure
All components are designed for easy plug-and-play assembly, meaning no prior experience is required to get started. Whether you are a young student, a teacher, or a hobbyist, this kit ensures a smooth and enjoyable learning experience.
Main Components of the ELECFREAKS Cutebot
The Cutebot is more than just a simple robot car—it’s packed with advanced features that allow for creative and educational experiments. Here’s what you get:
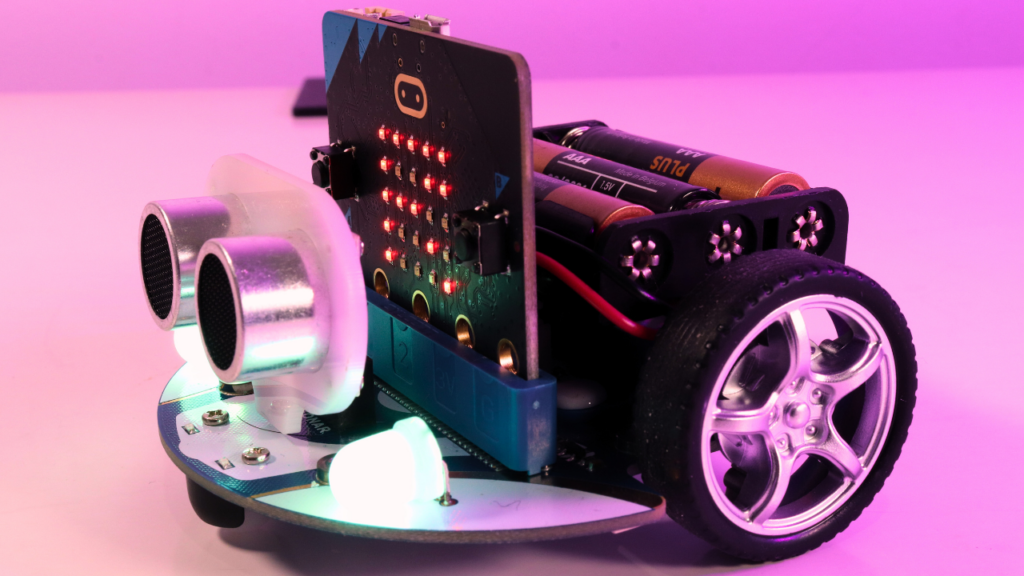
1. Ultrasonic Sensor for Obstacle Avoidance
This sensor allows the Cutebot to detect objects in front of it and navigate accordingly. Whether you want to create an autonomous driving system or an interactive obstacle course, this sensor is key to making your robot smart.
2. High-Speed Motors for Smooth Movement
The Cutebot is powered by two GA12-N20 DC micro gear deceleration motors, which provide speed, stability, and precision control. This makes it great for line-following experiments, racing challenges, and obstacle courses.
3. Line-Tracking Sensors for Path Navigation
Two infrared sensors help the Cutebot follow a black line on a white surface. This is perfect for learning about automation and machine vision, two important aspects of robotics.
4. RGB Headlights and Side LED Lights
The robot includes customizable RGB headlights and rainbow-colored clearance lamps, making it visually appealing and fun to program.
5. Expandability with IIC and Servo Ports
The Cutebot offers IIC and servo interface ports, allowing users to expand functionality by adding extra sensors, joysticks, and other modules. This makes it a versatile platform for more advanced projects.
6. Multiple Control Options
You can control the Cutebot using:
- Micro:bit Bluetooth for wireless programming
- Infrared remote control
- Joystick:bit for manual control


This flexibility allows for endless possibilities in programming and interaction.
Assembling and Programming the Cutebot
One of the best things about the ELECFREAKS Cutebot is how easy it is to assemble and program. The plug-and-play components mean you don’t need any additional tools to get started. Simply attach the ultrasonic sensor, insert the battery pack, and you’re good to go!
Programming with MakeCode, MicroPython, and More
The Cutebot supports multiple programming languages, making it accessible to users of all skill levels. Here’s how you can start coding:
- MakeCode (Block-based coding): Perfect for beginners and kids. You can drag and drop blocks to create fun and interactive programs.
- MicroPython (Text-based coding): Ideal for users who want to explore more advanced programming.
- JavaScript and MicroBlock: For those looking to experiment beyond basic coding.
ELECFREAKS WIKI – A Great Learning Resource
ELECFREAKS provides an extensive online WIKI with tutorials, sample codes, and step-by-step guides for setting up the Cutebot. Whether you are a teacher integrating this into a classroom setting or a student learning independently, this resource is invaluable.
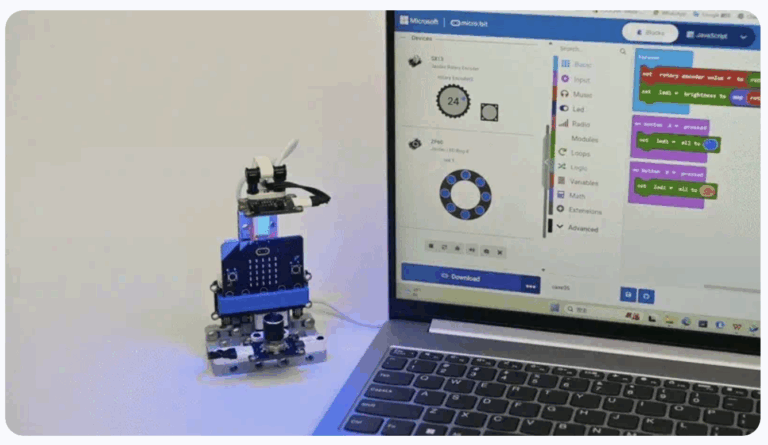
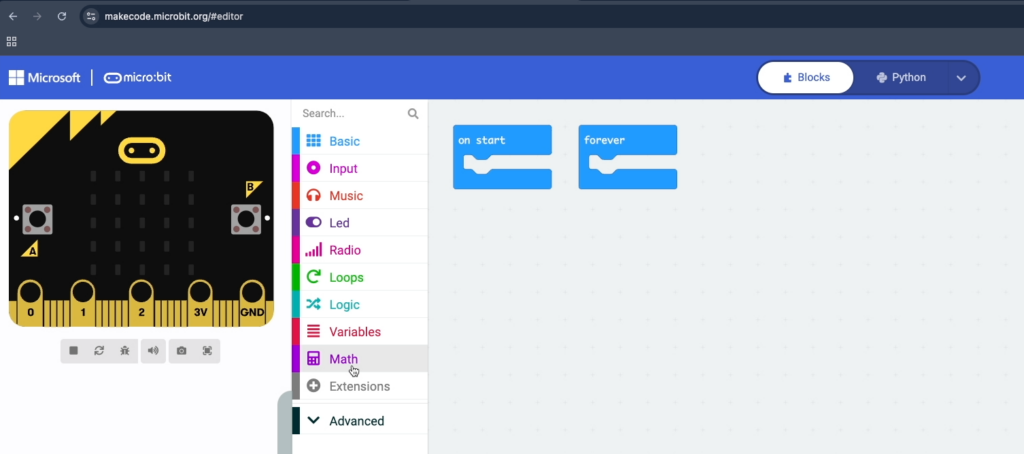
MakeCode Programming – A Simple Guide
Guys, now let me show you how easy it is to code this robot! One way to code this robot is by using MakeCode. Simply search for MakeCode on Google, and you should be able to see the official link. Click on that.
If you want, you can create an account, but for now, I’m skipping that step. Simply click on New Project, give your project a name (let’s call it “Cutebot”), and click Create.


On the left side, you’ll see some basic functions. Now, we need to add an extension for Cutebot. In the search bar on top, type “Cutebot” and hit enter. You’ll see two options: Cutebot and Cutebot pro. For now, select Cutebot, as that’s the one we’re using.
Once added, you’ll see a new Cutebot extension in the left menu. Click on it, and you’ll find all the functions supported by our Cutebot.
Now, let’s create some blocks to see how this works. You’ll mainly see two blocks:

- On start – This works like the
setup()function in Arduino, meaning everything inside this block runs once when the robot is powered on. - Forever – This works like a loop, meaning everything inside this block runs repeatedly.
For example, if we power on the robot, the LED matrix will light up in a specific pattern. You can change this pattern by clicking on it and modifying it.

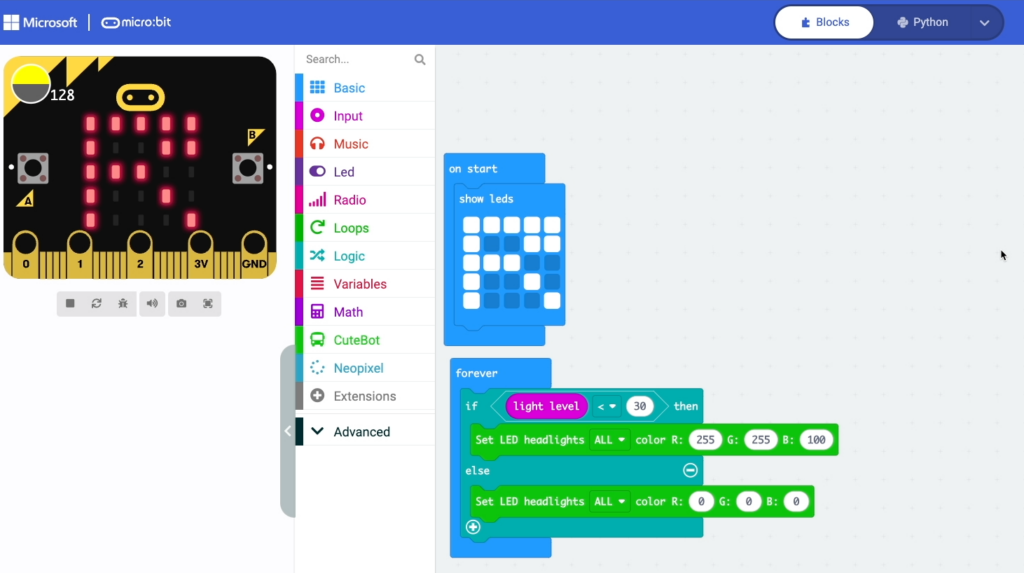
In the Forever block, we can add a condition: if the light level is less than 30, meaning the ambient light is low, the headlights will turn on with a specific RGB color. If the light level is greater than 30, meaning there’s enough ambient light, the headlights will turn off.
To upload the code, click on the Download button at the bottom left. Connect your micro:bit to your computer, then click Next. Once connected, hit Download, and your code will be uploaded.
And there you go! The code is now uploaded. When you block ambient light, the headlights turn on, and when there’s enough light, they turn off. The graphical programming tools make it accessible for kids, while Python allows advanced users to dive deeper into robotics programming.
Fun Projects You Can Build with the Cutebot
The ELECFREAKS Cutebot is not just a toy—it’s a powerful educational tool that allows users to develop problem-solving skills and creativity. Here are some fun projects to try:
1. Line-Following Robot
Use the included line-tracking sensors to create a robot that follows a designated path on the ground. This is a great introduction to autonomous navigation.
2. Obstacle Avoidance Robot
Program the ultrasonic sensor to detect obstacles and navigate around them, making the Cutebot a self-driving car prototype.
3. Bluetooth-Controlled Car
Use a mobile app or a joystick to control the robot via Bluetooth, turning it into a fun remote-controlled car.
4. RGB Light Customization
Experiment with different light patterns and effects using the RGB headlights and clearance lamps. Great for artistic and interactive projects.
5. Sound-Activated Car
With additional sensors, you can program the Cutebot to respond to claps or voice commands, making it even more interactive.
Why Choose the ELECFREAKS Cutebot?
If you’re looking for a fun, educational, and hands-on way to explore robotics, the ELECFREAKS Cutebot is an excellent choice. Here’s why:
✅ Beginner-Friendly – No prior knowledge needed! Great for kids, students, and hobbyists.
✅ STEM-Focused – Learn coding, electronics, and automation in an engaging way.
✅ Affordable & Expandable – Packed with features while remaining budget-friendly.
✅ Multiple Programming Languages – MakeCode, MicroPython, and JavaScript support.
✅ Great Community & Learning Resources – ELECFREAKS offers a robust online support system.
Where to Buy the ELECFREAKS Cutebot
Interested in getting your hands on one? You can purchase the ELECFREAKS Cutebot from their official website, Amazon, or authorized retailers. Check the links in the description for more details!
Also, make sure to follow ELECFREAKS on social media to stay updated on new products and tutorials.
Final Thoughts
The ELECFREAKS micro:bit Robot Smart Cutebot Kit is a fantastic way to dive into the world of robotics, coding, and automation. Whether you’re a beginner or an experienced maker, this kit offers endless learning opportunities and fun experiments.
Stay tuned for our next post, where we’ll walk you through programming the Cutebot using MakeCode. Don’t forget to leave a comment below if you have any questions or project ideas!
Happy coding! 🚀