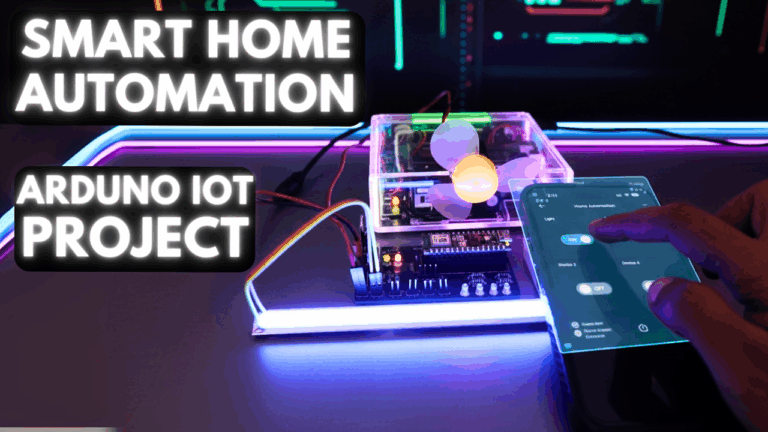
Have a smartphone in your hand? How about controlling your home appliances by using it? Awesome right? All you need is a Smartphone with ‘Arduino Remote LITE’ installed, and a basic Bluetooth Arduino kit with a relay board. This will enable you to control all the devices in your home using a few taps. This…
Have a smartphone in your hand? How about controlling your home appliances by using it? Awesome right? All you need is a Smartphone with ‘Arduino Remote LITE’ installed, and a basic Bluetooth Arduino kit with a relay board. This will enable you to control all the devices in your home using a few taps.
This article will guide you through all the steps in detail. By the end of this video, you should be able to make a home automation system that can control all the devices in your home, simply by tapping a button on your smartphone.
Sponsor Link
This Project is Sponsored by UTSource. UTSource is a professional electronic components supplier.
Arduino Remote LITE Home Automation – DEMO VIDEO
Check out the video demo below. Here I am using an 8 Relay board connected to an Arduino board which is in turn connected to a Bluetooth module. This Bluetooth module will receive commands from the mobile phone app – “Arduino Remote LITE” and is sent to Arduino. The Arduino then control the relays depending upon the command is received from the Bluetooth module. Thus we can control the devices connected to the relay using the mobile phone. A Smart and Simple Home Automation System using Arduino and Bluetooth.
What do you need to build your Home Automation system using Arduino Remote Lite?
To control the devices in your home using this Android App,
Android smartphone
Arduino board
Bluetooth module (HC-05 or HC-06)
Relay module (4 or 8 channels)
Arduino Remote LITE Home Automation – Tutorial
Step 1. Download the app Arduino Remote LITE
The first thing to do is installing the APP. For those who have not installed Arduino Remote LITE:
Download the latest version from here: [AdSense-A]Download
Step 2. Connect Arduino Remote LITE to the Bluetooth module
The connections are pretty easy. Follow the below schematics to set this up.
Connections
Arduino
HC-05 or HC-06
TXD
RXD
RXD
TXD
5V
VCC
GND
GND
Arduino
8 Relays module
2
IN 1
3
IN 2
4
IN 3
5
IN 4
6
IN 5
7
IN 6
8
IN 7
9
IN 8
5V
VCC
GND
GND
Fig 1 – Connection DiagramFig 2 – In BreadBoard
Once it is done, you can go to the next step.
Step 3. Upload the code
After wiring, supply the power to the Arduino and then upload the code as below
Note: There are two types of Relay module is low-level trigger and high-level trigger. In my tutorial, I’m using a low-level trigger module. If you have a high-level trigger module, then edit the following part:
const char RELAY_ON = 1; // Relay on
const char RELAY_OFF = 0; // Relay off
Step 4 – Configuring
On your smartphone, turn on Bluetooth and Pair with your Bluetooth module (the PIN to connect will be 0000 or 1234)[AdSense-C]
Now open the Arduino Remote LITE app. You will see a list of Bluetooth modules available to connect. From that list, select the module you want to connect.
After the connection is successful, the app will display the Bluetooth icon next to the connected device.
Now go to the Relay Control Mode and tap on each relay. You should be able to control the status of each relay using the app.
Note: If you press the Relay button to turn off, press the Relay to turn on, then the control signal is reversed, you only need to correct the RELAY_ON and RELAY_OFF parameters and reload code.
CONCLUSION
Controlling 8 Relay is really easy with Arduino Remote LITE application, you do not have to build a mobile application which may be complex for you. All you need to do is just wiring as instructed then upload the program and finally connect to use.
More Information about this project can be found here.
Good luck!
Transform a tiny DigiSpark ATtiny85 into a programmable HID keyboard with DigiKeyboard. Learn setup steps, key codes, macros, tips and inspiring project ideas.
Overview AI and Arduino are combined to create a quiz-to-unlock smart lock. OpenAI generates a short question and validates the reply; the Arduino Nano ESP32 controls a 12 V solenoid via MOSFET/relay and updates an Arduino IoT Cloud dashboard. Correct answer → brief unlock. Wrong answer → buzzer pattern and reset. Hardware remains minimal; intelligence…