In this tutorial, I show you how to set up MATRIX Voice Alexa in your MATRIX Voice/Creator Device. Before going into this, it would be good if you know what a MATRIX Voice is and what it can do.
Sponsor Link
This Project is Sponsored by UTSource. UTSource is a professional electronic components supplier.
Click Here to know more about MATRIX Voice and what it can do.
Download and burn latest Raspbian image to a micro SD card and insert it into the raspberry Pi.[AdSense-C]
Now power it up with a power adapter that can provide at least 2.5 Ampere. Now fire up your terminal and create a password for the user ‘pi’ by executing the command
sudo passwd pi
Connect your Raspberry Pi to a WiFi router or Wired network and make sure it is connected by checking whether it is getting an IP address from the switch.
Now perform and update and upgrade by running
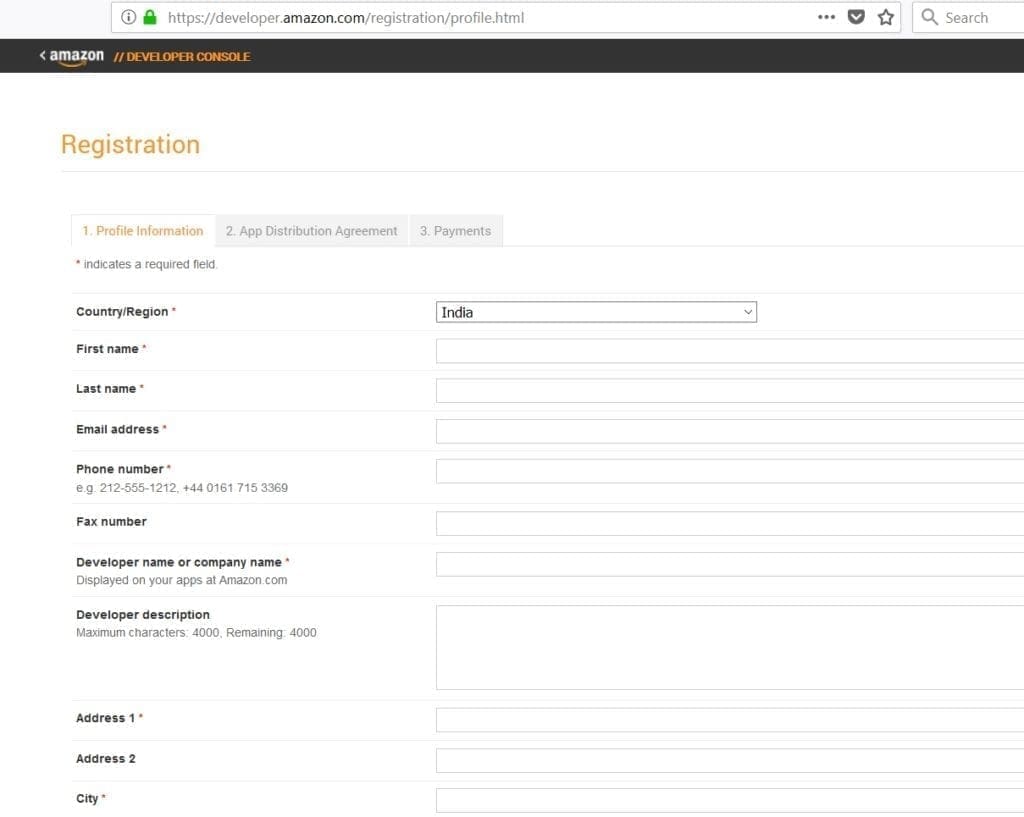
Now go ahead and create a free developer account at developer.amazon.com.
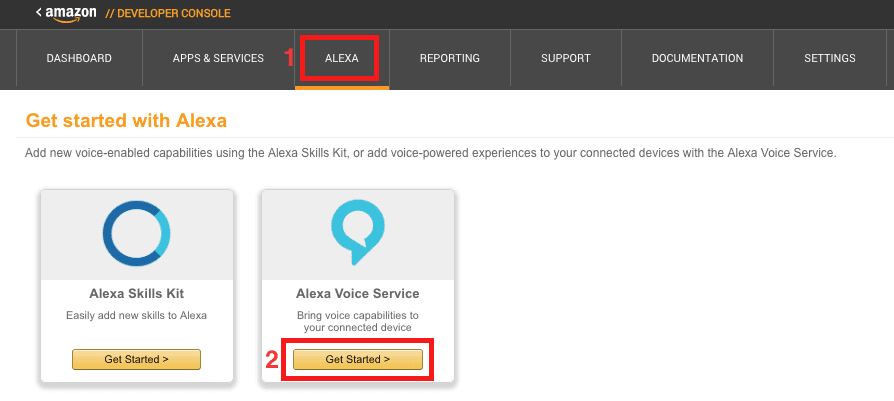
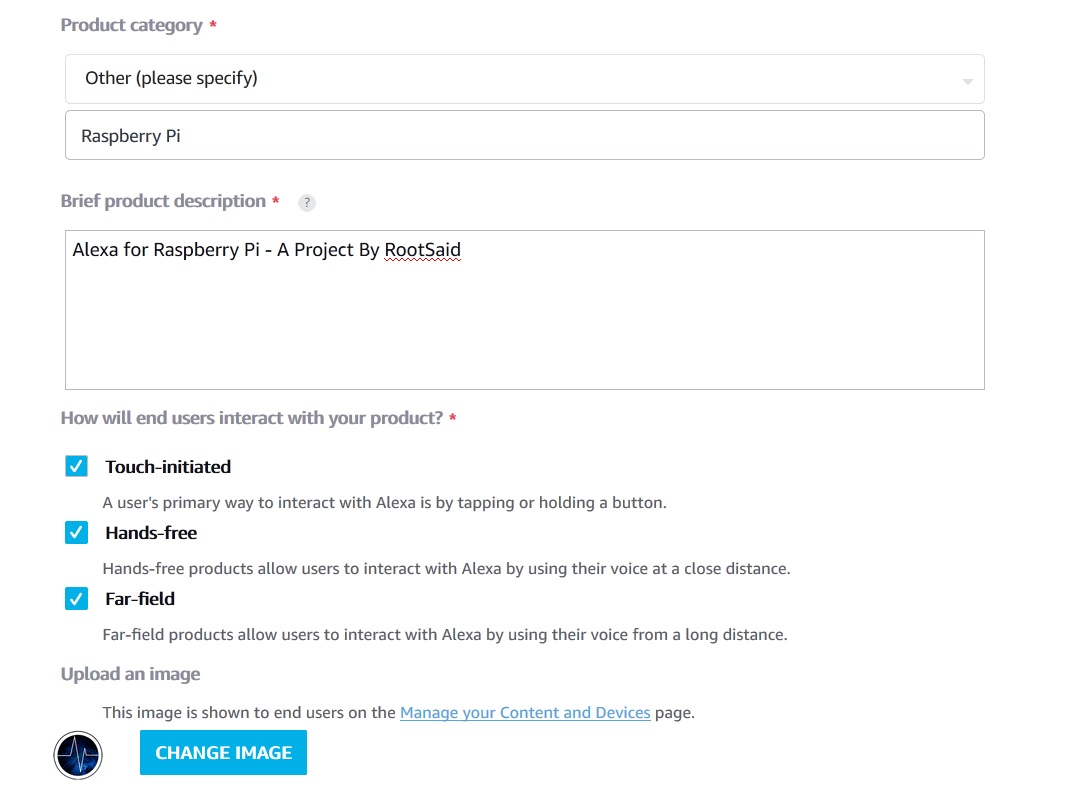
Now, we will use this account to create a new product. Select Alexa tab and click on Get Started on Alexa Voice Service.
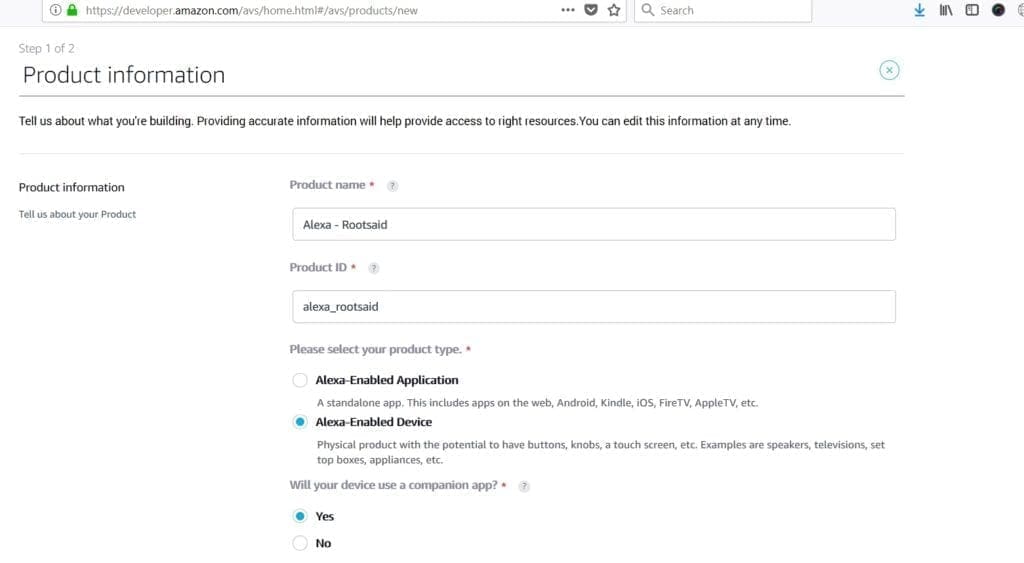
Fill up all the details as shown in the screenshot
Once completed, click on ‘Next’. Its almost complete all you have to do is set up a Security Profile.
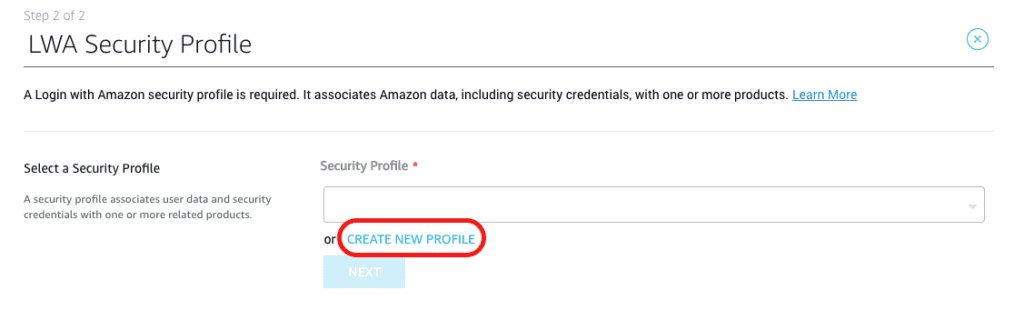
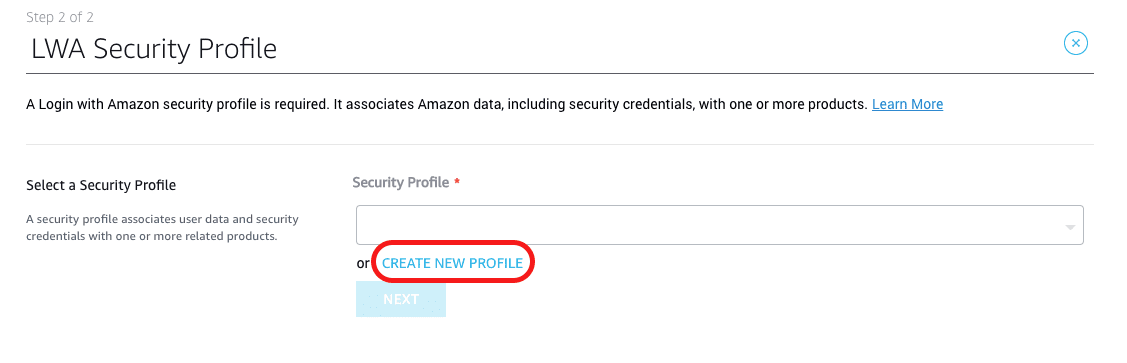
Security Profile
In this page we will create a new Login with Amazon (LWA) security profile.
Click Create New Profile.
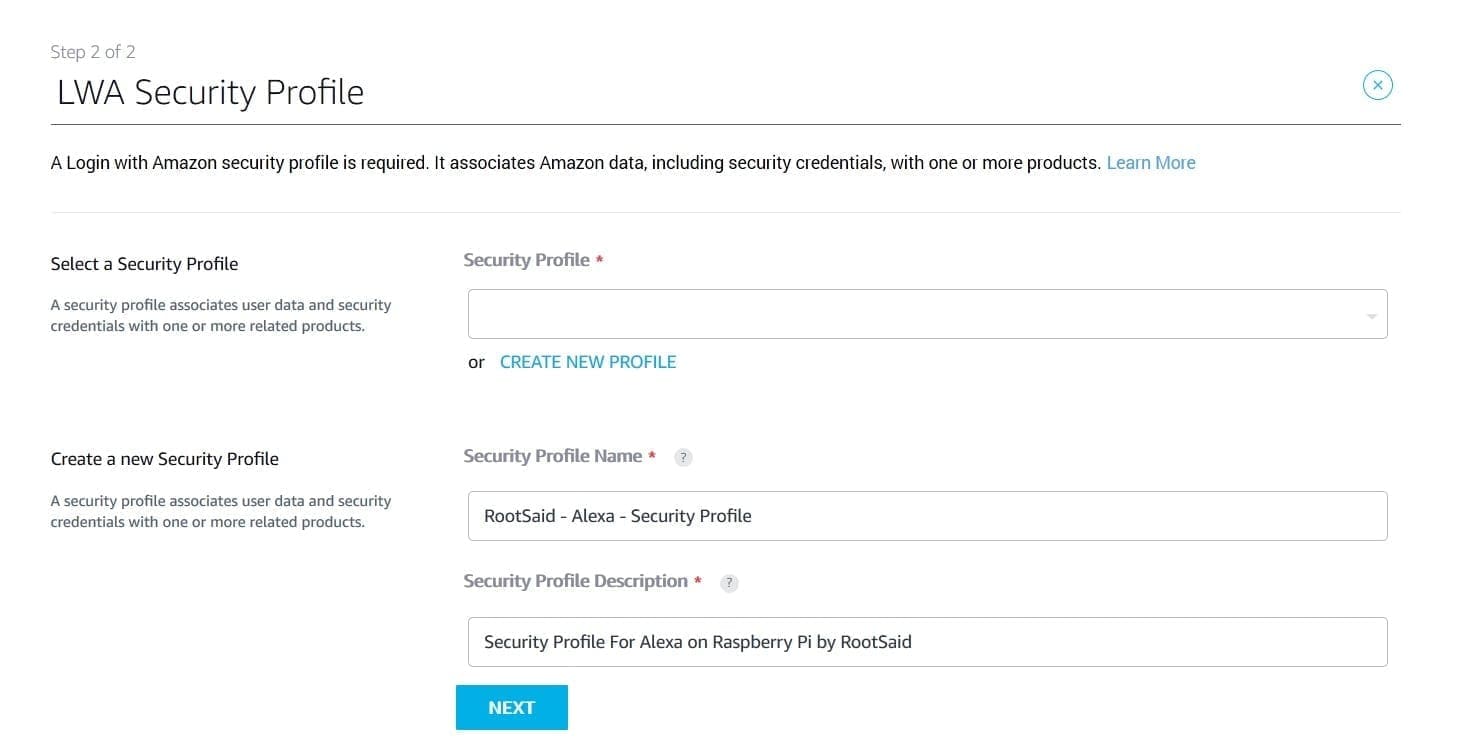
Provide a name and add a short description for your security profile, then click Next.Refer the screenshot for more details.
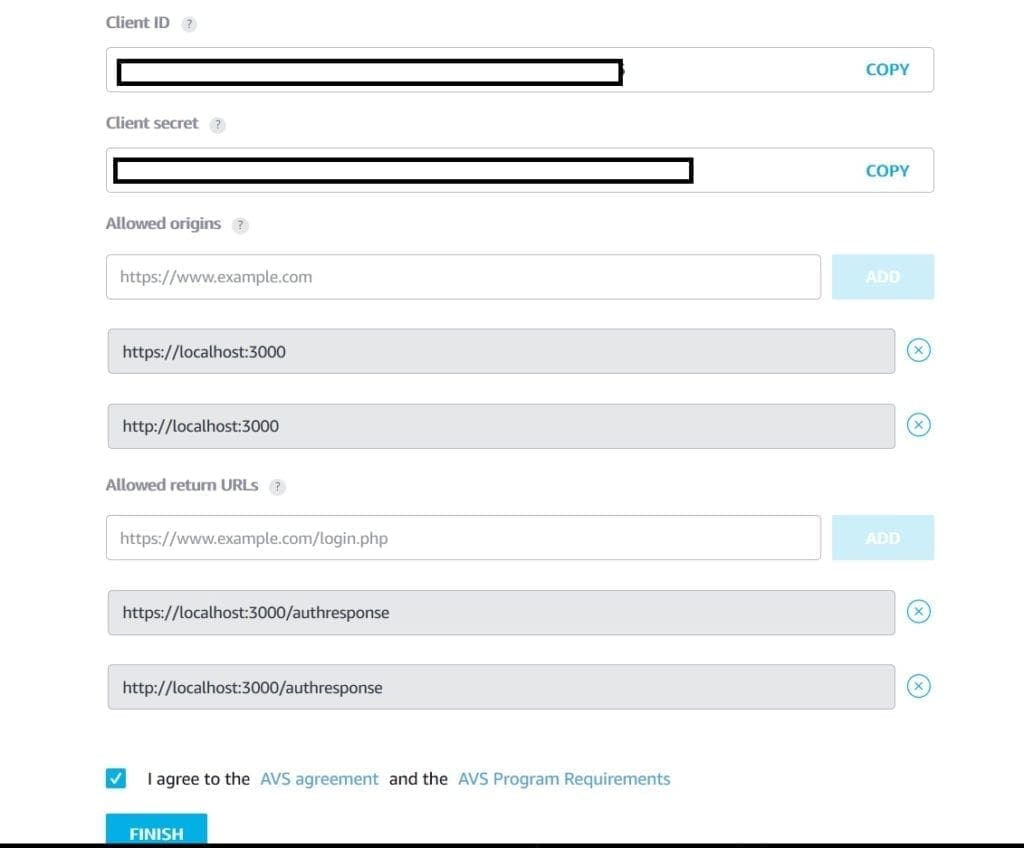
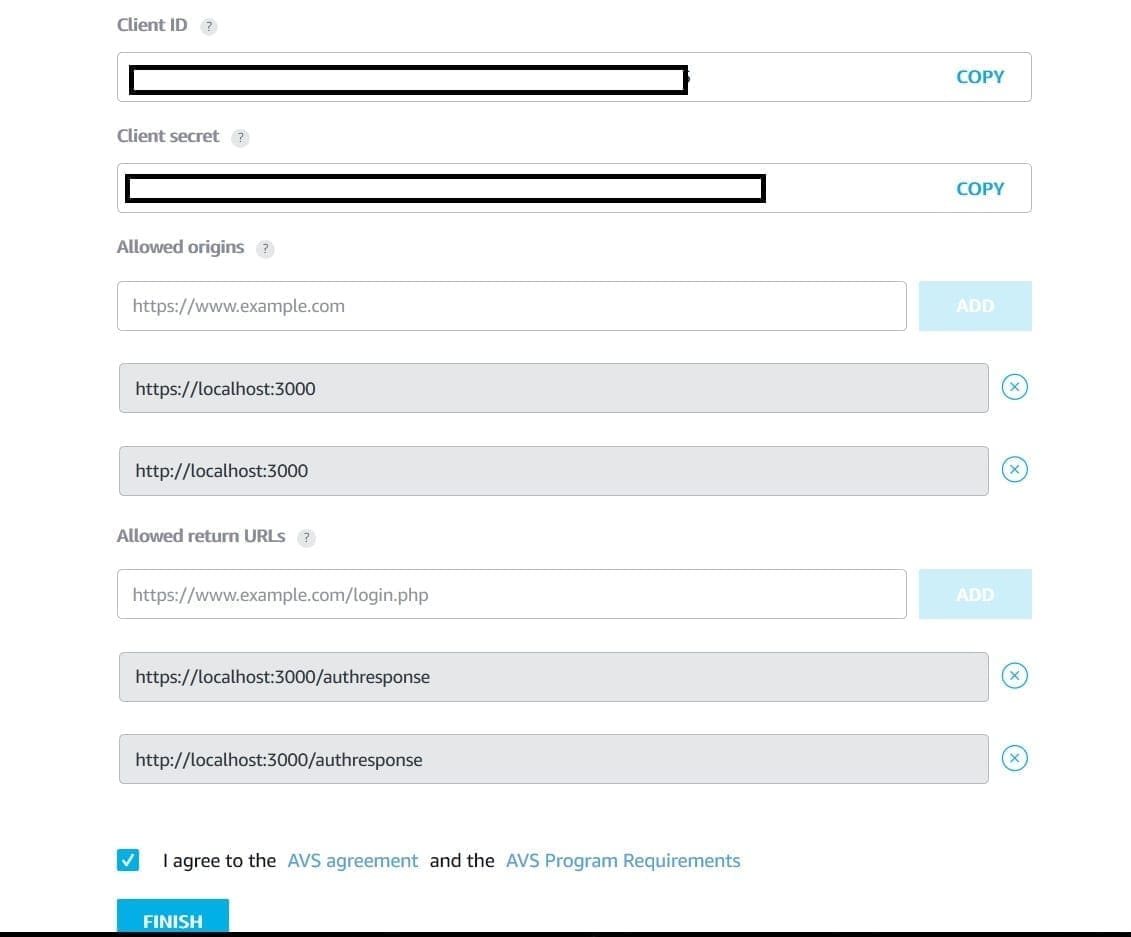
At this point, a Client ID and Client Secret will be generated for you. Take a note of it as we will be using it in the future.
Here we have to add two sets of URLs.
Allowed Origins
http://localhost:3000
https://localhost:3000
Allowed Return URLs
http://localhost:3000/authresponse
https://localhost:3000/authresponse
Click Finish
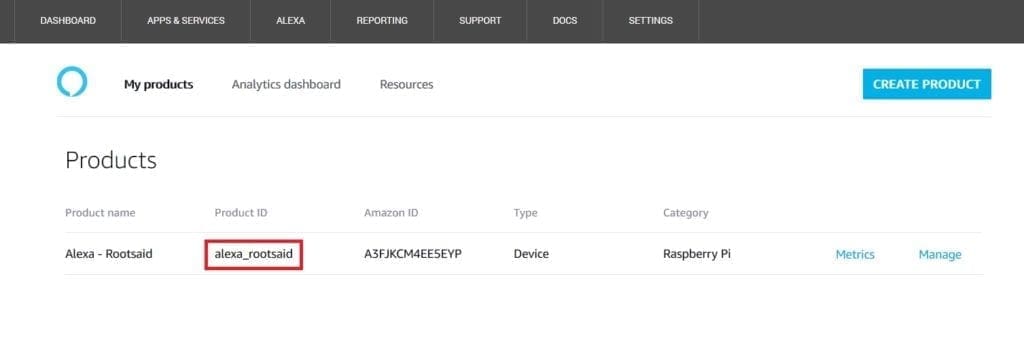
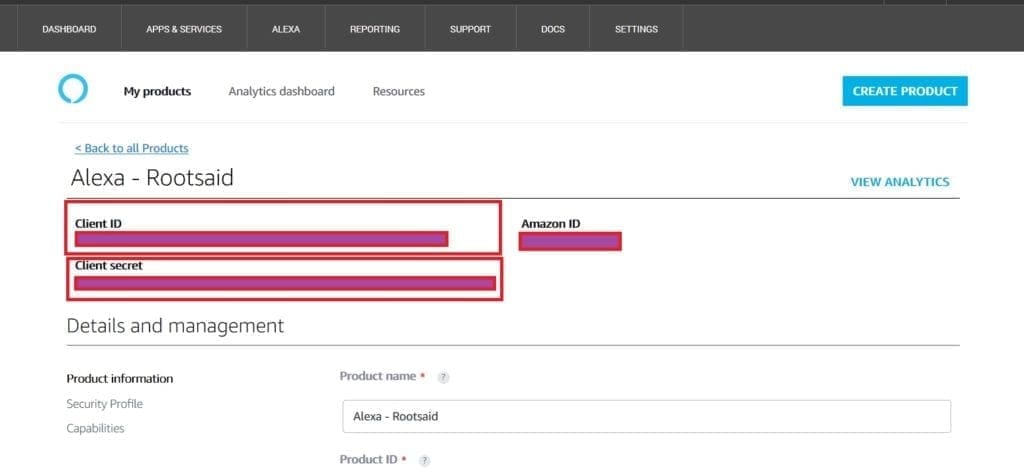
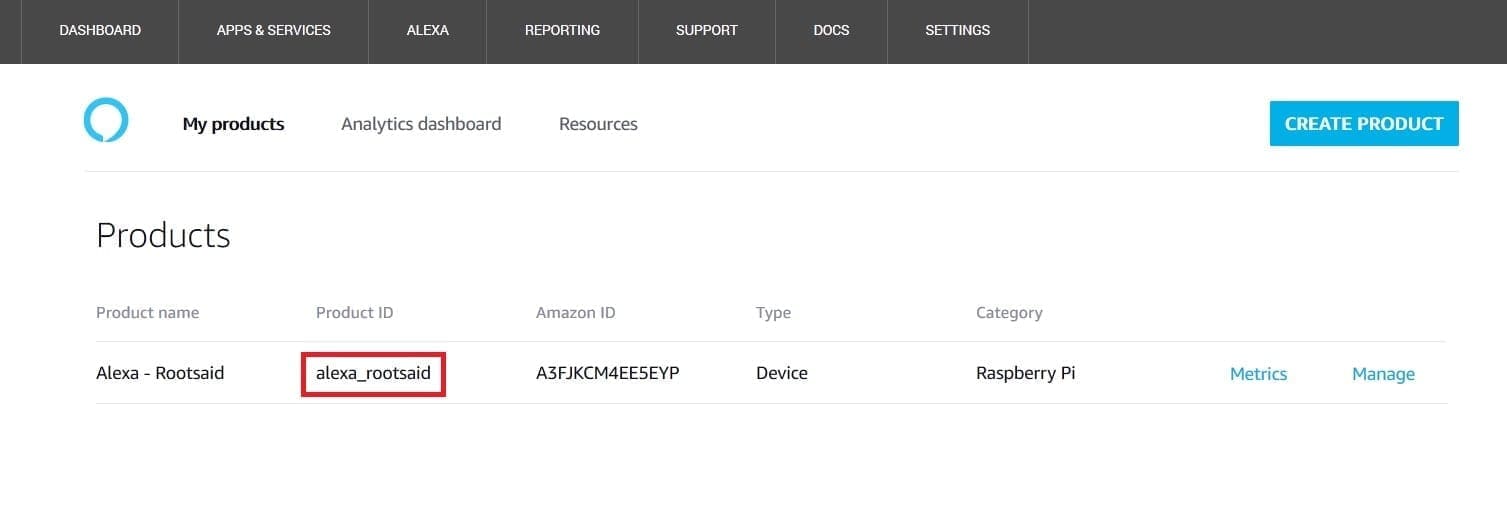
Now your product has been successfully created and newly created Security profile has been linked to your device. In the Products list, you will see your new product and view your product ID.
Click on Manage button and you will see your Client ID and Client Secret.
Now we have ProductID, ClientID, ClientSecret
Step 3 – Installing MATRIX Voice Software
First add the repository and do an update by running the below commands.
[AdSense-C]
Clone the sample app from github and install it using the automated install script.
cd /home/pi/Desktop
git clone https://github.com/matrix-io/alexa-avs-sample-app.git
cd alexa-avs-sample-app
./automated_install.sh
Running MATRIX Voice Alexa
MATRIX Voice Alexa is now completely set up. Now open up 3 Terminals in your Pi
Terminal 1
cd ~/Desktop/alexa-avs-sample-app/samples
cd companionService && npm start
Terminal 2
cd ~/Desktop/alexa-avs-sample-app/samples
cd companionService && npm start
This will open up a new browser window and you will be asked to login using your amazon credentials. You’ll be taken to a Dev Authorization page, confirming that you’d like your device to access the Security Profile created earlier.
Terminal 3
cd ~/Desktop/alexa-avs-sample-app/samples
cd wakeWordAgent/src && ./wakeWordAgent -e sensory
Now you can interact with your MATRIX Voice Alexa.
Try asking the usual question –
Alexa, Whats the time now?
Alexa, How many Kilometers from Washington DC to Miami beach?[AdSense-B]
If you have any doubts, please feel free to open a topic and ask it in our forum.
Rate the ProjectDid you find this page useful? Help us to improve by rating this page.
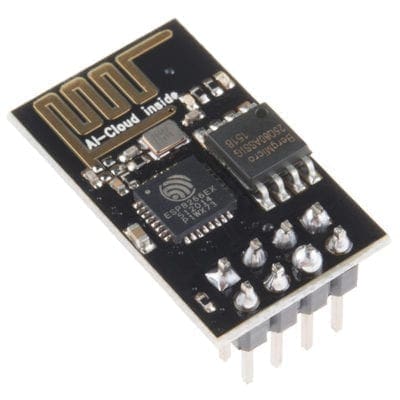
The sudden drop in price of IoT modules and rapid growth of Internet of Things is allowing hobbyists to create new devices at home.ESP8266 is one such module which is specifically designed for IoT projects and costs less than 5$. This module can be used with or without micro-controller. Sponsor Link This Project is Sponsored…
WiFi and WPA Now a days, every office, house, hotel, park, hospital and needless to say everywhere there is wi-fi – Wireless network that enables us to connect our laptops, mobile phones, IOT modules and other smart devices to connect to each other and to internet. But a question still remains – How secure…
In the last post, I showed you how to build Google assistant in Raspberry Pi and integrate Google Assistant to IFTTT. In this tutorial, I will show you how to build a robot that can be controlled using Google Assistant. You don’t have to worry if you don’t have Google Assistant installed in your Raspberry…
Remote Access without Port Forwarding – SSH from outside LAN In this tutorial, I will show you how you can gain remote access without port forwarding. I will be showing you how you can SSH without port forwarding from outside your LAN and reach your device within the private network! What is SSH? Let us…
In my previous post, I mentioned everything about various types of WiFi antenna and how to position them. Now I will show you how to make a long range WiFi antenna using cheap WiFi Adapter and Scrap Parabolic Dish Antenna. Before going further, let us take a closer look at Dish Antenna and its working….
Can you use Raspberry Pi 4 as a Desktop PC? Here is what I learned while Working from Home during this COVID 19 lock down period.
0 Comments
hi, this helps me a lot!!!
still i gotta ask a single question.
in the progress of opening 3 terminals and typing the codes in the article, codes going in terminal 1 and terminal 2 looks exact same to me… and when I really type it with my raspberry pi, it says port 3000 already used(terminal 2). Do you know why this happens?