Voice Controlled Door Lock using Alexa and Arduino
Introduction to Voice Controlled Door Lock
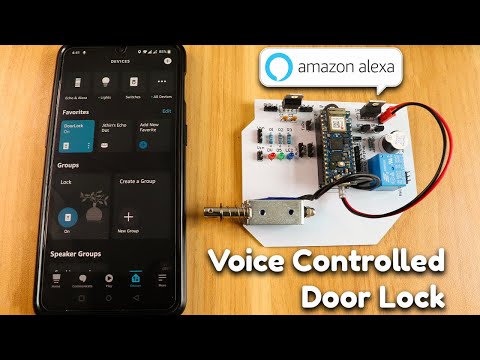
Hey guys, welcome back, in this video, we will be making an Alexa-controlled Door locking system, with which we can lock and unlock a door using voice commands. Designing, making, installing, and making use of this lock is super easy, so not only do they improve the safety and convenience of your home, but they also make their installation and use more convenient.
Let’s get started! So let’s start with the circuit! I used Altium designer to draw the circuit and design the PCB. Here we are in Altium designer. Here I will be using a Solenoid door lock that works on 12 V, so I will be connecting a 12 V DC adapter. The input power is connected to a 7805 regulator. 7805 is a 5V regulator which will convert an input voltage of 7- 32V to a steady 5V DC supply. There are indicator LEDs across various points for easy troubleshooting.
Alexa Door Lock Circuit
Here, there are 2 switches. One is a Relay that is turned on by a transistor BC547, whose base is connected to Digital Pin 3, and then there is a MOSFET that is connected to digital pin 5 of the Arduino. Here you should also see a buzzer that is turned on and off by this transistor right here. This transistor is connected to digital pin 6 of the Arduino.
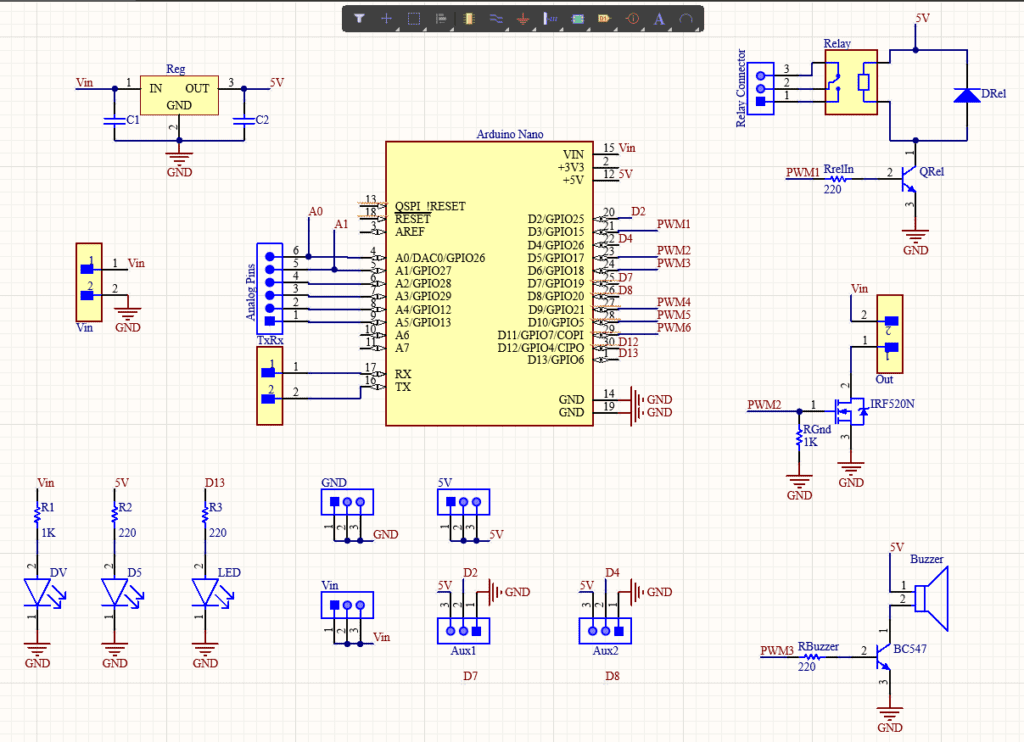
You can either connect the lock to the MOSFET or the Relay which can be turned on and off programmatically. I decide to connect the Lock to the MOSFET so that I can connect some other device like a bulb or something to the relay. You can use the other switch to connect any additional devices like a lamp or a motor to open the door.
This is just my design, Like I said earlier, I will provide the schematics in the description so that you can redesign the entire thing, customize it and then make your own version of it. Or you can make my version as such. Whatever you do, first thing is to try it out on a breadboard. Once you are getting the output, then you can use it as such or make your PCB.
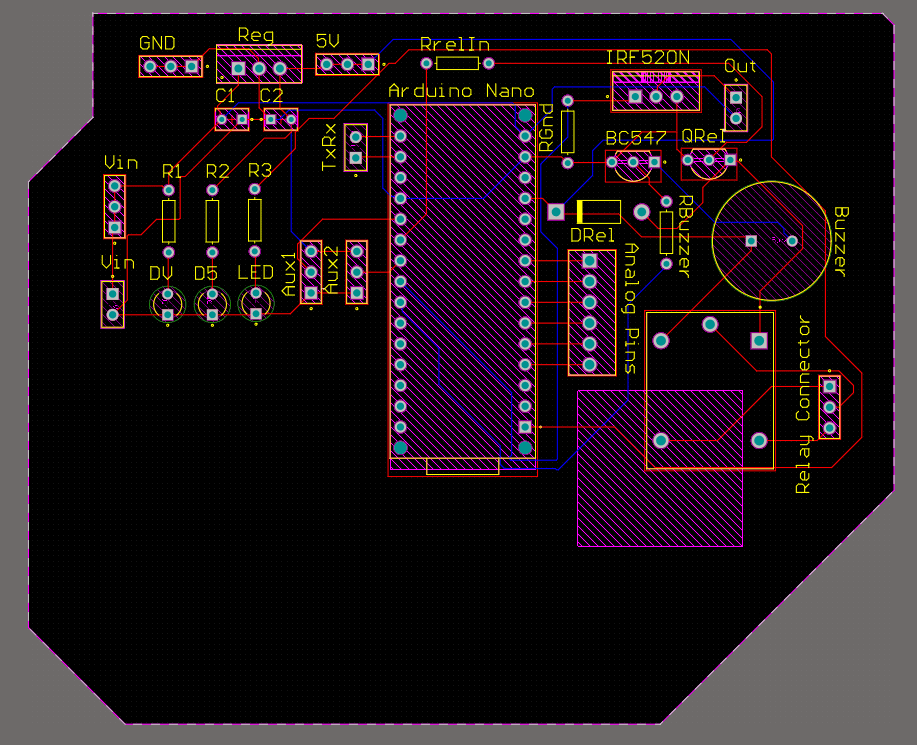
I decided to go with the PCB. I have designed a PCB layout where you can easily mount your Arduino Nano RP 2040, relays, MOSFETs, and other components, set this up without using messy wires and cables hanging around. And it’s cool to make your own PCBs for your project right? The board is lightweight and can be powered using a 9V battery or a 9-12 V power adapter depending on the Solenoid Lock voltage.
Getting the PCBs Done
I ordered PCB from PCBWay. PCBWay is a PCB manufacturer specializing in PCB prototyping, low-volume production, and neat and tidy PCB assembly. If you are interested in making your own PCBs for your project, check out the link below. You can get a 5-dollar discount when you sign up using the link below and get an additional 5-dollar discount at the checkout by providing the coupon code PCBWayLab.
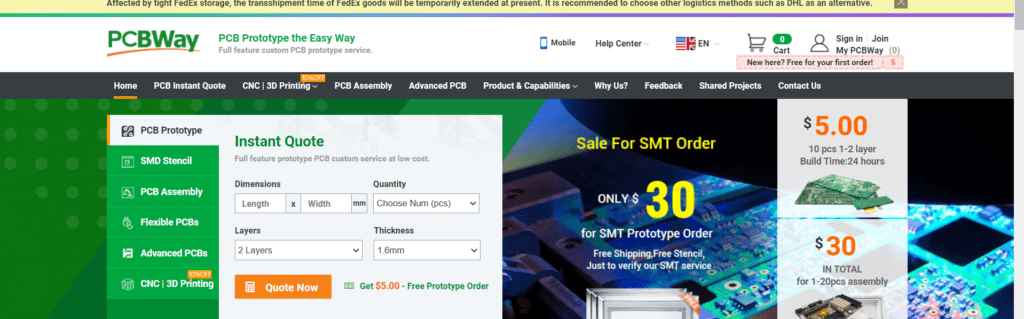
To order your PCB from PCBWay, go to the PCBWay website and fill in the basic board details in the instant order form. From there you will be directed to a form where you can provide more elaborate board details. Update your board information in the PCB specification screen. On the next screen, you should be able to upload your Gerber file and submit it for review. Once the review is completed, all that is left is to add to the cart, make payment, and wait for your PCBs to arrive.
Once you get all the components and the PCB, it’s time for you to solder them together. Solder all the components onto the board and make sure to check the polarity of the components. After soldering the PCB looks like this.
Programming Door Lock using Arduino Cloud
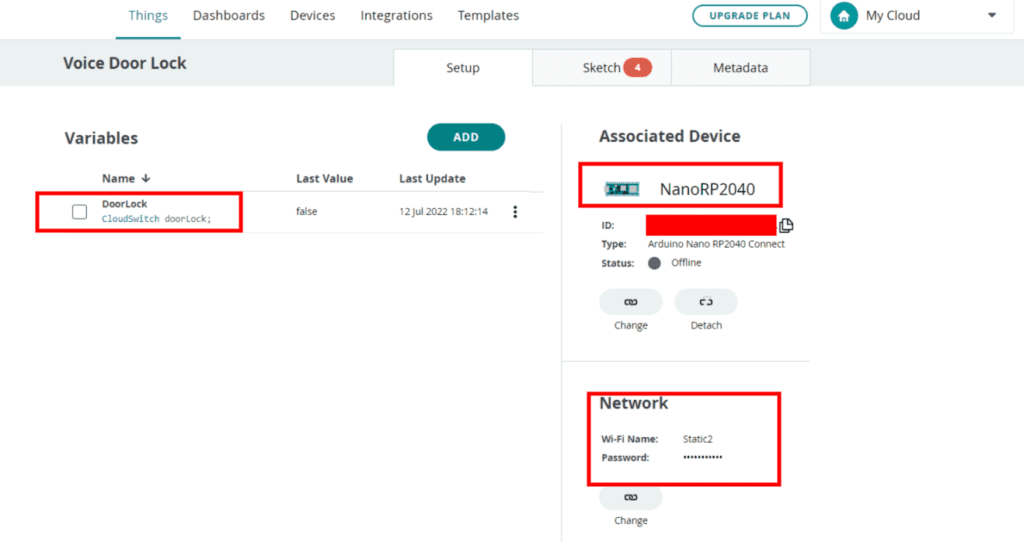
Now, let’s get down to the software part. Here, I will be programming the board using Arduino IoT Cloud. Here we have created a new project or “thing” for our voice door lock and created a boolean variable for switching that is compatible with Alexa devices. Then we have attached an Arduino Nano RP2040 Board.
This is the page where you will be able to see complete details about your project. Here you will see complete details about your project like the board attached, variables, network, sketch, etc.
Coding our Door Lock to work with Alexa
The advantage of using Arduino IoT cloud is once you have set up your thing and all the variables it will automatically generate a skeleton code that will include all the variables and critical function which is required to run the code. We just have to add extra variables and functions.
#include "thingProperties.h"

void setup() {
  Serial.begin(9600);
  delay(1500);
  pinMode(LED_BUILTIN, OUTPUT);
  pinMode(5, OUTPUT);
  pinMode(6, OUTPUT);

  initProperties();

  ArduinoCloud.begin(ArduinoIoTPreferredConnection);
  setDebugMessageLevel(2);
  ArduinoCloud.printDebugInfo();
}


void loop() {
  ArduinoCloud.update();

}

void onDoorLockChange()  {
  if (doorLock == 1)

  {
  beeper();
  beeper();
  beeper();
  beeper();
  digitalWrite(LED_BUILTIN, HIGH);
  digitalWrite(5, HIGH);

  }
  else if (doorLock == 0)
  {
    beeper();
    beeper();
    digitalWrite(LED_BUILTIN, LOW);
    digitalWrite(5, LOW);
  }

}

void beeper()
{
    digitalWrite(LED_BUILTIN, HIGH);
    digitalWrite(6, HIGH);
    delay(100);
    digitalWrite(LED_BUILTIN, LOW);
    digitalWrite(6, LOW);
    delay(100);
}
Now I will be removing all unnecessary comments so that they will look, neet. And here are our final code guys now let’s take a deeper look into it.
In the setup function, we will initialize the serial communication, communication with the Arduino cloud, set the pin mode, and then prepare the carrier to run the remaining code.
This function will run when there is any change in the variables. When the values changes, the function will run. So we are simply toggling the pin that is connected to the door lock when we get a command from Alexa. Here I have added some beeping functions as well. That was really simple, right?
Add your Alexa Lock
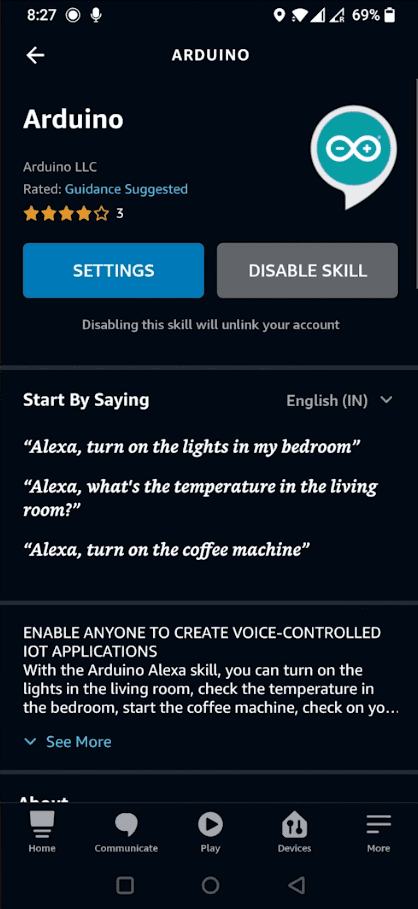
Now, take out your smartphone and launch Alexa App. Go ahead and install the Arduino Skill for Alexa and link your account.
Now tap on discover devices. It will start scanning for any IoT-based Alexa-supported devices. Once the scan is completed, it will show you the variable we created earlier as an Alexa device. Simply add the device. That’s it, guys.
Testing
Now, you should now be able to control the lock using your voice command via Alexa. You can use Alexa in your mobile phone app as well as Amazon devices like Echo dot to talk to Alexa and control these devices. If you like this project and really interested in building amazing DIY projects make sure you subscribe to our channel by hitting the subscribe button here.