MATRIX Voice Alexa Robot using Raspberry Pi
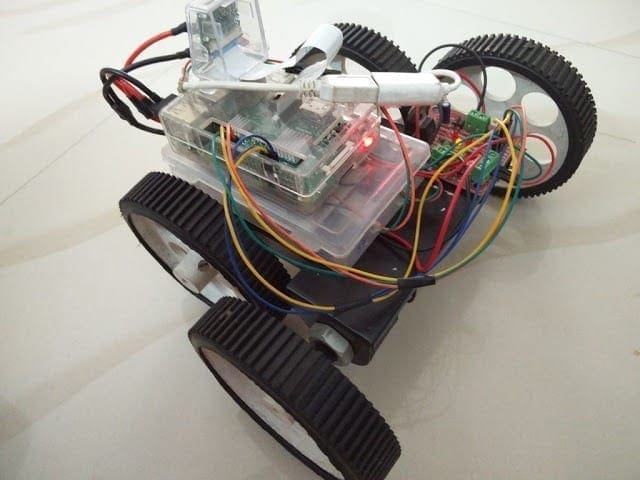
In the previous post we showed you how to create a home automation system using MATRIX Alexa. Now we have decided to take it to the next level. He tinkered around with the code and made a Robot that can be controlled via MATRIX Alexa; A Matrix Voice Alexa Robot – A four wheeled robot that can be controlled via MATRIX Alexa. In this post we will sharing how to make one from scratch.
Matrix Voice Alexa Robot
Components Needed
- MATRIX Voice / Creator
- Raspberry Pi 3 (Click to Purchase)
- Speaker (Click to Purchase)
- Micro SD Card (Click to Purchase)
- Active Internet Connection
- L293D Motor Driver
Prerequisites
Before starting the project it would be better if you know a little bit about the components and boards used in this project. Let us get familiarized.
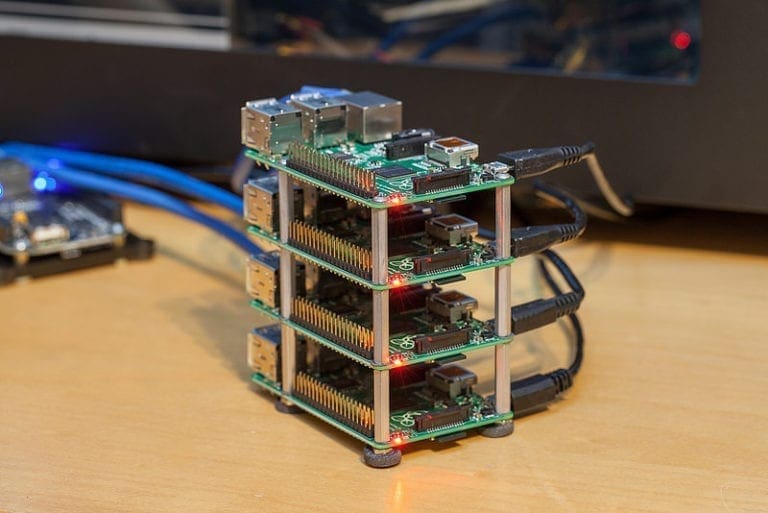
Raspberry Pi

Raspberry Pi is small credit card sized, light weight and compact computer available which is used by both professions, hobbyist and of course hackers alike. This mini computer can do (almost) any thing a normal linux machine can do. It is widely used in various industries, robotics, home automation projects.
MATRIX Voice
This little development board consist of a radial array of 8 MEMS microphones, 18 RGBW LED’s and 64 GPIO pins, which is linked to a Xilinx Spartan6 FPGA and 64 Mbit SDRAM. This provides the hobbyists and developers a wonderful opportunity to add custom voice and hardware-accelerated machine learning technology In no time.
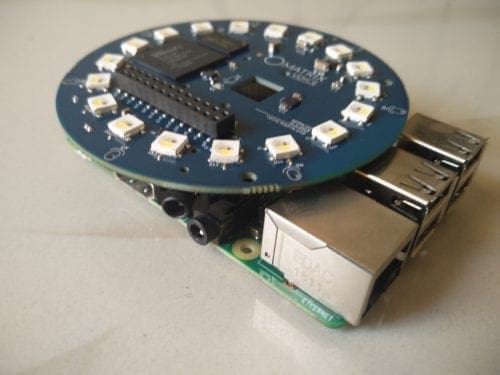
An advanced version of this MATRIX Voice is also available employing a ESP32 Wi-Fi / BT chipset which will enable users to easily connect to the network or other devices via WiFi and Bluetooth in no time.
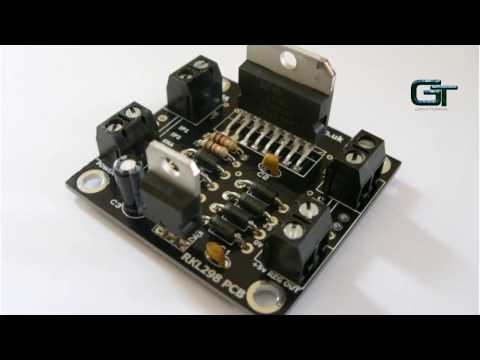
H Bridge and L293D Motor Driver
An H-bridge is simply any circuit that allows a voltage to be applied across terminals of a resistance (in our case motor) in both direction without changing the hardware or rewiring. These circuits are most commonly used in robotics and other applications in order to rotate DC motors to to rotate them in either direction.
Click Here to Learn the working of an H Bridge Motor Driver
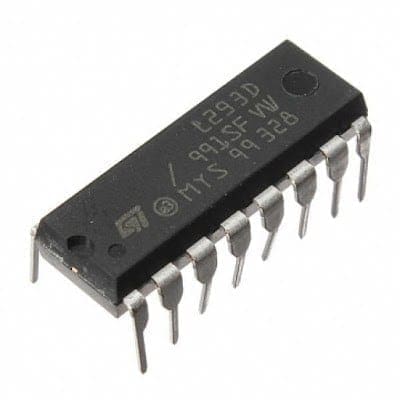
L293D is one of the most commonly used Motor Driver IC which allows DC motor to be driven on both direction. L293D is a 16 pin IC which can control two DC motors at the same time in any direction. It allows you to control two DC motor with a single L293D.
Lets Get Started
The Chasis
First thing to do is build a the chassis for WiFi Robot using Arduino. You can build it the way you like. Only think you should keep in mind mind is, it should have enough space for Arduino, L293D Motor Driver and a LIPO battery. For our project, I will be using a 12V LiPo Battery. You can use foam board or aluminium sheet or wood piece for building the base.
These are some of the best robot chassis available for you to build this project. Check out the link below.
Get the Best Robot Chassi Online
Step 1 – Setting Up Alexa
Below link will redirect you to an easy to understand simple tutorial which will help you to set up Alexa on your Raspberry Pi using MATRIX Voice.
Now, you should be able to tell the Wakeword “Alexa” and communicate with it. You can proceed to next step.
Step 2 – Setting Up Ngrok
Next thing you have to do is set up ngrok. ngrok is an awesome service that enable us to connect to any device (inside LAN or internet facing) through any network with out port forwarding. The below tutorial explain everything you need to know about ngrok and set up one yourself.
Access Local Device without Port Forwarding – Ngrok Working & Setup
Repeat Step 1, 2, 3 and 4 of the above tutorial.
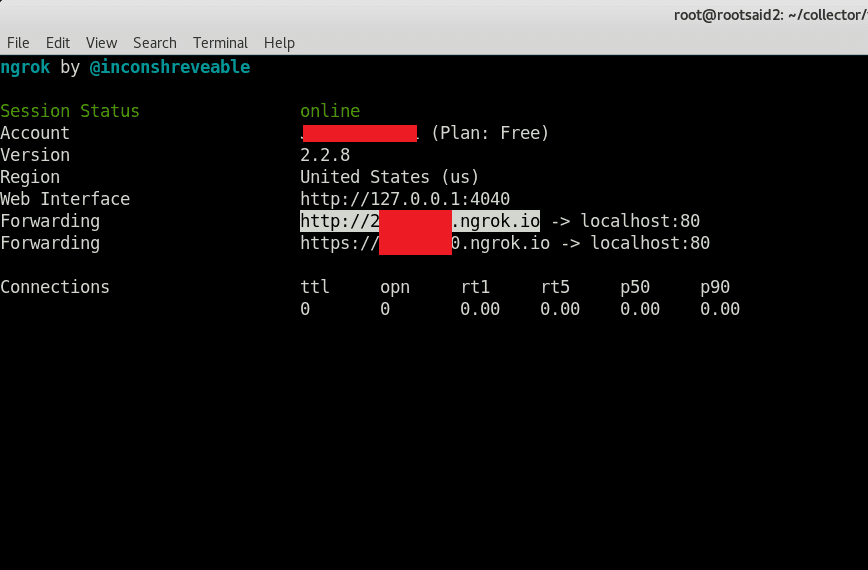
Now you will have a ngrok URL which can be accessed from anywhere around the world.
Step 3 – Setting Up IFTTT
IFTTT or If This Then That is simply a platform, that interlinks various devices, apps and services that allows us to do what we want to do. It helps us to automate and arrange various tasks and services in an efficient and a user friendly manner.
The below tutorial explain everything you need to know about IFTTT and set up one yourself.
IFTTT communicates with Amazon Alexa by linking it with the developer account. When we say a specific phrase to Alexa, it will be sent to IFTTT an action will be trigggered.
Follow this step and create an account in IFTTT.
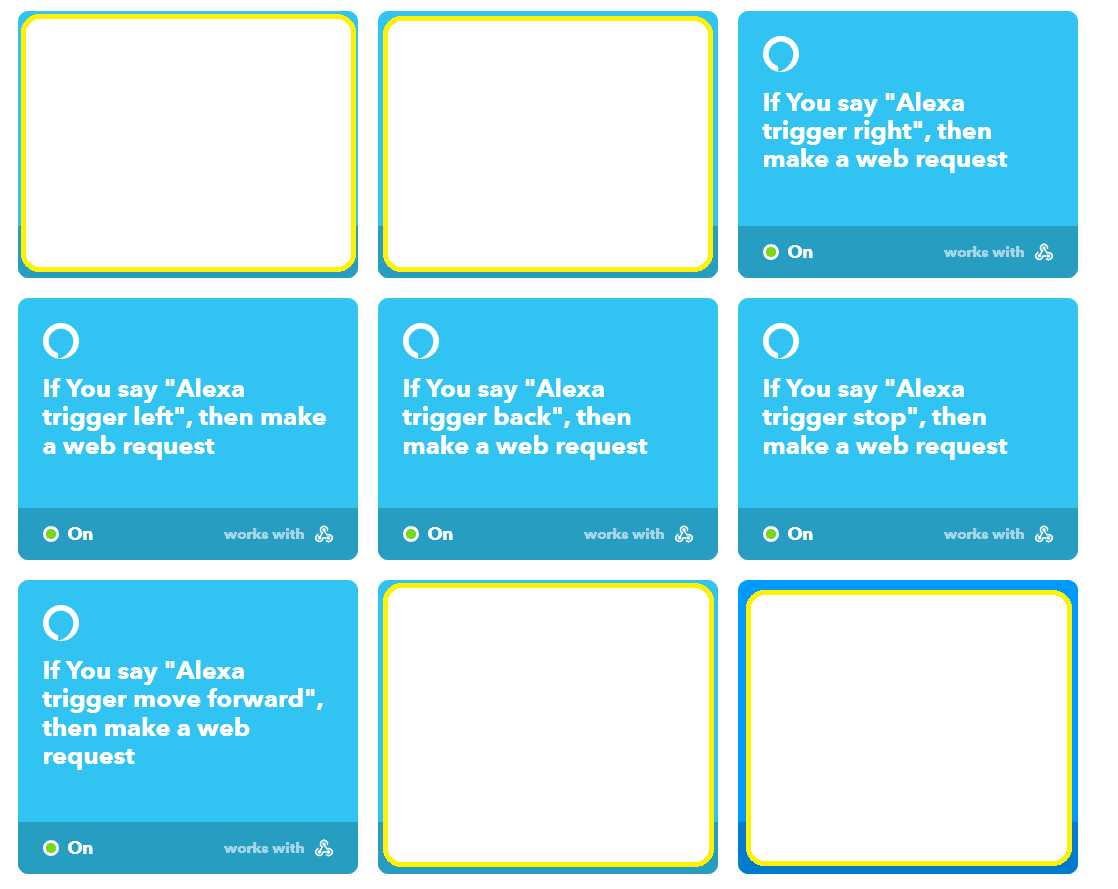
Now Create an applet as shown in the below image

What this applet do is it will send a web request to “http://6ff769b5.ngrok.io/forward” if you say “Alexa trigger move forward” which will make your Matrix Voice Alexa Robot move forward. Similarly create Applets to stop the bot, move backward, left and right as shown in below figure.
Step 4 – The Code
Matrix Voice Alexa Robot code is available on github. You can download using the below link.[AdSense-A]
[Download]
Make sure you have installed flask. If not, you can install it by
pip install flask
Step 5 – Connections
In L293D IC there are two pins for providing voltage. One is for the working of the internal circuit of the IC and the other is the power supply for driving the DC motor.
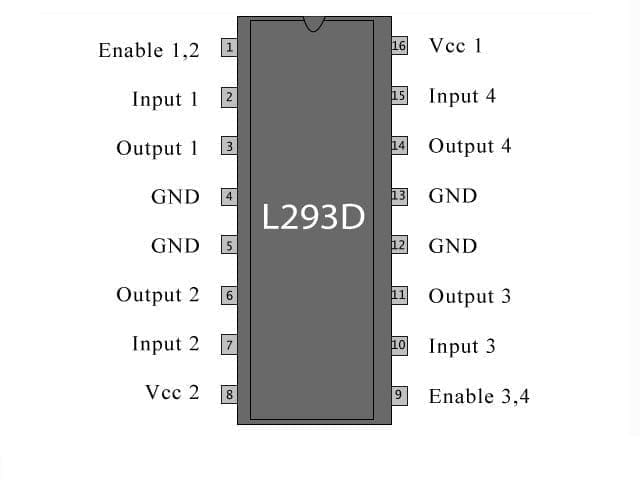
Pin 8 is for Power Supply Driving the Motor – 5 V to 32 V
Pin 16 – is for Internal working of the components with in the IC– 5V
If you happen to reverse this, then believe me the IC may Burn Off.
One side of this IC Controls the one motor and the other controls the second motor. For the motor to work, the Enable pin of that side should be High.
This pin can be used to control the speed of the motor using PWM (Pulse Width Modulation).
Shown below is the pinout diagram of MATRIX Voice to connect the relays in your Matrix Alexa Robot.
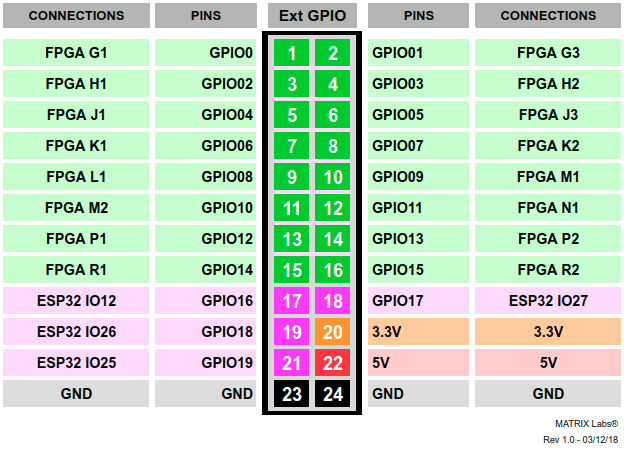
Use any of the 4 GPIO pins and connect it to L293D. In the code, I am using Pin 33 and 11 for enable pins, 13 and 15 for Motor 1 and 29 and 31 for Motor 2.
Motor 1
Enable 1 – GPIO 11
In 1 – GPIO 13
In 2 – GPIO 15
Motor 2
Enable 2 – GPIO 33
In 3 – GPIO 29
In 4 – GPIO 31
Roll Out
Once all the connections are complete, run the python code you downloaded from github.
Now your Matrix Voice Alexa Robot is all set up and ready for action. You have Alexa running in your Pi with MATRIX Voice, ngrok running, and a flask server up and running. Now try saying.
Alexa, Trigger Move Forward
This should make both of the motors to rotate in the same direction move the bot forward.
Now try saying.
Alexa, Trigger stop
This should stop the bot.
Now you can add more actions in your Matrix Alexa Robot by adding some more applets in IFTTT and a little bit of tinkering in the code. Feel free to edit the code. If you are stuck at somewhere, you can use the forum. We will get back to you.
Rate the Project
Did you find this page useful? Help us to improve by rating this page.
[RICH_REVIEWS_FORM]
[RICH_REVIEWS_SNIPPET stars_only=”true”]


Hi there, I’m highly interested by this tutorial, thanks for making it. I was just wondering, when I’ll create the applets, can I use a local IP address?
Thanks 🙂