Program Raspberry Pi Using Arduino – Arduino Now Supports Raspberry Pi
Yes, you heard that right. You can now program Raspberry Pi using Arduino. This was announced in the Embedded Linux Conference 2018, a milestone in the expansion of the architecture support by Arduino Create coding, development and deployment of IoT applications.
Evolution of Arduino has always been a miracle to all competitors around the world. The development and support of Arduino community have enabled enthusiasts to reach out and learn new technologies in a matter of minutes. Where as Raspberry Pi, in the credit card sized, light weight and compact computer available which is used by professions, hobbyist and of course hackers alike for industrial use as well as home. This mini computer can do (almost) any thing a normal linux machine can do. It is widely used in various industries, robotics, home automation projects.
“With this release, Arduino extends its reach into edge computing, enabling anybody with Arduino programming experience to manage and develop complex multi-architecture IoT applications on gateways,” said Massimo Banzi, Arduino CTO. “This is an important step forward in democratizing access to the professional Internet of Things.”[AdSense-C]
Now you can create and upload codes to program Raspberry Pi using Arduino Cloud platform as if they were regular Arduino boards. One thing to be noted is, you can run multiple arduino programs simultaneously on a Raspberry Pi and even interact with each other to pass variables and other data.
Video Tutorial

You like this video, click the subscribe below to subscribe out youtube channel for future updates.
Program Raspberry Pi using Arduino
Step 1 – Create an Account and get an Arduino ID
First thing you will need to have is an account in arduino website. Follow this link and create an account and verify the account by clicking the link on the mail.

Step 2 – Setup the Raspberry Pi
Download and burn latest Raspbian image to a micro SD card and insert it into the raspberry Pi.
Now power it up with a power adapter that can provide at least 2.5 Ampere. Now fire up your terminal and create a password for the user ‘pi’ by executing the command
sudo passwd pi
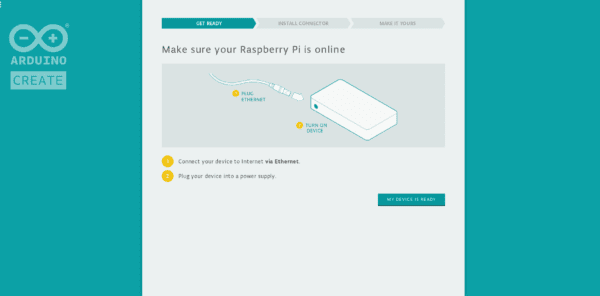
Connect your Raspberry Pi to a WiFi router or Wired network and make sure it is connected by checking whether it is getting an IP address from the switch.
Now perform and update and upgrade by running
sudo apt update -y
 sudo apt upgrade -y
Step 3 – Install the Plugin
Now, go to arduino create and click on Arduino Web Editor. [AdSense-A]Now click on Agree button to agree to all the terms and condition.

In the next page, it will ask you to install the plugin for windows without which this wont work. Click on download plugin and open the executable.

At the end, it will ask you to install the certificate. Click on yes.

If everything is done correctly, you will be automatically redirected to the next webpage. You will be able to see Arduino Create plugin on the taskbar. Click on next and you will be redirected to the online web editor.
Step 4 – Install Arduino Connector Software
Arduino Connector is a software that enables communication between you Raspberry Pi and Arduino Create via the cloud.
Once the set up is complete, just perform a reboot (Optional). You will now be able to reach your device from online IDE, write codes, include libraries in your code and program Raspberry Pi using Arduino. [AdSense-B]
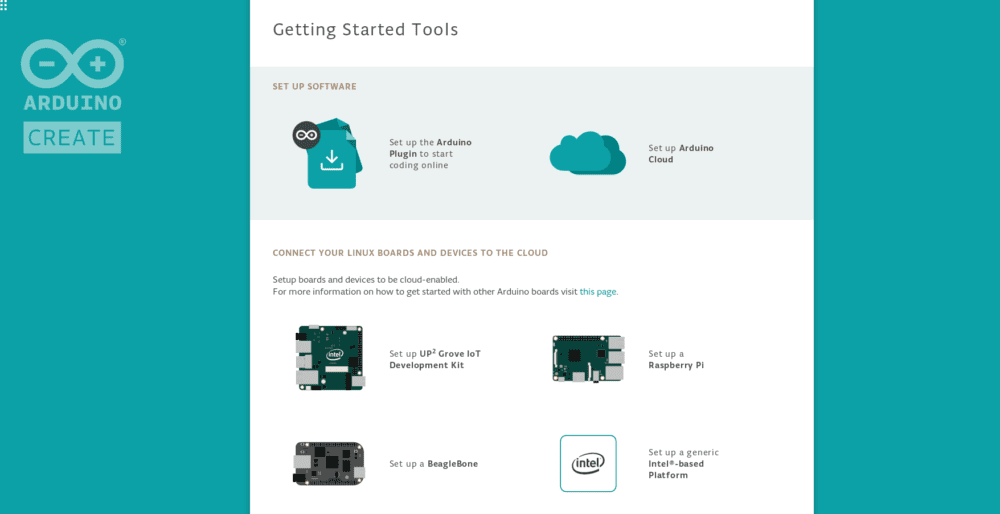
For more Details, visit – https://create.arduino.cc/getting-started
Rate the Project
Did you find this page useful? Help us to improve by rating this page.