Arduino Controlled Two-Stroke to Steam Engine Conversion
About the Author
Name: Alexander James Reed
Meet Me @ Facebook
Videos @ YouTube
Introduction
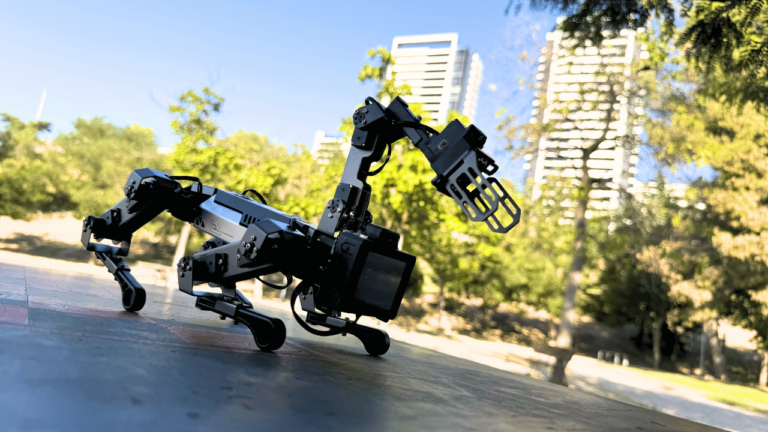
This is my two stroke 33cc petrol strimmer engine to steam engine conversion project. The attached video shows the engine running flat out (720rpm at peak).


However, it does have an rpm governor feature and will run for 10 minutes+ (until the water runs low) at about 500 rpm.
Video Demo

Click the Subscribe YouTube button above for Demo and Complete Tutorial that I will be posting soon.
Components Required
Important components:
- 1 x Arduino Uno R3 (Or better);
- 2 x Relay modules, used to turn the solenoid valves on and off;
- 2 x hall effect sensors. One for top dead center, and one for bottom dead center.
- 1 x Car battery, used to power the 12v solenoid coils;
- 2 x Flyback diodes (for dissipating EM after the solenoid coil has fired and shut off);
- 1 x Aluminum two-stroke engine block (all ancillaries removed) – the one used here is a 33cc block from an old strimmer/weed whacker, and it should be noted that the engine block must be all-aluminum, including the bore/cylinder liner, otherwise it will rust and seize-up in no time;
- 1 x Prestige Hi-Dome 6L pressure cooker rated to 300KPA (45PSI);
- 2 x Tameson EPDM steam rated solenoid valves; and
- 1 x Steam Pressure Gauge – Steam under pressure can be VERY dangerous if it gets out of hand, so you must have a way of monitoring this.
Other components – these will depend on the engine block used, positioning and how compact you want the overall unit to be:
- 1 x 15mm by 1meter copper tube;
- Various compression fittings such as elbows, t-pieces and adapters to connect the pipework from the pressure cooker to the valves and then down to the block itself;
- Material required for building a frame on which to rest the block;
- Some kind of flywheel – I used an old brake disc from a Golf TDI for this; and
- A heat source to heat the pressure cooker – I used a cheap butane gas camping hob.
The Path
The steam engine utilizes two electronic solenoid valves in order to inject and then exhaust the steam pressure at the correct times. These valves are controlled using an Arduino Uno R3 running a custom ECU program developed by myself.
One of the first discoveries I made about this kind of conversion is that without the additional exhaust valve power is lost during the compression stroke as the piston tries to compress any remaining steam, thus slowing the engine down. All the similar two-stroke to steam engine projects that I have seen, seem to use just one intake valve; this set-up is highly inefficient. The solenoids are powered by a 12v car battery with isolating relays between the solenoids and the Arduino.

The ECU adjusts the injection advancement based on the current RPM. Without this, the engine would be far less efficient. The engine’s RPM is calculated using a hall-effect sensor as a pickup at TDC. There is a secondary hall-effect sensor, but this is more of a safety mechanism and is also used for self-launching. Once launched, only the TDC sensor is utilized, and the valve timing is calculated based on the last time-for-revolution in microseconds. This timing is performed by the ecu program for optimum performance.
The pressure vessel is a Prestige 6l pressure cooker. The markings on the bottom, and the user manual, suggest a maximum safe pressure of 300kpa or about 45PSI/3 Bar. I run this engine at about 25-30psi. It will run just fine at 15psi but not quite so fast (which is only to be expected).


The pressure vessel is heated using a butane gas camping stove.
All valving and piping is rated well above my target pressure of 30psi/134.5oC.
Steps
I will be putting together step by step instructions at a later date, once further progress has been made.
Conclusion
This project has been great fun so far, but is still very much in its early stages. I am in the process of perfecting features like the RPM target control, the injection-length-based control (to work much like a throttle in a car), hit and miss running for increased fuel economy, and hooking up an alternator to both charge the car battery and power the Arduino.
The end game is to fit this to a train locomotive that I am building and to use this to pull a train along. I have already started construction of the railway and the locomotive base, but have yet to fit the engine and hook up the drive-train.