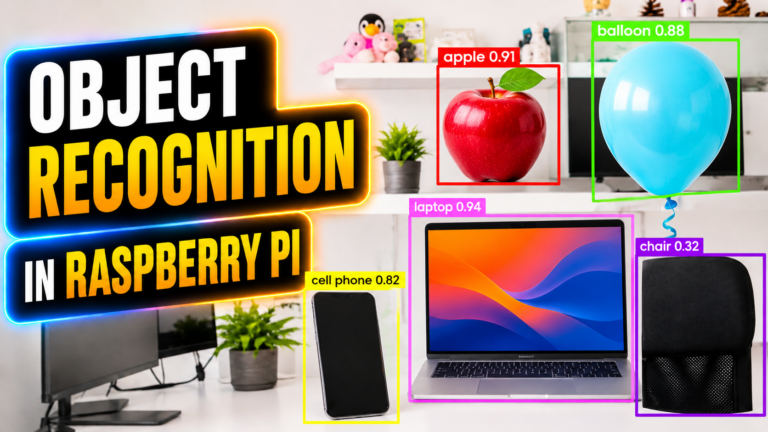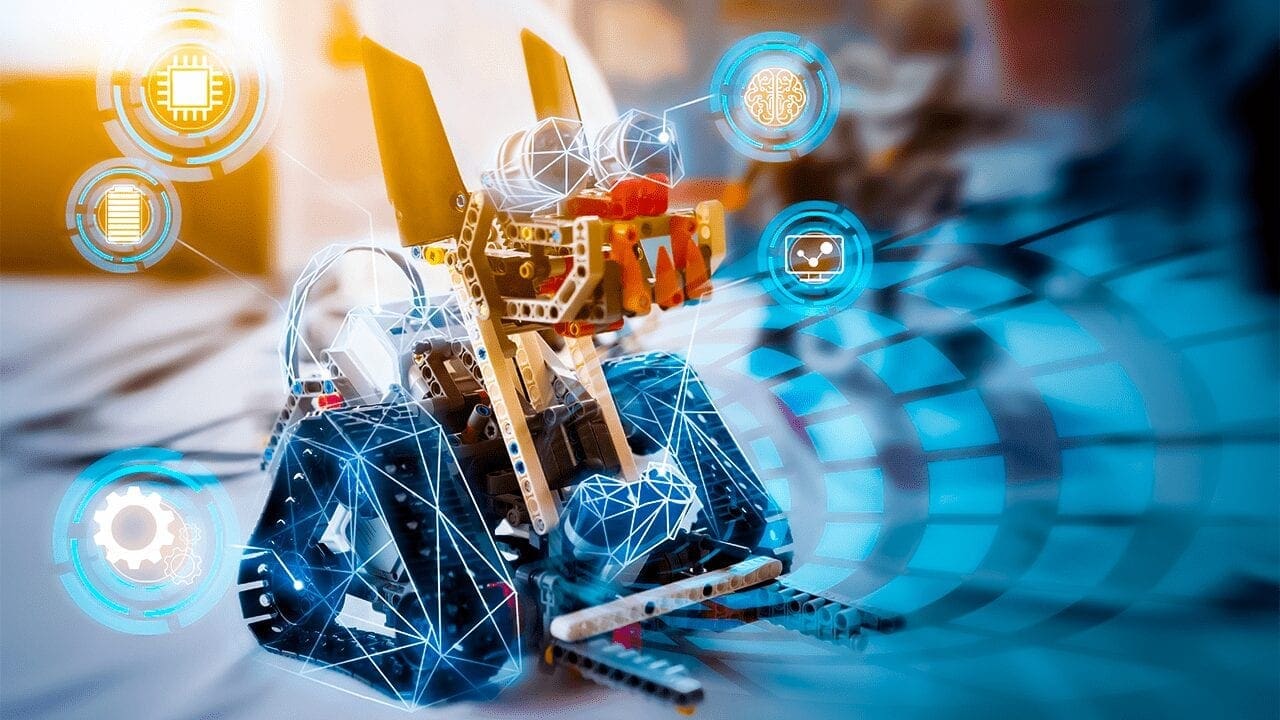
These are the Top 11 Things You can do with your Raspberry Pi 5, 4 and Zero
Raspberry Pi for Everyday Use – Pi can be used for any purpose and can do amazing jobs. Let’s see what you can do with your Pi.
Last Updated: April 8, 2026 | Raspberry Pi OS Bookworm (Debian 12) | Applies to Pi 4 and Pi 5
The Raspberry Pi is one of the most versatile single-board computers ever made. For under $80, you get a full Linux computer with GPIO pins, WiFi, Bluetooth, USB 3.0, and enough processing power to run AI models, stream 4K video, host a web server, and control robots — all from a board the size of a credit card. This guide covers the most practical and exciting things you can do with a Raspberry Pi in 2026, with links to full step-by-step tutorials for each project.
Table of Contents
- Use It as a Desktop PC
- Build a Media Centre
- Retro Gaming Console
- Build a Robot
- Home Automation and IoT
- Run AI Locally
- Smart Mirror
- Personal Web Server
- Home Surveillance Camera
- Learn to Code
- Access It From Anywhere
1. Use It as a Desktop PC
The Raspberry Pi 4 and Pi 5 are capable enough to handle everyday desktop tasks — web browsing, writing documents, watching videos, and light programming — all from a device that costs a fraction of a laptop. With Raspberry Pi OS Bookworm installed, you get a full desktop environment including the Chromium browser, LibreOffice, a file manager, and a terminal out of the box.

The Pi 4 with 4 GB RAM handles a handful of browser tabs and document editing comfortably. The Pi 5 with 8 GB RAM is a significant step up — it feels noticeably faster for multitasking, coding, and running development tools. For the best desktop experience, connect an NVMe SSD via the Pi 5’s PCIe slot instead of relying on a microSD card — the difference in load times is dramatic.
What you need: micro-HDMI to HDMI cable, USB keyboard and mouse, monitor or TV with HDMI input, and the official power supply. The Pi 4 uses a 15W USB-C supply and the Pi 5 uses a 27W USB-C supply — do not substitute a phone charger as it will cause under-voltage throttling.
2. Build a Media Centre
The Raspberry Pi makes an excellent low-power, always-on media centre. Connect it to your TV via HDMI and use it to play movies, music, and TV shows from a USB hard drive, NAS, or streaming services. The Pi 4 and Pi 5 both support 4K video playback and hardware-accelerated H.265 decoding, which makes them capable of handling high-quality video without dropping frames.

The most popular media centre software options for Raspberry Pi are Kodi, Plex Media Server, Emby, and LibreELEC (a minimal OS built specifically to run Kodi). Kodi is the most widely used — it has a polished 10-foot interface designed for TV viewing, supports almost every video and audio format, and connects to network storage seamlessly. LibreELEC turns your Pi into a dedicated Kodi appliance that boots directly into the media centre interface with no desktop underneath, which makes it faster and more stable for that single purpose.
Power consumption is one of the most compelling reasons to use a Pi as a media centre. A Pi 4 under video playback load draws around 3–5 watts — a fraction of what a dedicated media player or NAS device consumes running 24/7.
3. Retro Gaming Console
For around $60–80 in parts, you can build a retro gaming console that plays thousands of classic games from systems including NES, Super Nintendo, Sega Genesis, Game Boy, PlayStation 1, and many more. The software that makes this possible is RetroPie — a free, open-source project that bundles dozens of emulators under a clean, TV-friendly interface called EmulationStation.
The Pi 4 is the recommended board for RetroPie in 2026. It is powerful enough to emulate PlayStation 1 and Nintendo 64 at full speed, and even handles some PlayStation 2 games reasonably well. The Pi 5 pushes this further — Dreamcast and GameCube emulation become practical. Setup involves flashing the RetroPie image to a microSD card, connecting a USB or Bluetooth controller, and loading ROM files onto the card.
For a more polished build, add a dedicated case that looks like a classic console, a good USB controller (8BitDo controllers are well-regarded), and a fast microSD card so games load quickly. The total cost, including a Pi 4 (4 GB), case, controller, and card, comes in well under £100.
4. Build a Robot
Building a robot with Raspberry Pi is one of the most rewarding projects you can take on. Unlike a microcontroller like Arduino, the Pi runs a full Linux OS, which means your robot can use computer vision with OpenCV, process audio, connect to the internet, and make intelligent decisions — all on the same board that drives the motors.
The GPIO pins are what make robotics possible on the Pi. They let you connect motor drivers, servo controllers, ultrasonic distance sensors, IR sensors, and camera modules directly to the board. A typical beginner robot uses an L293D or L298N motor driver connected to two DC motors, controlled through Python running on the Pi.


We built a two-wheel Raspberry Pi Zero robot using an L293D motor driver with PWM speed control and SSH keyboard driving — the full build guide with circuit diagram and code is here: Building a Raspberry Pi Zero Robot with L293D Motor Driver.
If you want to skip the build-from-scratch stage and start with a kit, see our guide to the best robotics kits for beginners: Top Robotics Kits for 2025 for Beginners. The PiCar-X is particularly well-suited to Pi-based robotics — it includes a camera module and comes with computer vision examples out of the box.
Choosing transistors and MOSFETs for your robot: The commonly sold IRF520N module does NOT work reliably with the Pi’s 3.3V GPIO. See our guide on the best MOSFETs and BJTs for Raspberry Pi GPIO switching for logic-level compatible alternatives.
5. Home Automation and IoT
The Raspberry Pi is one of the most capable platforms for DIY home automation. It can control lights, fans, door locks, irrigation systems, and appliances — all from your phone, from a web dashboard, or through voice commands via Alexa or Google Assistant — without any monthly subscription or cloud dependency.

The most common approach is to connect the Pi’s GPIO pins to relay modules or MOSFET switches that control mains or 12V devices. A Python script running on the Pi listens for commands and switches the appropriate pins on or off. A simple Flask web app running on the same Pi gives you a browser-based control panel accessible from any device on your network.
We built a complete home automation controller using a Raspberry Pi Zero W, two MOSFET switches, and a Flask web console — real circuit, real code, no subscription: Home Automation with Raspberry Pi Zero — MOSFET Switches and Flask Web Console.
For a more traditional relay-based approach using the original Raspberry Pi home automation setup, the foundational guide is here: Build a Home Automation System Using Raspberry Pi.
Home automation is also the entry point to IoT (Internet of Things) — connecting physical devices to the internet and to each other. Every home automation project is in essence an IoT project, and the Raspberry Pi is one of the best platforms to learn IoT concepts on real hardware.
6. Run AI Locally — No Cloud Required
This is one of the most exciting things you can do with a modern Raspberry Pi that was simply not possible a few years ago. Using a tool called Ollama, you can run a large language model — a proper AI that answers questions, summarises text, and helps with coding — completely offline on your Pi, with no OpenAI account, no subscription, and no internet connection required after the initial download.


On a Pi 5 with 8 GB RAM, models like TinyLlama and Phi-3 mini run at a usable speed of around 5–12 tokens per second. Open WebUI gives you a ChatGPT-style browser interface that connects to your local Ollama instance, making it accessible from any device on your network.
We tested this on real Raspberry Pi hardware and documented everything that went wrong — storage filling up, models crashing, Docker issues, overheating — and the exact fixes for each problem. The full tested guide is here: Run AI on Raspberry Pi Locally — Ollama and Open WebUI (2026).
For projects where the AI processing is too heavy even for a Pi 5 — large computer vision models, TensorFlow with OpenCV — the Thin Client approach offloads the heavy work to AWS Lambda while the Pi handles sensors and GPIO. The full architecture and code is here: Pi as Thin Client — Offloading AI to AWS Lambda.
7. Smart Mirror
A smart mirror is a two-way mirror with a display behind it, powered by a Raspberry Pi. When the display is off, it looks like a normal mirror. When it is on, information overlays appear on the glass — the time, weather forecast, calendar events, news headlines, and anything else you configure. It is one of the most visually impressive Pi projects and a genuinely useful piece of furniture.
The most popular software for this is MagicMirror², an open-source project with a huge library of community-built modules. Setup involves installing Node.js and the MagicMirror software on the Pi, then configuring which information modules to display and where they appear on the screen. The hardware side requires a monitor (an old one works perfectly), a two-way acrylic mirror sheet from an online supplier, and a frame to hold everything together.
Advanced builds add a PIR motion sensor so the display activates only when someone stands in front of it, a camera module for facial recognition to switch profiles between household members, and voice control via a microphone connected to a local speech recognition engine.
8. Personal Web Server
The Raspberry Pi makes an excellent always-on personal web server for hosting a website, a blog, a private dashboard, or an internal tool for your home network. It runs on 3–8 watts, which means it costs pennies per month in electricity — far cheaper than a cloud VPS for low-traffic sites.
The standard stack for a Pi web server is LAMP — Linux (already on the Pi), Apache (web server), MySQL or MariaDB (database), and PHP (scripting). Install it with:
sudo apt update
sudo apt install -y apache2 mariadb-server php php-mysql libapache2-mod-php
sudo systemctl enable apache2
sudo systemctl start apache2
After installing, place your HTML or PHP files in /var/www/html/ and they will be served on the Pi’s local IP address. WordPress can be installed on top of this stack to give you a full CMS. For public-facing sites, you will need a domain name and either port forwarding on your router or a Cloudflare Tunnel to expose the Pi to the internet without opening firewall ports.
Python developers often prefer a Flask or FastAPI server instead of Apache — both run well on the Pi and are much lighter weight for API or automation dashboards.
9. Home Surveillance Camera
A Raspberry Pi with the official Camera Module 3 (or a compatible third-party camera) makes a capable IP security camera that streams live video over your network and saves recordings locally — with no cloud subscription or monthly fee. The camera module connects directly to the Pi’s CSI port and is fully supported in Raspberry Pi OS Bookworm through the libcamera stack.
The most capable surveillance software for the Pi is Frigate — an open-source NVR (Network Video Recorder) with AI-powered object detection that identifies people, vehicles, and animals in the camera feed. It runs as a Docker container and integrates directly with Home Assistant. For a simpler setup, Motion is a lightweight option that triggers recording only when movement is detected, saving storage space.
A basic outdoor build needs a Pi (Pi Zero 2 W works well for a single-camera node), a Camera Module 3 Wide, a weatherproof enclosure, and a Power over Ethernet (PoE) HAT to eliminate the need for a separate power cable at the camera location.
10. Learn to Code
Learning to code on a Raspberry Pi has a significant advantage over learning on a laptop: you can immediately apply what you learn to real hardware. Writing a Python loop is more meaningful when it controls an LED. Understanding functions is more engaging when those functions make a motor move. The physical feedback makes abstract programming concepts stick.
Raspberry Pi OS comes with Thonny IDE pre-installed — a beginner-friendly Python environment that is much less overwhelming than VS Code or PyCharm for someone just starting out. It has a built-in debugger, a visible variable inspector, and direct MicroPython support for the Raspberry Pi Pico.
The recommended learning path for beginners on RootSaid is: start with Python GPIO control (blinking an LED, reading a button) → move to motor control → build a simple robot → add sensors → connect to the internet. Each step builds directly on the last. The GPIO beginner guide is here: Raspberry Pi LED Control with Python — GPIO Beginner Guide (2026).
For working with both Arduino and Raspberry Pi together — which is a very common setup for robotics — the serial communication guide covers USB and UART wiring with full code examples: Arduino and Raspberry Pi Serial Communication Guide.
11. Access Your Pi From Anywhere
Once your Pi is running a project — a home automation server, an AI server, a surveillance camera, or anything else — you will want to check on it and control it from outside your home network. Raspberry Pi Connect is the official tool from the Raspberry Pi Foundation for exactly this. It creates a secure tunnel through the Pi Foundation’s servers and gives you both a terminal and a full desktop in your browser from anywhere in the world — no port forwarding, no static IP, no VPN configuration.
sudo apt install -y rpi-connect
sudo systemctl enable rpi-connect
sudo systemctl start rpi-connect
rpi-connect signin
After signing in, your Pi appears at connect.raspberrypi.com and is accessible from any browser. The full setup guide including troubleshooting is here: Raspberry Pi Connect — Remote Access Without Port Forwarding.
Where to Go Next
Whichever project you decide to start with, here are the most useful RootSaid guides to have bookmarked:
- GPIO Beginner Guide — Your first Python hardware control project
- Home Automation with Pi Zero — MOSFET switches, Flask web console, real circuit
- Build a Pi Zero Robot — L293D motor driver, PWM speed control, SSH driving
- Run AI on Raspberry Pi — Ollama and Open WebUI, fully offline
- Remote Access — Raspberry Pi Connect setup and troubleshooting
- Arduino + Pi Serial Communication — USB and UART with full code
- MOSFETs and BJTs for GPIO — Choosing the right transistor for your project
- Best Robotics Kits for Beginners — If you want a ready-to-build kit
Written by Jithin at RootSaid. Last updated April 8, 2026. All project recommendations verified for Raspberry Pi OS Bookworm (Debian 12). Have a question or a project idea to share? Drop it in the comments below.