
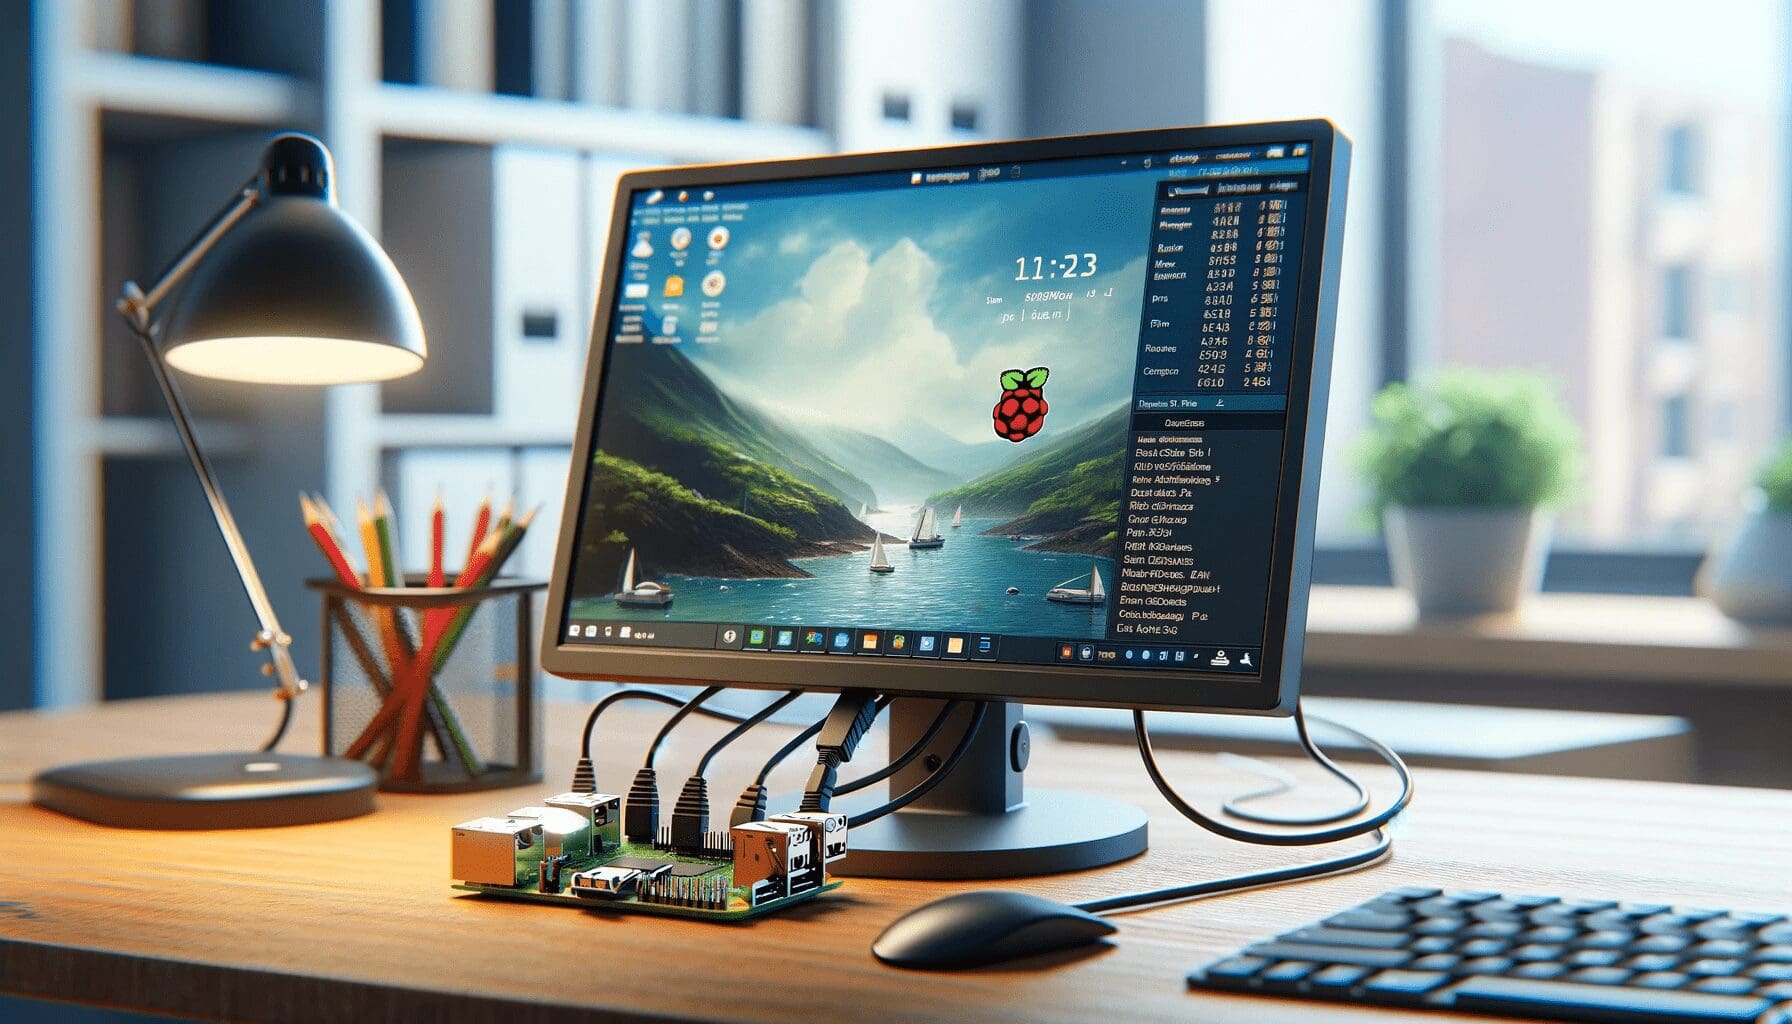
What is Raspberry Pi? A Beginners Guide on Raspberry Pi
Raspberry Pi – An easy to understand Beginners Guide with a Detailed Power Point Presentation – Learn everything you need to know about Raspberry Pi!!
Last Updated: April 8, 2026 | Raspberry Pi OS Bookworm (Debian 12) | Python 3.11
Raspberry Pi is a credit-card-sized single-board computer developed by the Raspberry Pi Foundation in the UK. Since its launch in 2012, it has become one of the most popular platforms in the world for learning electronics, building robots, setting up home automation systems, and running servers. This guide covers everything a beginner needs to know — what Raspberry Pi is, which model to choose, how to set it up, and what you can build with it.
Table of Contents
- What Is Raspberry Pi?
- The Raspberry Pi Family — Which Model Should You Choose?
- What You Need to Get Started
- Installing Raspberry Pi OS
- Headless Setup — No Monitor Needed
- First Boot and Initial Configuration
- Setting Up Remote Access
- Understanding GPIO Pins
- Controlling GPIO with Python
- What Can You Build with a Raspberry Pi?
- Advantages and Disadvantages
1. What Is Raspberry Pi?
Raspberry Pi is a fully functional Linux computer that fits in the palm of your hand and costs between $15 and $80 depending on the model. Unlike a microcontroller such as Arduino — which runs a single program repeatedly — Raspberry Pi runs a complete operating system, supports multiple applications running simultaneously, and can do almost everything a regular desktop PC can do.


What makes it special for makers and hobbyists is its set of GPIO (General Purpose Input Output) pins. These pins allow the Pi to talk directly to the physical world — reading sensors, controlling motors, switching relays, and driving LEDs — in a way that a normal laptop or PC cannot. This combination of a full Linux OS and direct hardware control is what makes Raspberry Pi uniquely powerful.
It is used by students learning to code, engineers prototyping hardware, hobbyists building robots and smart home systems, and professionals running lightweight servers and IoT devices.
2. The Raspberry Pi Family — Which Model Should You Choose?
The Raspberry Pi Foundation has released many models since 2012. Here is a clear breakdown of the current lineup as of 2026, so you can choose the right one for your project without confusion:
Raspberry Pi 5 — The Current Flagship (2023–Present)
The Pi 5 is the most powerful Raspberry Pi ever made. It features a 2.4 GHz quad-core ARM Cortex-A76 processor, which is roughly 2–3x faster than the Pi 4. It comes in 4 GB and 8 GB RAM variants. New additions include a PCIe connector for NVMe SSD storage (a massive speed improvement over microSD), a dedicated power button, and a real-time clock. The official 27W USB-C power supply is required — do not use underpowered chargers as the Pi 5 will throttle performance.
The Pi 5 is the recommended choice for AI projects, running local language models, media centres, and anything requiring real computing performance. For more on running AI on the Pi 5, see our guide: Run AI on Raspberry Pi Locally with Ollama and Open WebUI.
Raspberry Pi 4 Model B — Still Excellent (2019–Present)
The Pi 4 comes in 2 GB, 4 GB, and 8 GB RAM variants. It uses a 1.8 GHz quad-core ARM Cortex-A72, dual micro-HDMI outputs (supporting dual 4K displays), USB 3.0 ports, and Gigabit Ethernet. It is still widely available and well-supported. A good choice if Pi 5 stock is limited or budget is a concern. Requires the official 15W USB-C power supply.
Raspberry Pi Zero 2 W — Ultra Small and Affordable
The Pi Zero 2 W is a tiny board roughly the size of a stick of gum, running a 1 GHz quad-core ARM Cortex-A53 with 512 MB RAM. It costs around $15 and includes built-in WiFi and Bluetooth. It is ideal for lightweight projects — a camera module, a small sensor node, or a Thin Client that offloads heavy processing to the cloud. It cannot run heavy applications or local AI models, but for simple automation tasks it is perfect. See our article on how we used it as a Thin Client with AWS Lambda for AI robotics.
Raspberry Pi Pico and Pico W — The Microcontroller Family
The Pico is different from all the other models — it is a microcontroller, not a full computer. It does not run Linux. It runs MicroPython or C/C++ programs directly on the RP2040 chip. It has no operating system, no HDMI output, and no desktop. It is designed for low-level hardware control — reading sensors, driving motors, and running real-time programs. The Pico W adds built-in WiFi. If you want to learn more about the Pico, see our Raspberry Pi Pico Beginner’s Guide.
Quick Choice Guide: For most beginners building robots, home automation, or learning Linux — choose the Pi 4 (4 GB) or Pi 5 (4 GB). For AI and performance-heavy projects — choose the Pi 5 (8 GB). For tiny low-power projects — choose the Pi Zero 2 W. For direct hardware control without Linux — choose the Pico W.
3. What You Need to Get Started
Before you flash an SD card, make sure you have everything on this list. Missing one item is the most common reason beginners get stuck on their first setup.
- Raspberry Pi board — any model, though Pi 4 or Pi 5 is recommended for most projects
- MicroSD card — minimum 16 GB, Class 10 A1-rated or better. A2-rated cards are faster and worth the small extra cost. Avoid cheap unbranded cards — they cause mysterious crashes and corrupted installs.
- Official power supply — 27W USB-C for Pi 5, 15W USB-C for Pi 4, 5.1V 2.5A micro-USB for Pi Zero 2 W. Using a phone charger will cause under-voltage warnings and unstable performance.
- MicroSD card reader — to flash the OS from your computer
- HDMI cable and monitor — micro-HDMI to HDMI for Pi 4/5. Not needed if you are doing a headless setup (covered in Section 5).
- USB keyboard and mouse — for initial setup. Not needed after you configure SSH.
- Case with cooling — the Pi 4 and Pi 5 run hot under load. A heatsink case is strongly recommended. The official Active Cooler for Pi 5 is the best option.
- Ethernet cable (optional) — for a more stable connection during setup, especially useful for headless installs
4. Installing Raspberry Pi OS
Raspberry Pi OS (formerly called Raspbian) is the official operating system maintained by the Raspberry Pi Foundation. It is based on Debian Linux and is the recommended starting point for almost all beginners. As of 2026, the current version is Raspberry Pi OS Bookworm (Debian 12), which ships with Python 3.11 and supports all current Pi models.

There are two versions to choose from. The full desktop version includes a graphical interface, a web browser, and pre-installed software. The Lite version is command-line only — no desktop, smaller size, lower RAM usage. For beginners, start with the full desktop version. Once you are comfortable with the terminal and SSH, the Lite version is better for projects that do not need a screen.
Using Raspberry Pi Imager (Recommended Method)
Raspberry Pi Imager is the official tool from the Raspberry Pi Foundation for flashing OS images. Download it for free from raspberrypi.com/software and install it on your Windows, Mac, or Linux computer.
- Insert your microSD card into your computer’s card reader
- Open Raspberry Pi Imager
- Click Choose Device and select your Pi model
- Click Choose OS → Raspberry Pi OS (64-bit) — always choose 64-bit. The 32-bit version cannot run most modern AI libraries and is not recommended for any new setup.
- Click Choose Storage and select your microSD card
- Click the gear icon (⚙) or press Ctrl+Shift+X to open advanced settings — this is where you configure WiFi, hostname, SSH, and username before flashing. Do not skip this step.
- In advanced settings: set a hostname (e.g.
rootsaid.local), enable SSH, set your username and password, and enter your WiFi network name and password - Click Write and wait for the process to complete — usually 5–10 minutes
Important: Always choose the 64-bit version of Raspberry Pi OS. The 32-bit version limits RAM access, cannot load most AI libraries, and Ollama will not install on it. Confirm after booting by running
uname -min the terminal — you should seeaarch64.
5. Headless Setup — No Monitor Needed
A headless setup means running your Raspberry Pi with no monitor, keyboard, or mouse plugged in — you access it entirely over the network via SSH or a remote desktop tool. This is how most makers use their Pi once they get past the initial learning stage, and it is actually the preferred setup for projects where the Pi is mounted inside a robot, tucked behind a wall panel, or running as a server.
If you configured SSH and WiFi credentials in Raspberry Pi Imager’s advanced settings during the flashing step, your Pi is already configured for headless operation. Simply insert the SD card, power on the Pi, wait about 60 seconds for the first boot to complete, and then SSH in from your computer:
ssh your-username@your-hostname.local
# Example: ssh jithin@rootsaid.local
If the hostname does not resolve, use the Pi’s IP address instead. You can find it by logging into your router’s admin page and looking at connected devices, or by using a network scanner app on your phone like Fing.
For a detailed walkthrough of headless setup including how to use mDNS so you never need to hunt for the IP address, see our dedicated guide: Raspberry Pi Remote Access — SSH and Remote Desktop Without Port Forwarding.
6. First Boot and Initial Configuration
Whether you are using a monitor or SSH, the first thing to do after booting is run a full system update. This ensures all packages are current and prevents installation failures later:
sudo apt update && sudo apt upgrade -y
sudo reboot
After rebooting, run the Raspberry Pi configuration tool to enable interfaces and adjust settings:
sudo raspi-configThe key things to configure here are: enabling SSH if not already enabled, enabling the Camera interface if you plan to use a camera module, enabling I2C and SPI if you plan to connect sensors, setting your locale and timezone, and expanding the filesystem to use the full SD card (though Raspberry Pi Imager does this automatically on first boot in Bookworm).
Getting a “sudo: raspi-config: command not found” error? This happens if you are not running Raspberry Pi OS, or if the package was accidentally removed. See our fix guide: sudo raspi-config command not found — How to Fix It.
Change the Default Password
If you used Raspberry Pi Imager you will have already set a custom password during flashing. If you are using an older image with the default credentials (username pi, password raspberry), change the password immediately:
passwdA Pi with a default password that is reachable over the network is a serious security risk, especially if you ever expose it to the internet.
7. Setting Up Remote Access
Once your Pi is running, you will want to access it from your laptop or phone without needing a monitor plugged in. There are several options depending on your needs.
SSH — Terminal Access Over Your Network
SSH gives you a terminal on your Pi from any device on the same network. This is the most common way makers interact with their Pi. If you enabled SSH during Imager setup, it is already running. Connect with:
ssh username@hostname.localRaspberry Pi Connect — Access From Anywhere
Raspberry Pi Connect is the official tool from the Raspberry Pi Foundation for accessing your Pi from outside your home network — no port forwarding, no static IP, no VPN required. It creates a secure tunnel through the Pi Foundation’s servers and gives you both a terminal and a full desktop in your browser from anywhere in the world.
sudo apt install -y rpi-connect
sudo systemctl enable rpi-connect
sudo systemctl start rpi-connect
rpi-connect signin
After signing in, your Pi appears at connect.raspberrypi.com. Full step-by-step instructions including troubleshooting Screen Sharing issues are in our guide: Raspberry Pi Connect — Remote Access Without Port Forwarding.
VNC — Full Graphical Desktop Remotely
If you need the full desktop GUI on your laptop or phone, enable VNC through raspi-config (Interface Options → VNC → Enable). Then download a VNC Viewer app on your device and connect using the Pi’s IP address. Note that VNC requires the Pi to be on the same network unless you set up port forwarding — Raspberry Pi Connect is easier for remote access.
8. Understanding GPIO Pins
The GPIO pins are what separate the Raspberry Pi from a regular computer. GPIO stands for General Purpose Input Output. These are the 40 pins arranged in two rows along the edge of the board. They allow the Pi to communicate directly with the physical world — turning on LEDs, reading button presses, controlling motors, reading sensor data, and much more.
Here is what you need to know about GPIO pins before connecting anything:
- Voltage level: All GPIO pins operate at 3.3V logic. They are NOT 5V tolerant. Connecting a 5V signal directly to a GPIO pin can permanently damage the Pi. Always use a logic level converter when interfacing with 5V devices like Arduino Uno.
- Current limit: Each GPIO pin can source or sink a maximum of 16 mA, and the total current draw from all GPIO pins combined should not exceed 50 mA. Use a transistor or MOSFET to control anything that draws more current, such as motors, relays, and LED strips.
- BCM vs BOARD numbering: There are two numbering systems. BCM (Broadcom) refers to the chip’s GPIO number (e.g. GPIO18). BOARD refers to the physical pin position on the header (e.g. Pin 12). Always specify which system you are using in your Python code to avoid wiring the wrong pin.
- Power pins: The header also includes 3.3V power, 5V power, and Ground pins. These are not GPIO — they are fixed power outputs for powering sensors and small components.
- Special function pins: Some GPIO pins have additional hardware functions: PWM (for controlling servo motors and LED brightness), I2C (for connecting sensors and displays), SPI (for high-speed communication), and UART (for serial communication with devices like Arduino).
Choosing the right transistor or MOSFET for GPIO switching? The IRF520N (commonly sold in kits) does NOT work reliably with 3.3V GPIO. See our guide on the best MOSFETs and BJTs for Raspberry Pi GPIO for logic-level compatible alternatives.
9. Controlling GPIO with Python
Python is the primary language for Raspberry Pi projects. Raspberry Pi OS Bookworm comes with Python 3.11 pre-installed. The recommended library for GPIO control in 2026 is gpiozero, which comes pre-installed on Raspberry Pi OS and provides a clean, beginner-friendly interface. The older RPi.GPIO library still works but requires the --break-system-packages flag when installing on Bookworm.
Your First GPIO Program — Blinking an LED
Connect an LED to GPIO pin 18 (BCM) with a 330 Ω resistor in series to ground. Then run this Python script:
from gpiozero import LED
from time import sleep

led = LED(18)

while True:
    led.on()
    sleep(1)
    led.off()
    sleep(1)
Save as blink.py and run with python3 blink.py. The LED will blink once per second. Press Ctrl+C to stop.
This simple script contains the core pattern used in every GPIO project — the while True infinite loop. Robots and automation systems need this because they must constantly monitor sensors and respond to inputs. If the program stops running, the system stops responding. For a full explanation of GPIO control including PWM, reading inputs, and real troubleshooting tips, see our dedicated guide: Raspberry Pi LED Control with Python — GPIO Beginner Guide (2026).
Installing Additional Python Libraries
On Raspberry Pi OS Bookworm, pip installations require the --break-system-packages flag or the use of a virtual environment. For most beginner projects, the flag is the simpler approach:
# Install Flask for web-based control panels
pip3 install flask --break-system-packages

# Install RPi.GPIO if you prefer the older library
pip3 install RPi.GPIO --break-system-packages

# Install requests for making HTTP calls (used in cloud projects)
pip3 install requests --break-system-packages
10. What Can You Build with a Raspberry Pi?
The answer is genuinely: almost anything. Here are the most popular project categories with links to full tutorials on RootSaid for each one.
Home Automation
Control lights, fans, and appliances from your phone using MOSFET switches and a Flask web app running on the Pi. No cloud subscription required — everything runs on your local network. See our complete guide: Home Automation with Raspberry Pi Zero — MOSFET Switches and Flask Web Console.
Robotics
The Pi is the brain of countless DIY robots. Connect an L293D or similar motor driver to the GPIO pins and drive DC motors, read ultrasonic sensors for obstacle avoidance, and control the robot over WiFi via SSH or a dedicated app. Our build guide: Building a Raspberry Pi Zero Two-Wheel Robot with L293D Motor Driver.
Local AI Server
Run a large language model completely offline on your Pi using Ollama. No OpenAI account, no subscription, no internet required after setup. Accessible through a browser-based ChatGPT-like interface via Open WebUI. Based on Jithin’s real tested setup: Run AI on Raspberry Pi Locally — Ollama and Open WebUI (2026).
Working with Arduino
Raspberry Pi and Arduino work extremely well together. Arduino handles low-level hardware control — timing-critical tasks, PWM, reading analog sensors. Raspberry Pi handles the intelligence — running Python, making network requests, processing data. They communicate via USB serial or direct UART wiring. Full guide with working code: Arduino and Raspberry Pi Serial Communication — USB and UART Guide.
Cloud-Connected AI Projects
For resource-intensive AI tasks that exceed what the Pi can handle locally — computer vision with OpenCV, large TensorFlow models — you can use the Pi as a thin client that sends data to AWS Lambda for processing and receives the result back. This keeps the Pi cool and responsive while giving it effectively unlimited AI processing power. Full architecture and code: Bypassing the AWS Lambda 250 MB Limit with EFS for Pi Robotics.
Other Popular Uses
- Media centre — Run Kodi or Plex on the Pi and connect it to your TV for a full media server that streams from your local storage or the internet
- Network ad blocker — Pi-hole runs on a Pi and blocks ads for every device on your home network at the DNS level
- Retro gaming console — RetroPie turns the Pi into an emulation station that plays thousands of classic games from NES to PlayStation
- Web server — Run a LAMP or NGINX stack on the Pi to host a small website or internal dashboard locally
- VPN server — Run PiVPN to create your own WireGuard VPN server for secure remote access to your home network
- NAS (Network Attached Storage) — Connect a USB hard drive and use OpenMediaVault to create a personal file server accessible from every device in your home
11. Advantages and Disadvantages
Advantages
- Low cost — $15 to $80 for a complete computer is extraordinary value
- Full Linux OS — access to the entire Debian software ecosystem and Python package library
- GPIO pins — direct hardware interaction that normal computers do not have
- Huge community — millions of users, tutorials, and libraries for almost any project
- Low power consumption — the Pi 5 at full load uses around 5–8 watts, making it cheap to run 24/7
- Portable — small enough to embed inside a robot, behind a wall panel, or in a case you can carry anywhere
Disadvantages
- No discrete GPU — AI inference runs on the CPU only, which is significantly slower than a desktop GPU
- No analog input pins — unlike Arduino, the Pi has no built-in ADC. You need an external ADC chip (like the MCP3008) to read analog sensors
- Not real-time — because it runs a full OS, the Pi cannot guarantee precise timing. For microsecond-accurate timing tasks, use Arduino alongside it
- No fuse protection on GPIO — a wiring mistake can damage the board permanently. Always double-check connections before powering on
- MicroSD reliability — microSD cards can corrupt, especially on low-quality cards or with sudden power cuts. Use an SSD for important projects and always keep backups
What to Read Next
Now that you understand what Raspberry Pi is and how to set it up, here is the recommended learning path from RootSaid based on what you want to build:
- GPIO Beginner Guide — Start here if you want to control hardware with Python
- Home Automation with Pi Zero — Your first real home automation project with circuit and code
- Build a Pi Zero Robot — Motor driver, PWM speed control, and SSH keyboard driving
- Run AI on Raspberry Pi — Local LLMs with Ollama — the complete tested guide
- Connect Arduino to Raspberry Pi — USB and UART serial communication with full code
- Remote Access Without Port Forwarding — Access your Pi from anywhere using Raspberry Pi Connect
- Fix raspi-config Errors — Common setup problems and how to solve them
Written by Jithin at RootSaid. Last updated April 8, 2026. All setup instructions verified on Raspberry Pi OS Bookworm (Debian 12). Have a question or spotted something outdated? Drop it in the comments — every question gets answered.





Hi there to every one, the contents existing at this website are in fact awesome for people experience, well, keep up the good work fellows.|
I really like what you guys tend to be up too. Such clever work and exposure!
Keep up the superb works guys I’ve incorporated you guys to my own blogroll.
Just wish to say your article is as amazing. The clarity in your
post is simply nice and i can assume you are an expert on this subject.
Fine with your permission allow me to grab
your feed to keep up to date with forthcoming post.
Thanks a million and please keep up the enjoyable work.
This is a topic that is near to my heart… Cheers!
Where are your contact details though?