Alexa Skill for Arduno | Arduino IOT Cloud with Amazon Alexa Tutorial
Hey guys, welcome back to RootSaid. In the previous post, I showed you how you can program an Arduino board online using web editor. In this post I am gonna show you how you can set up a board with Arduino IOT Cloud and use Amazon Alexa to control an LED.
Arduino IOT Cloud with Amazon Alexa Skill
For this purpose arduino has developed its own Alexa skill, which will detect arduino boards that are connected to the network as Amazon Devices and we can use voice command to control them.

In this Alexa Skill for Arduno tutorial I will be showing you how you can control an LED using Amazon Alexa.
Steps for Connecting Arduino IOT Cloud with Amazon Alexa
Step 1 – Create an Account
First thing you need it is an account Arduino website.


For that go to this website and create an account. Now click on Arduino IOT Cloud.

Step 2 – Create a New Thing
Now click on add new thing.
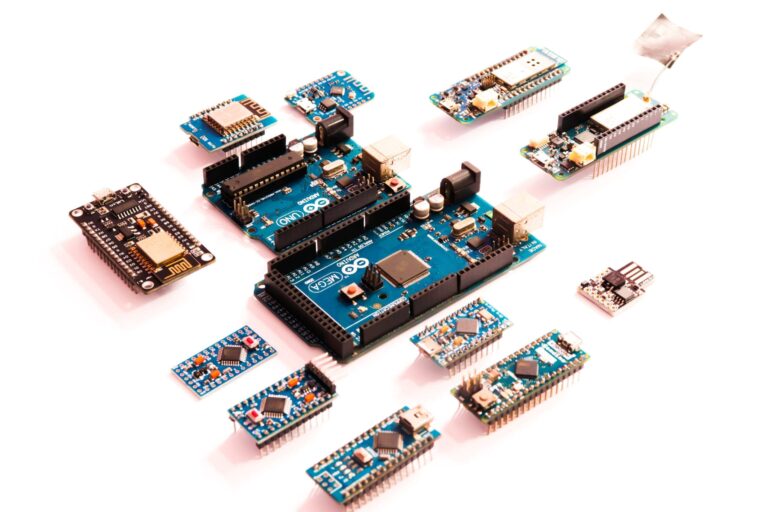
Now we have to setup the board. Currently Arduino supports this four boards. They will be adding more boards in the future.

From here select your board.
Step 3 – Install Arduino Plugin
Now you have to install a plugin, which will help you to directly upload your code to the board directly from the browser.

Now click on start download the file and follow the instructions to install the plug-in. If the installation is successful you will see this icon down the tray.

Step 4 – Connect Your Arduino Board
Now connect your board and give it a name.

Now click on configure and it will set up the board for you.

Next you have to give your thing a name and assign the board to it.

Click on create.
Step 5 – Adding a Property
Now click on add new property and give it a name. Select the type as Light under Smart Home.

This step is very important. Now click on add property.
Now click on edit sketch. Now here is the code that you want to upload to your dinner board.
Step 6 – Code
Alexa Skill for Arduino – The Code Explained
void setup() {
  Serial.begin(9600);
  delay(1500);
  initProperties();
  ArduinoCloud.begin(ArduinoIoTPreferredConnection);
  pinMode(LED_BUILTIN, OUTPUT);

  setDebugMessageLevel(2);
  ArduinoCloud.printDebugInfo();
}
The Setup function initializes Serial Communication and define builtin LED Pin as output.
The following function allows you to obtain more information related to the state of network and IoT Cloud connection and errors the higher number the more granular information you’ll get.
void onLightChange() {
if(light==1)
{
  led = "HIGH";
  digitalWrite(LED_BUILTIN, HIGH);
}
else
{
  led="LOW";
  digitalWrite(LED_BUILTIN, LOW);
}
Serial.println(light);
Serial.println(led);
}
This is where we enter our main code. Here, the variable light is like a switch. It can be 1 or 0. When the status of ‘light’ is changed, this function will run.
If the value of light is 1, it will turn the LED Pin to High. If it is 0, it will turn the LED pin to Low. Simple as that.
Don’t forget to fill your secret tab with your your Wi-Fi SSID and password.

Step 7 – Installing Alexa Skill for Arduino and Testing
Once the code is uploaded, we can install the new skill to Alexa. for that take your phone and open Alexa app.
Click on “skills and game”, type in Arduino and search.

Click on enable to use. at this point a web browser will open and it will ask you to login with your Arduino username and password.

Once it is done, the browser will close. Now click on discover devices. it will scan for or devices which can be connected to Alexa within the network. It will also detect the board to which the code was uploaded earlier.

One Alexa has detected the device, clickonce setup device and click done.


That’s it guys. you can now control the light using Alexa.
New to Robotics?
We have a beginners guide on “Getting Started with Robotics” which will give you a kick start in this field. Check out our free video tutorial below for a brief introduction.

Top Arduino Projects You can Try this Summer Vacation

Top Robotics Projects You can Try this Summer Vacation

Did you find this page useful? Help us to improve by rating this page.
[RICH_REVIEWS_FORM]
[RICH_REVIEWS_SNIPPET stars_only=”true”]