Piano Using Arduino Tutorial
Lets have a little bit fun with Arduino shall we? We will now create a mini arduino piano using Arduino and speaker. This project is really cheap and fun to play with.
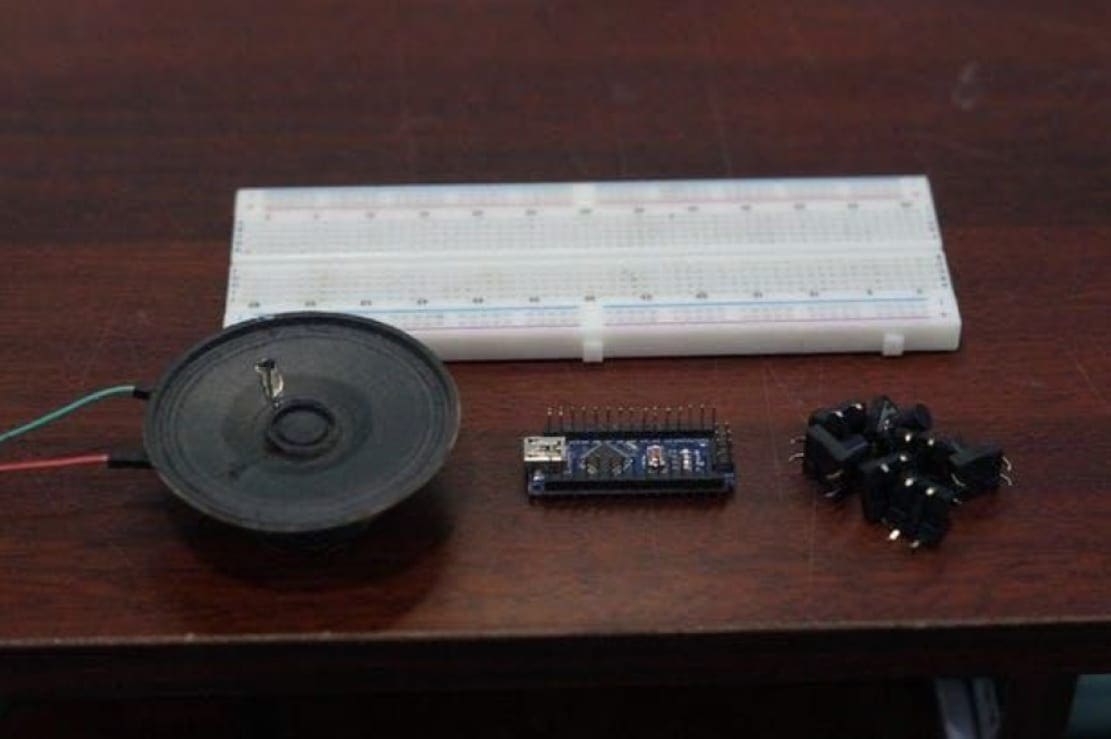
Components Needed
- Arduino Board
- Piezo Buzzer
- Push Buttons x 7
- Jumper Cables
- Bread Board
Start Building Your Own Arduino Mini Piano
Check out the below Video Demo and Tutorial
Step 1 – Connections
In this project, I will be using a Nano board to make this arduino piano. Connections are as Follows
The Buttons are connected to D4 to D10 of the Arduino
The Piezo Buzzer is connected to D11 of the Arduino
Step 2 – The Code
Before you can start playing your piano, you will need to obtain and install the Tone Arduino library if it is not already installed.[AdSense-C]
Now let us upload the code to Arduino. Shown below is a simple sketch which will generate signals to generate different tones when push buttons are pressed.
Code
#define T_C 262
#define T_D 294
#define T_E 330
#define T_F 349
#define T_G 392
#define T_A 440
#define T_B 493
const int C = 10;
const int D = 9;
const int E = 8;
const int F = 7;
const int G = 6;
const int A = 5;
const int B = 4;
const int Buzz = 11;
const int LED = 13;

void setup()
{
 pinMode(LED, OUTPUT);
 pinMode(C, INPUT);
 digitalWrite(C,HIGH);
 pinMode(D, INPUT);
digitalWrite(D,HIGH);
 pinMode(E, INPUT);
 digitalWrite(E,HIGH);
 pinMode(F, INPUT);
 digitalWrite(F,HIGH);
 pinMode(G, INPUT);
digitalWrite(G,HIGH);
 pinMode(A, INPUT);
 digitalWrite(A,HIGH);
 pinMode(B, INPUT);
 digitalWrite(B,HIGH);
 digitalWrite(LED,LOW);
}

void loop()
{
 while(digitalRead(C) == LOW)
 {
   tone(Buzz,T_C);
   digitalWrite(LED,HIGH);
 }
 while(digitalRead(D) == LOW)
 {
   tone(Buzz,T_D);
   digitalWrite(LED,HIGH);
 }
 while(digitalRead(E) == LOW)
 {
   tone(Buzz,T_E);
   digitalWrite(LED,HIGH);
 }
 while(digitalRead(F) == LOW)
 {
   tone(Buzz,T_F);
   digitalWrite(LED,HIGH);
 }
 while(digitalRead(G) == LOW)
 {
   tone(Buzz,T_G);
   digitalWrite(LED,HIGH);
 }
 while(digitalRead(A) == LOW)
 {
   tone(Buzz,T_A);
  digitalWrite(LED,HIGH);
 }
 while(digitalRead(B) == LOW)
 {
   tone(Buzz,T_B);
   digitalWrite(LED,HIGH);
 }
 noTone(Buzz);
 digitalWrite(LED,LOW);
}
[AdSense-A]Step 3: Play!
And that’s it! Your Arduino Piano is now ready. You should now be able to tap on the keys and hear the corresponding notes played through the buzzer. If the note isn’t accurate, you can adjust the note value in the Arduino sketch to set what value that the pitch is achieved.
You can also change the scale that is played by uncommenting one of the few scales included, or make your own scale! If you make your own piano, please comment and show us some pictures and videos. We’d love to see some creative instruments!
Give a thumbs up if it really helped you and do follow my channel for interesting projects 🙂
Thanks for reading!
Project By: The Lonely Programmer
Rate the Project
Did you find this useful? Help us to improve by rating this page.