
HuskyLens with Arduino: Setup, Wiring and All 5 Vision Modes
Last Updated: September 2026 The HuskyLens is an AI-powered vision sensor that can learn a face, an object, a colour or a line with a single button press — no training script, no model files, no Python. This guide covers both halves of using one: wiring it to an Arduino and reading its data over…
Last Updated: September 2026
The HuskyLens is an AI-powered vision sensor that can learn a face, an object, a colour or a line with a single button press — no training script, no model files, no Python. This guide covers both halves of using one: wiring it to an Arduino and reading its data over serial, and what each of its five vision modes actually does in practice.
What is HuskyLens?
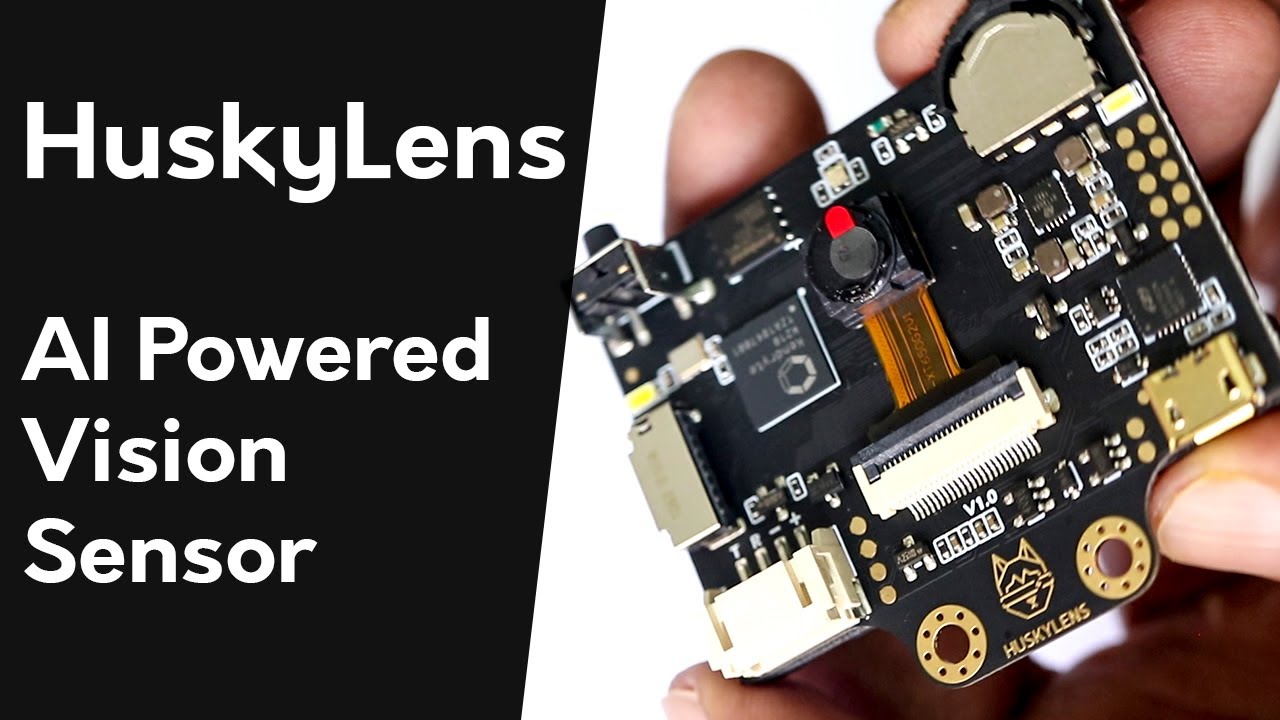
HuskyLens packs a camera, a screen, a rocker switch, a learn button and a serial output into one small board. The built-in algorithms run on the device itself, so the Arduino never has to do any image processing — it just asks the HuskyLens what it can see and gets back coordinates and IDs.
That makes it a practical way to add gesture control, object following, face detection or line tracking to a robot without a Raspberry Pi and without writing any computer vision code yourself.
HuskyLens Getting Started Video

What You Need
- An Arduino board (an Arduino Nano is used here)
- A HuskyLens vision sensor
- A USB data cable
- Four connecting wires
Arduino HuskyLens Setup Video Tutorial

Connecting HuskyLens to Arduino
Step 1 — Install the Arduino IDE
Download and install the latest version of the Arduino IDE.


Step 2 — Download the HuskyLens Arduino Library
Grab the HuskyLens Arduino library as a ZIP. This is the HuskyLens Arduino Master package, which handles all the serial protocol work for you.
Step 3 — Install the Library
Extract the download. The folder named HUSKYLENS contains the Arduino library files.

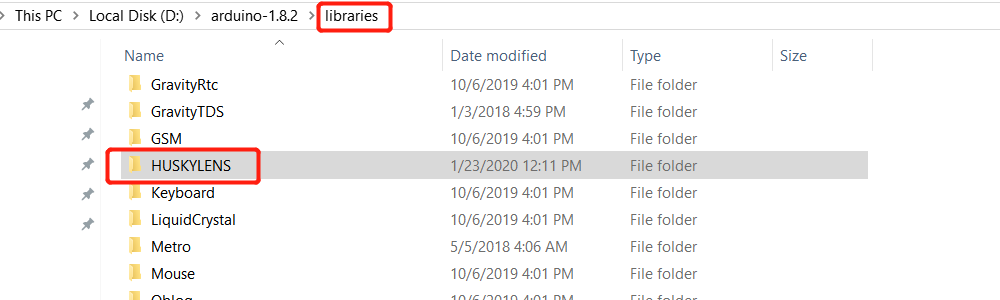
Copy that folder into your Arduino libraries directory. Alternatively, use Sketch → Include Library → Add .ZIP Library and point it at the downloaded ZIP.
Step 4 — Wiring
The connections are straightforward — four wires:
| HuskyLens | Arduino |
|---|---|
| 5V | 5V |
| GND | GND |
| TX | Pin 10 |
| RX | Pin 11 |
Make sure the HuskyLens is set to Serial mode rather than I2C in its own settings menu, or the Arduino will not see it.
Step 5 — Upload and Test
Open the Arduino IDE and go to File → Examples → HUSKYLENS and select HUSKYLENS_GET_STARTED. The library uses SoftwareSerial to add an extra serial port on pins 10 and 11, so the hardware serial port stays free for the serial monitor.
Select the correct board and port, compile, and upload. Then open the serial monitor.

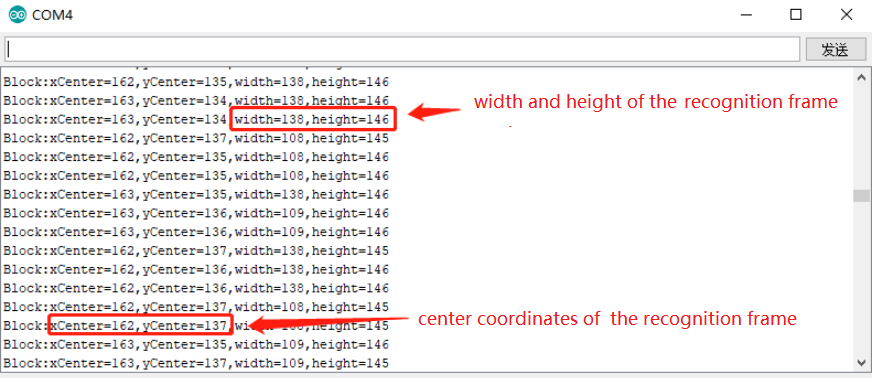
You should see a stream of block or arrow data — the x and y coordinates, width, height and learned ID of whatever the HuskyLens is currently recognising. Whichever mode the HuskyLens is set to, that same sketch reports its output.
The Five HuskyLens Vision Modes
Scroll the rocker switch on the top left to move between modes. Each one learns with the same button press on the right, and each one feeds its results out over the serial connection you just wired up.
1. Colour Recognition
Point the camera at a coloured object and press the learn button to lock it. The HuskyLens then tracks that colour around the frame and holds onto it well, without the bounding box jumping across to other colours nearby. This is the simplest mode to get a robot reacting to something.
2. Object Recognition
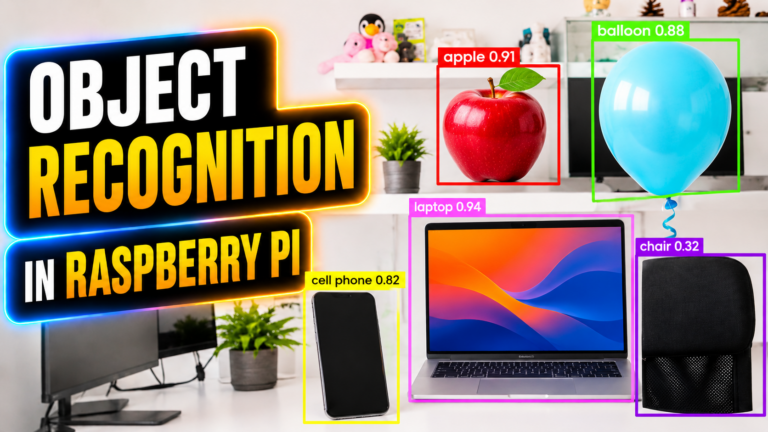
This mode uses a pre-trained model to guess what an object is, and reports a confidence percentage alongside the guess. It works on the common object classes the model was trained on rather than anything you show it, so treat it as a general classifier rather than something you can teach.
3. Face Recognition
Select face recognition and point the camera at a face. Detection is reliable — it picks up faces in blurry images, and it generally distinguishes a real human face from a cartoon one. You can learn several faces and the sensor will report which learned ID it is seeing.
4. Object Tracking
Put the target marker over whatever you want to follow and press the button. The box turns green and the HuskyLens follows that object around the frame. If the object leaves the field of view and comes back, it usually reacquires it. This is the mode to use for a follow-me robot.
5. Line Tracking
Select line tracking, point the camera at the line and press the button. The sensor returns an arrow with start and end coordinates rather than a block, which tells your Arduino which way the line is heading. It is a far more capable line follower than an IR sensor array, because it sees the line ahead rather than just underneath.
There is also a tag recognition mode that reads small QR-style tags, useful for giving a robot location markers to navigate by.
What to Build With It
Because all the recognition happens on the sensor and the Arduino only reads coordinates, the HuskyLens fits neatly into projects that would otherwise need a far more powerful board — a line follower that looks ahead, a robot that follows a coloured ball, a camera turret that keeps a face centred, or an access system that reacts to a learned face.
If you are just getting started with robotics, our guide to building your first robot is a good place to begin before adding vision to it.





Les than comment. Questions. Library as you stated doesn’t do anything for me.
I cant see any data on my Serial Monitor just number 1. No way to change baud because Arduino can’t debug code, giving me error when I save to Library or run rune the code.
I am new to this and can’t sleep a night.
Thanks
Janusz