In the previous post, I explained what a MATRIX Voice and a MATRIX Creator is and the difference between the two. I highly recommend you to go through the first part if you are new to it and get a better understanding of the whole project. Great. Now you know what a MATRIX device is and what it can do. Now let us set it up with a raspberry pi. Lets get started.
Sponsor Link
This Project is Sponsored by UTSource. UTSource is a professional electronic components supplier.
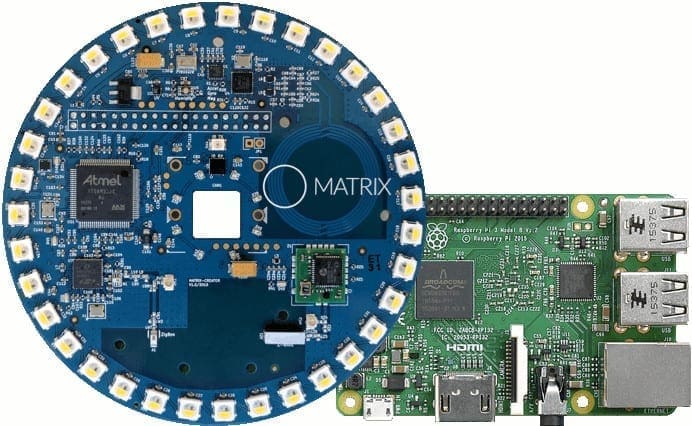
MATRIX device is built in such a way that, it will fit easily on top of the Pi.If you turn the device upside down, we will be able to see the female header pins, which can be connected to the male GPIO pins of the Pi. If you are using a camera, connect it to the Pi before connecting the MATRIX.
Align the Female pins of the MATRIX to the Male pins of the Pi in such a way that the center of the Pi will align with the center of the MATRIX.
Now press them together.
PC Setup
Before starting the setup make sure you have npm installed on your PC. Follow this tutorial to install npm on your PC.
Once npm is installed, you can install the CLI tool using the command
npm install -g matrix-cli
Once it is installed, you can create a new account using the command
matrix register
Enter the account details and finish the registration process. Now sign in to the account using
matrix login
Now to interact with your device, you will have to register the device to the CLI tool. For that execute the command
matrix register device
Once it is completed, system will generate a MATRIX_DEVICE_ID and MATRIX_DEVICE_SECRET which we will be using it in the future. Output will be something like. These two lines are important and we will be using it the Device Setup.[AdSense-C]
Download and burn latest Raspbian image to a micro SD card and insert it into the raspberry Pi.
Now power it up with a power adapter that can provide at least 2.5 Ampere. Now fire up your terminal and create a password for the user ‘pi’ by executing the command
sudo passwd pi
Connect your Raspberry Pi to a WiFi router or Wired network and make sure it is connected by checking whether it is getting an IP address from the switch.
Now perform and update and upgrade by running
sudo apt update -ysudo apt upgrade -y
Setting up MOS
Now we can install MOS (Matrix Open System). Now execute
curl https://raw.githubusercontent.com/matrix-io/matrix-creator-quickstart/master/install.sh | sh
This will install the MOS and all the required dependencies. Once everything is finished, the Pi will automatically reboot.
Now go to your home folder and create a file called .envrc[AdSense-C]
nano .envrc
Here, paste the two lines with the id and secrets exactly as shown when it was generated, like shown below.
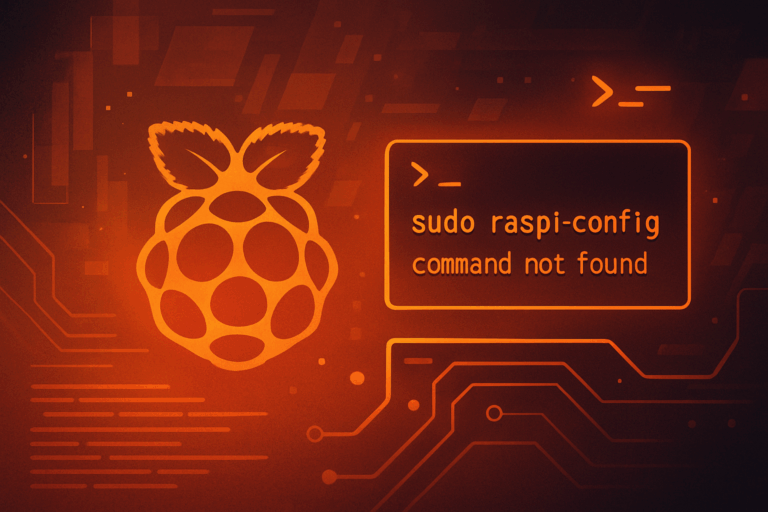
Struggling with the “sudo raspi‑config command not found” error on your Raspberry Pi? Learn why this happens and follow clear steps to reinstall raspi‑config, fix PATH issues, resolve permissions and restore full functionality.


This is very interesting, You are a very skilled blogger.
I’ve joined your rss feed and look forward to seeking more of your great post.
Also, I have shared your web site in my social networks!