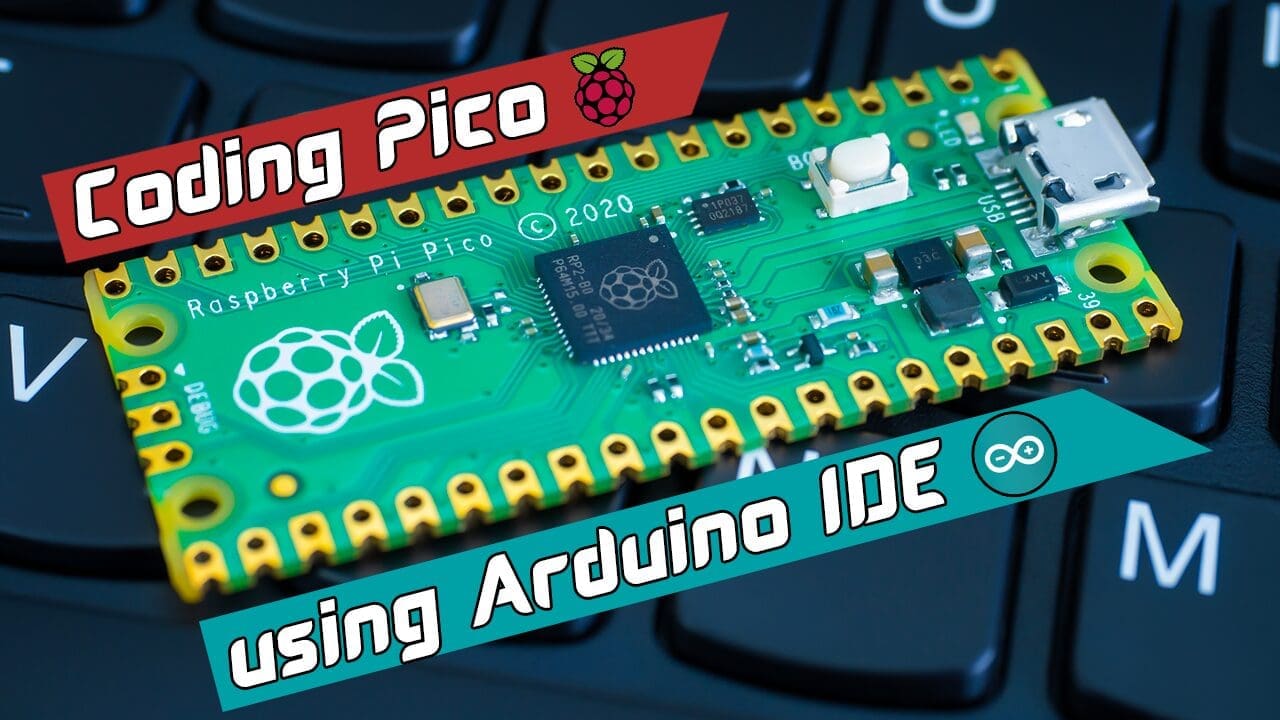
Raspberry Pi Pico Arduino IDE Coding Step by Step Instructions
Raspberry Pi Pico Arduino IDE Programming
No matter how many microcontroller boards we have, Raspberry Pi Pico has definitely won the hearts of worldwide creators and hobbyists. You know why? Because of its ease of use, low cost, and awesome flexibility. Yes, there are Arduino boards that perform better than Pico. But for $4, Pico is definitely better. In the previous post, we explained about Raspberry Pi Pico and we did a comparison between Raspberry Pi Pico vs Arduino. Also, we showed you how you can program Raspberry Pi Pico using Python. Right? In this post, we will be showing you How to Program Raspberry Pi Pico using Arduino IDE.
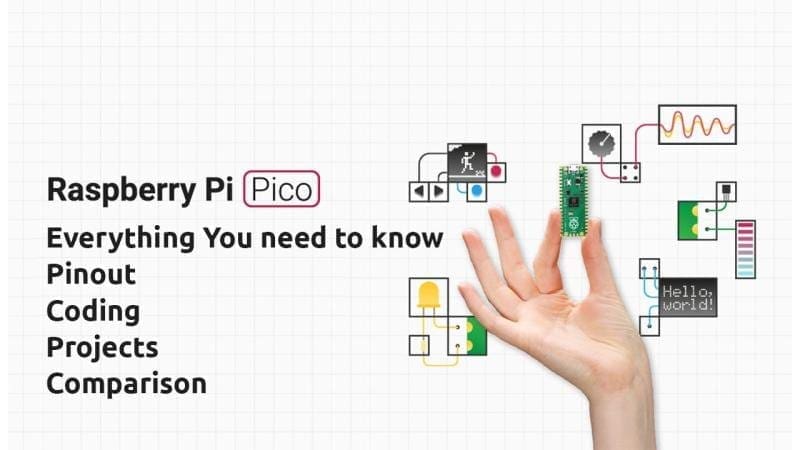
Raspberry Pi Pico Beginners Guide!
Wanna learn Raspberry Pi Pico from scratch and do awesome DIY projects? Why not, we have a beginners tutorial that will guide you step by step from Introducing the boards and getting started with your first project. Check out our Raspberry Pi Pico Beginners Guide.

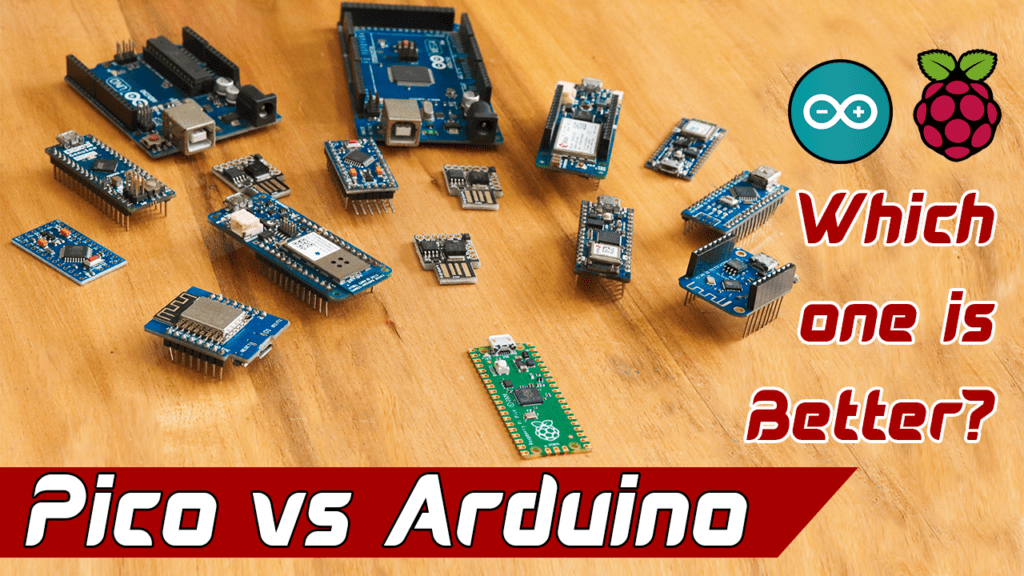
Arduino Vs Raspberry Pi Pico
Even though Raspberry Pi Pico and Arduino are almost the same, there are differences in these microcontrollers, and these could sometimes come in the way of choosing the right option for your project. In this Arduino vs Raspberry Pi Pico comparison, we will see how each of these fare at some very basic features – ease of use, reliability, costs, and more.

Programming Raspberry Pi Pico using Micropython
Learn to code Raspberry Pi Pico using Thonny and Micropython. Step by step getting started guide.

Raspberry Pi Pico Arduino IDE Coding
Yes guys you read that right. Arduino IDE, which is the most widely used Integrated Development Environment used by Hobbyists around the world, is getting better and better over the past years. This includes easy board management and search and install the library from IDE itself. You can now program Raspberry Pi Pico using Arduino IDE. What better way is there than to program your pico using Arduino IDE? None! So here you go.

How to Program Raspberry Pi Pico using Arduino IDE?
Step 1 – Prepare your PC
In order to Program Raspberry Pi Pico using Arduino IDE, you will need to download and install various tools and software on your PC. To make sure everything goes well, free up at least 400MB of disk space in your PC. Also, make sure no unwanted software is running in the background.
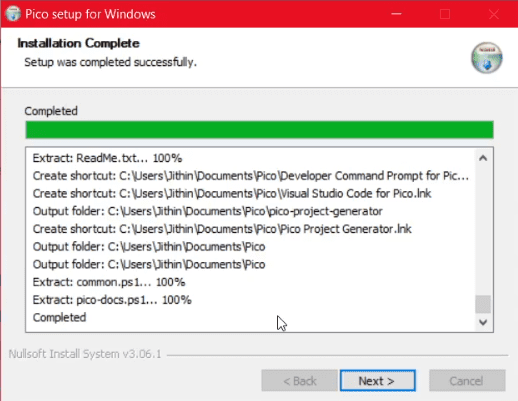
Step 2 – Download and Install the Pico Tools
Next, we need to install a package that will install and setup all the necessary components that you need to have to connect to your computer and communicate with Pico.

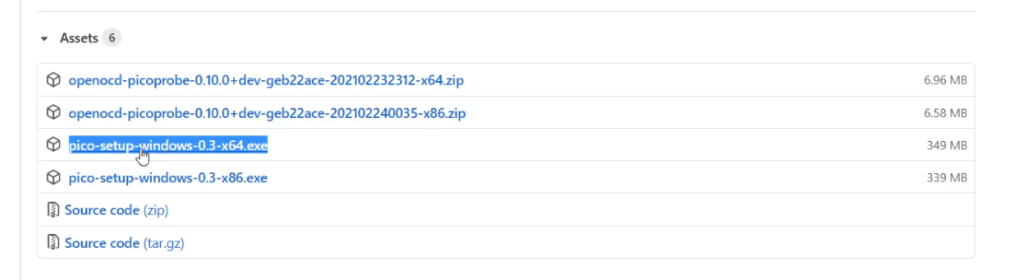
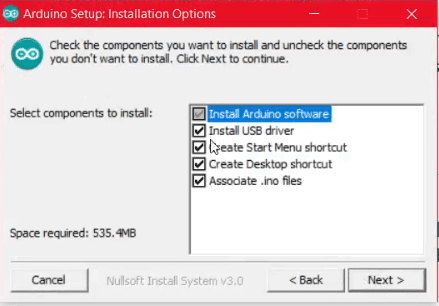
Click here to Download Pico-Setup-Windows installer.
While installing, make sure you include all the components inside the list. Once the installation process has started, it’s gonna take a while to finish. So get a coffee and come back to your seat.

Step 3 – Download and install Arduino IDE
The next step is to download and install the latest version of Arduino IDE on your PC. So go to the Arduino website and download the latest version of Arduino IDE to your Desktop. Once you have done that, install it on your local machine.

Step 4 – Adding the Board Raspberry Pi Pico Arduino IDE
The next two steps are crucial. In order to program Raspberry Pi Pico using Arduino IDE, we need to add the URL to the board details in the Arduino IDE. For that, open up Arduino IDE, go to File >> Preferences.

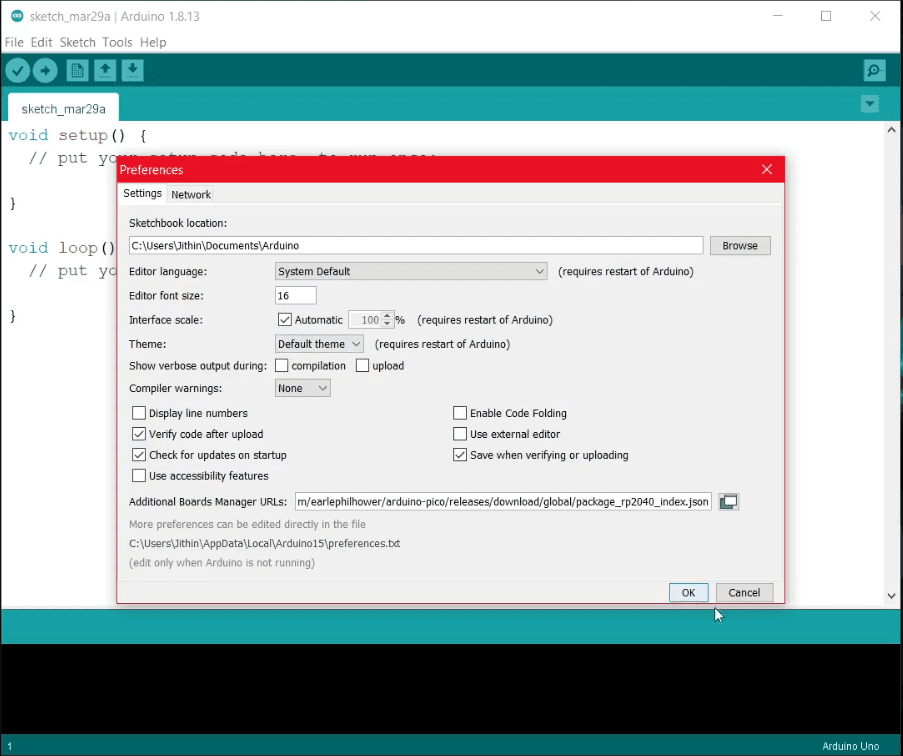
There, you will see a text box where you can add Additional Board Manager URL. On that text box, paste the below code.
https://github.com/earlephilhower/arduino-pico/releases/download/global/package_rp2040_index.json
Step 5 – Install Raspberry Pi Pico Board from Board Manager
Once you have done that, Go to Tools >> Board >> Boards Manager. There, in the text box, Enter Raspberry Pi Pico or just Pico. If everything you have done till now is correct, you should see the board – Raspberry Pi Pico / RP2040 under the text box.

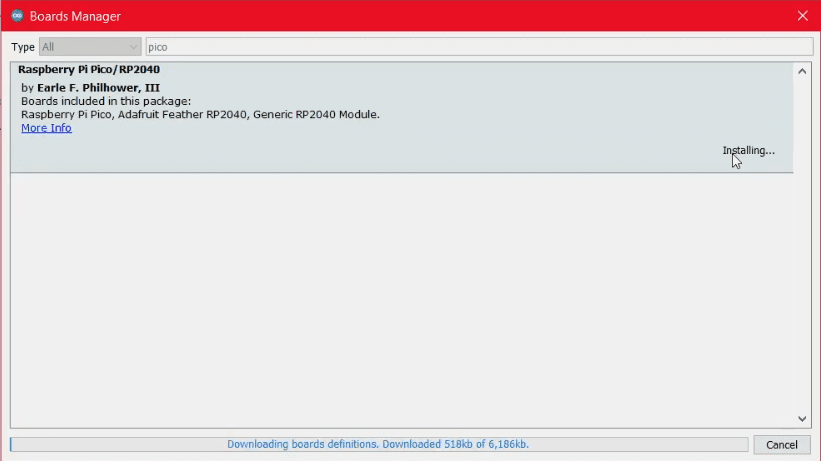
Once you got that, go ahead and install the board. Its time for another coffe. This one is also gonna be a huge download. Its gonna take a lot of time.
Step 6 – Is it really there?
Once the installation is completed, you can close that window. Now, we need to check whether the board is installed correctly. For that, Go to Tools >> Board
There, you should be able to see Raspberry Pi RP2040 Boards and inside that, you should see Raspberry Pi Pico.

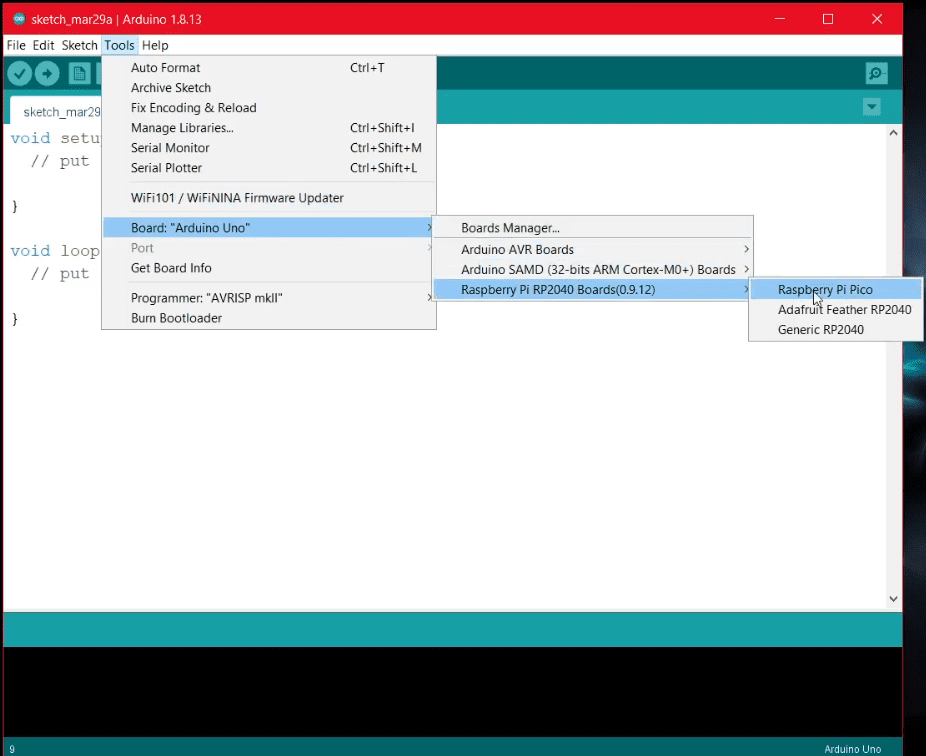
BRAVO! You have done it correctly! You can click and select Pico as the current board.
Step 7 – Raspberry Pi Pico Arduino IDE Programming
Now that everything is installed, you can start coding Pico using Arduino IDE. For now, you can try uploading an LED blick sketch to your Piko.
For that, Go to Files > Examples > Basics > Blink. This will open up a code that we use for testing LED Blink functionality of the connected board. Now connect the right port, board, and hit upload.
Once the upload is finished, take a look at the Raspberry Pi Pico board. The built in LED should start blinking.