Raspberry Pi Pico Micropython Tutorial | Beginners Guide
Coding Raspberry Pi Pico | Raspberry Pi Pico Micropython Tutorial
You may have heard of the new star in the market, but do you know how to program it your way and get things started? Here’s a step-by-step guide on readying up your brand new Raspberry Pi Pico microcontroller and two sample Pico micropython examples to get you started.
As you may know, the Raspberry Pi Pico is not a microprocessor but rather a low-cost Arm-based microcontroller that you could easily program using C/C++ or MicroPython. Keep your board and tools ready, let’s jump right into the Raspberry Pi Pico Micropython Tutorial.
Raspberry Pi Pico Beginners Guide!
Wanna learn Raspberry Pi Pico from scratch and do awesome DIY projects? Why not, we have a beginners tutorial that will guide you step by step from Introducing the boards and getting started with your first project. Check out our Raspberry Pi Pico Beginners Guide.

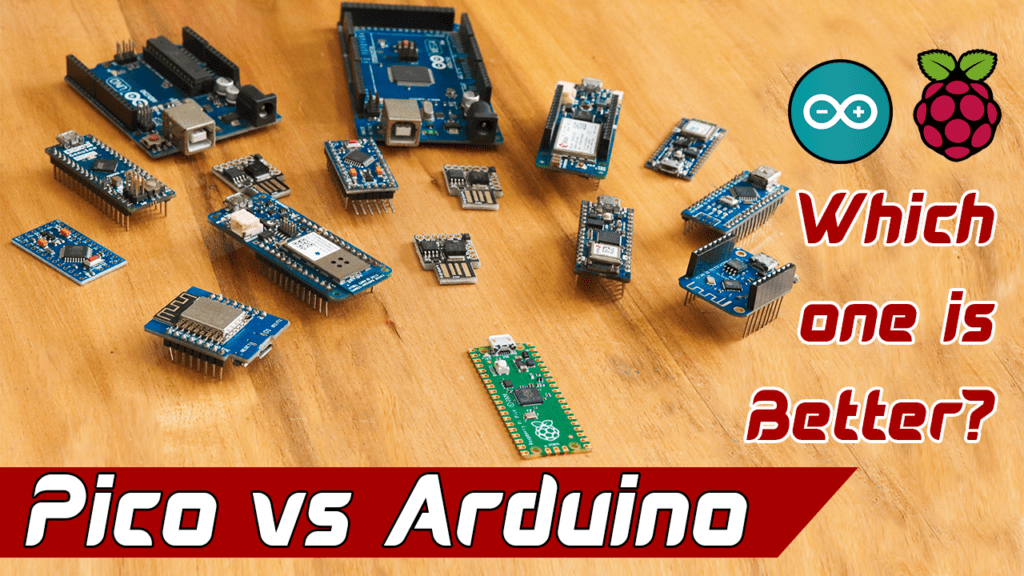
Arduino Vs Raspberry Pi Pico
Even though Raspberry Pi Pico and Arduino are almost the same, there are differences in these microcontrollers, and these could sometimes come in the way of choosing the right option for your project. In this Arduino vs Raspberry Pi Pico comparison, we will see how each of these fare at some very basic features – ease of use, reliability, costs, and more.

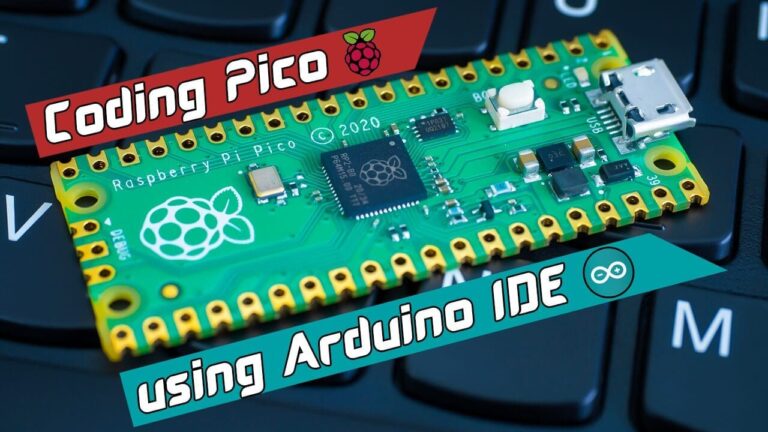
Arduino IDE Raspberry Pi Pico Support
Yes guys you heard that right. Arduino IDE, which is the most widely used Integrated Development Environment used by Hobbyists around the world, is getting better and better over the past years. This includes easy board management and search and install the library from IDE itself. You can now program Raspberry Pi Pico using Arduino IDE. What better way is there than to program your pico using Arduino IDE? None! So here you go Programming Raspberry Pi Pico using Arduino IDE.

Pico Micropython Examples – Setting up Raspberry Pi
Step 1 – Downloading Micropython Booloader for Raspberry Pi Pico
Get the MicroPython UF2 file from the MicroPython segement at Raspberry Pi Documentation.
Step 2 – Connecting the USB Cable
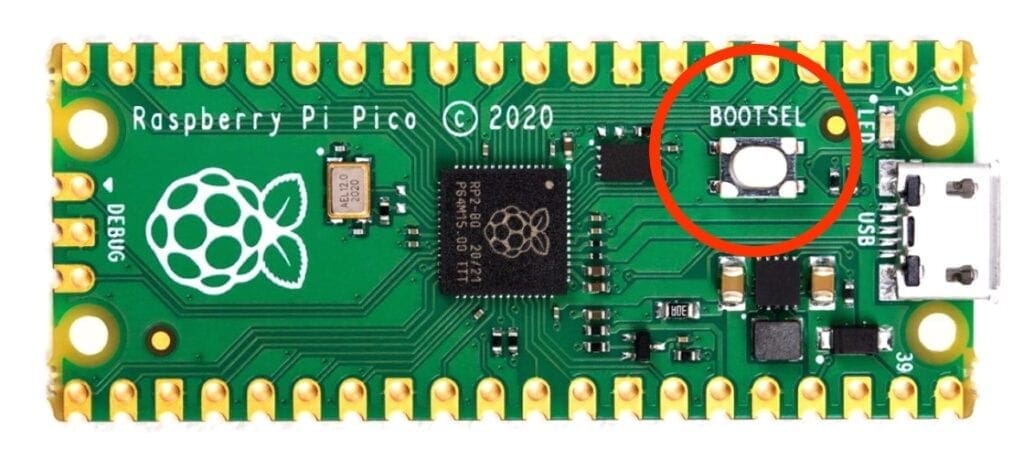
Switching on – Press and hold the BOOTSEL button on your board and plug in your Pico to your computer via a micro USB cable. Once you see the RP1-RP2 drive appear on the screen, you can release the BOOTSEL button.

Step 3 – Installing Micropython in Raspberry Pi Pico
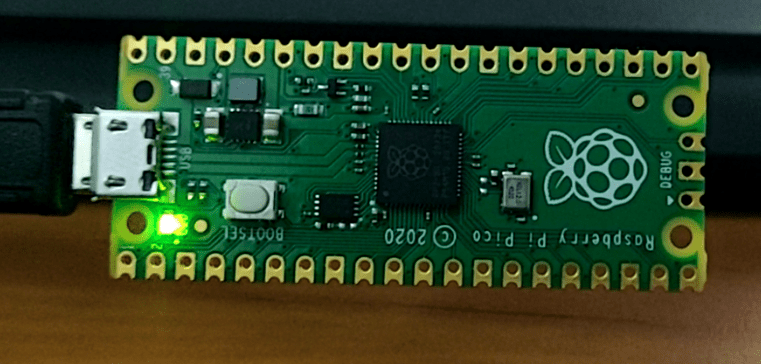
Installing MicroPython – Drag and drop the UF2 file into the RP!-RP2 drive to see an automatic reboot which now runs your Raspberry Pi Pico in MicroPython. Now lets jump right into the Raspberry Pi Pico Micropython Tutorial
Raspberry Pi Pico Micropython Examples #1
Thonny is the default editor for the Raspberry Pi Pico and let’s see how we could use it through a simple pico micropython examples.
Step 1: Get Thonny on your computer.
Go to the Thonny website and get it free for your system. If you are using a Windows OS, make sure to get the v3.3.2 as well.
Step 2 : Selecting the Board
Nex thing you have to do is, select your board. Click on the drop down in bottom right and select Raspberry Pi Pico.
Step 3 : Writing Code
You will now see a Python Shell (aka REPL, Read, Eval, Print, Loop) update to let you know that your Pico is ready and working. Optional: To test if your Pico’s working properly, let’s write a simple function to say “Hello World”. Once done, press Enter to run the code.
print(“Hello World”)
Step 4 : Saving Code in Pico
Now, it will ask you to save the file. Make sure you are saving the file in your Pico board. When you are saving, make sure you provide .py extension.
Step 5 : Running Pico Micropython Examples #1
Once the code is saved, it will automatically run the code. You should be able to see the output “Hello World” in the python shell.
Pico Micropython Examples #2 – LED Blink Example using Raspberry Pi Pico
Now that you’ve got your first ‘Hello World’ moment, let’s try its hardware equivalent as well. This will reassure you that the new Raspberry Pi Pico is easy to code with MicroPython. We’ll try flashing an LED this time.

In this Pico Micropython examples, we will be Blicking the inbuilt LED attached to the board to Pin 25. For that, you will not need any more components. The only thing you will need is a USB cable. Let’s get started.
Step 1: Connect your Raspberry Pi Pico to your Computer
Step 2: Start Thonny and create a new file.
Step 3: Make sure you select the right board. Click on the drop down in bottom right and select Raspberry Pi Pico.
Step 4: Import the required libraries; we’ll be writing our code on the blank space above the REPL. To get started, let’s import two MicroPython libraries – Pin class and utime. You can get Pin class from the machine library. Utime is basically used to control the speed of our code.
from machine import Pin
import utime
Step 5: Connecting code to the physical world; add an object titled “led” to connect the GPIO pin and our code. Here, it will use GPIO 25 (Pin 34 on the physical board) as the output pin, with current now flowing from the Raspberry Pi Pico GPIO to the LED. Let’s use our object to instruct the GPIO pin to pull low. This will make sure that our GPIO pin is switched off at the beginning of the project.
led = Pin(25, Pin.OUT)
led.low()
Step 6: Time to blink our LED; write a while true loop, a loop that never ends, to toggle our LED on and off. Print it on the REPL (Python shell) to show that the loop is still working. To create a one-second lag between individual on and off, let’s add a sleep to the code for one second for each cycle of the loop.
while True:
   led.toggle()
   print("Toggle")
   utime.sleep(1)
Step 7: Save the code to the MicroPython device (your Raspberry Pi Pico). Name it blink.py and click ok to save. Here’s how your code would look like:
from machine import Pin
import utime
led = Pin(25, Pin.OUT)
led.low()
while True:
    led.toggle()
    print("Toggling LED")
    utime.sleep(1)
Step 8: Running your code; click on the green play button and you’ll see ‘Toggle’ every second on the Python Shell indicating that your LED is toggling on and off every second.
That’s how simple it is to use a Raspberry Pi Pico. For more interesting project ideas and DIY stuff, keep following Rootsaid.