

Self Watering Pot using Arduino | Automatic Waterer
Automatically Water plants in your Garden
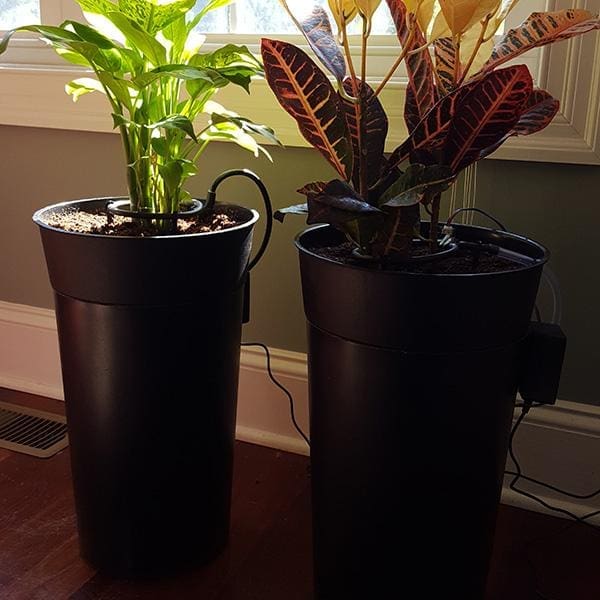
Hello Guys, this is Fedelyn Wester and this is my intermediate Arduino project for a self-watering pot using soil moisture sensor.

In this project, the self-watering pot uses an analog moisture sensor to trigger a diode-protected pump protected by a level switch. In this example, we’ll be using the Adosia SPACE IO shield for Arduino UNO.
Adosia SPACE IO shield
First, let’s take a look at the Adosia SPACE IO shield:
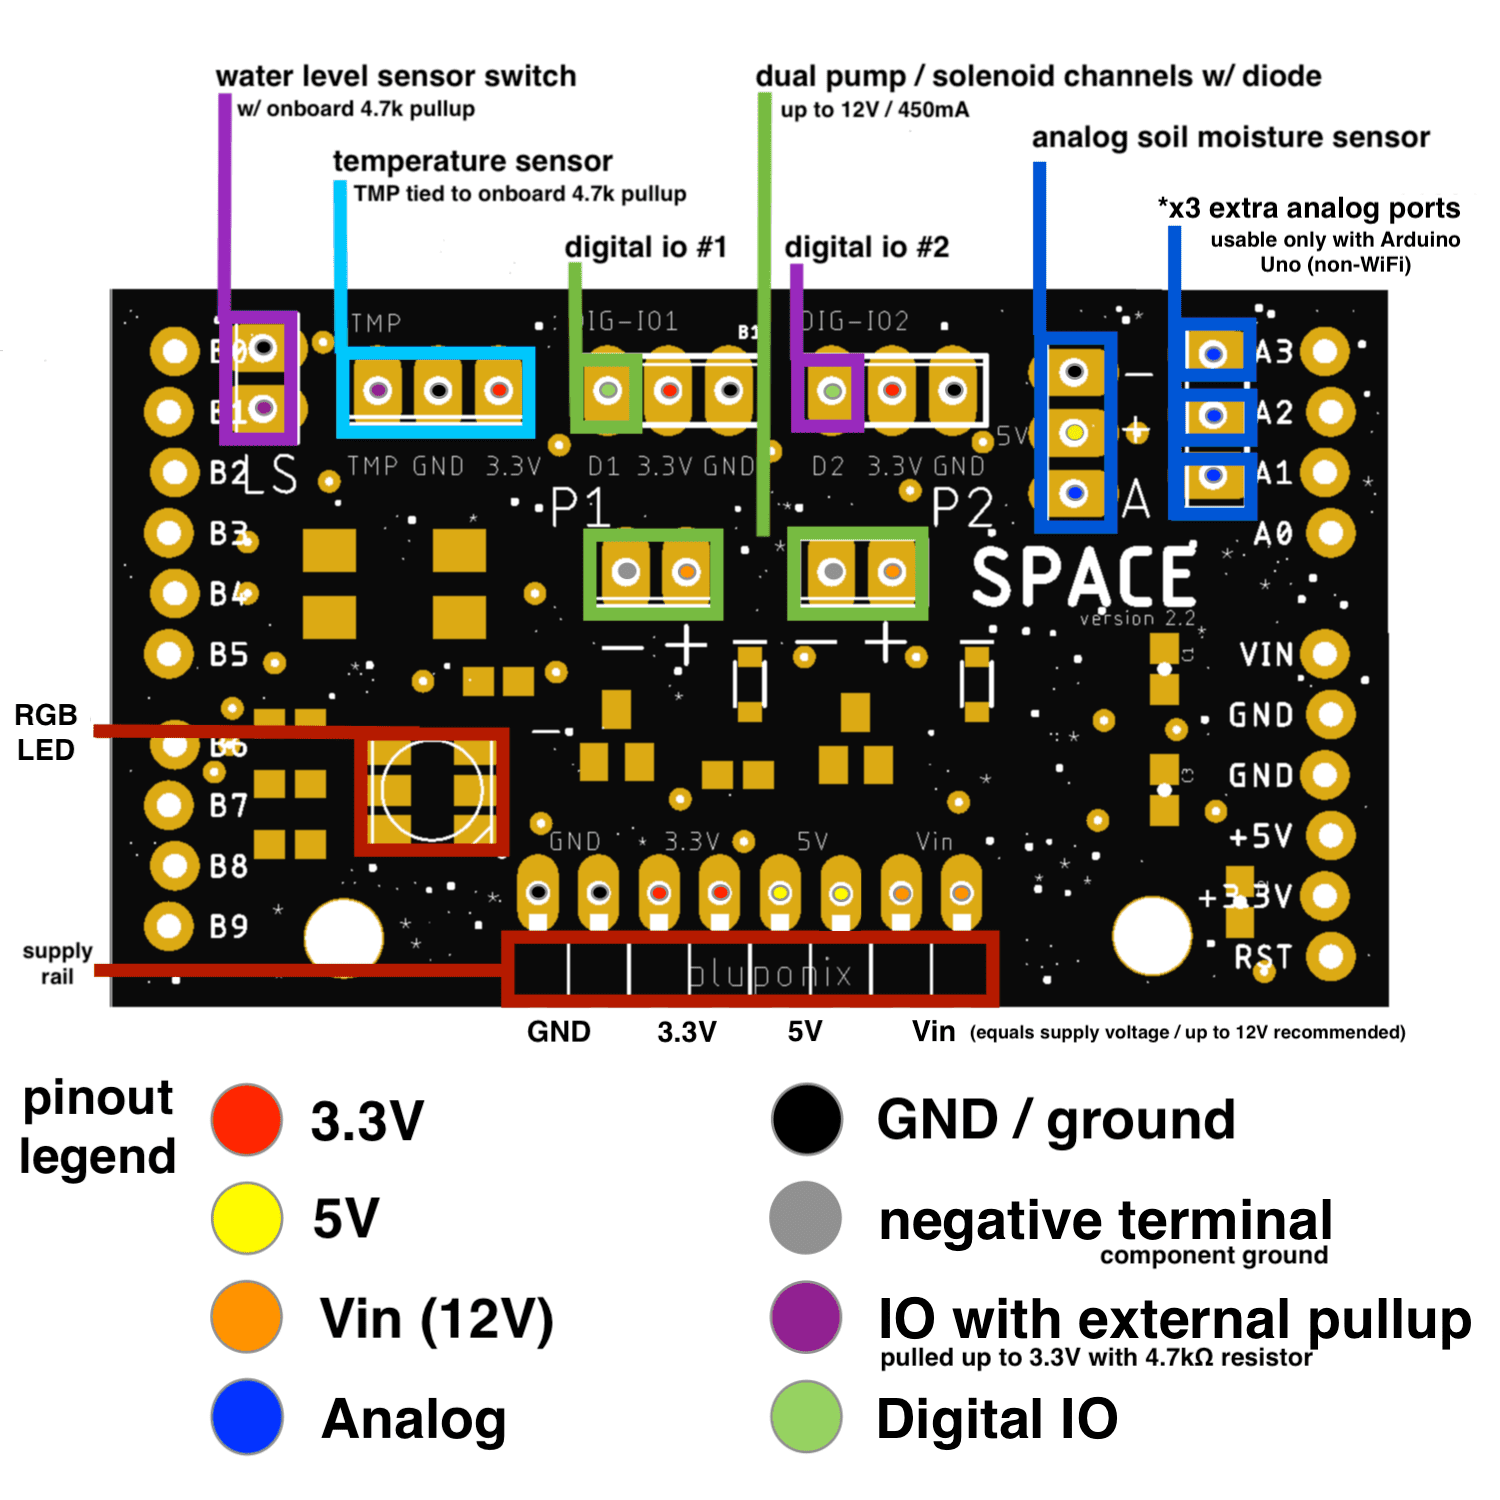

In this project, we’ll be connecting the water level sensor switch LS (you can disregard polarity) which is tied to a 4.7kΩ pull-up resistor and ground.
We’ll connect the submersible pump to a transistor driven channel P1 and ground. The moisture sensor will be connected to the analog port with ground pin closest to the top of the board.
Materials:
- Arduino UNO + Adosia SPACE IO Board (or Adosia Base WiFI Module)
- Analog soil moisture sensor
- soil container or pot from local gardening store
- container for water reservoir
- 12V DC submersible pump and water level sensor switch
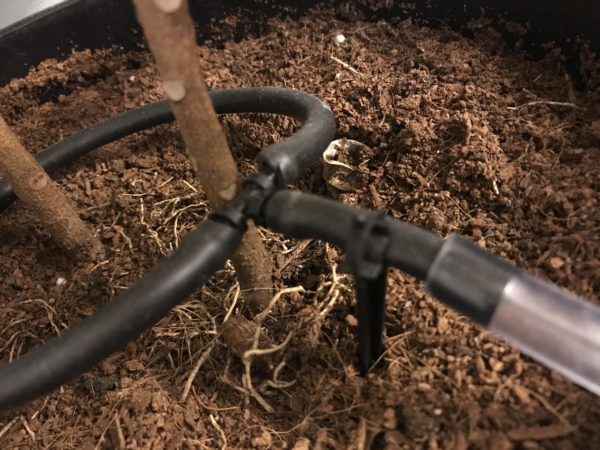
- 1/4″ outer diameter landscaping tubing, 1/4″ inner diameter tubing
- tee-connector and plastic screen
- drill with 3/8″, 1/4″ and 1/16″ (optional) bits
- 3M Hi-Strength 90 Spray Adhesive or similar
Steps:[AdSense-C]
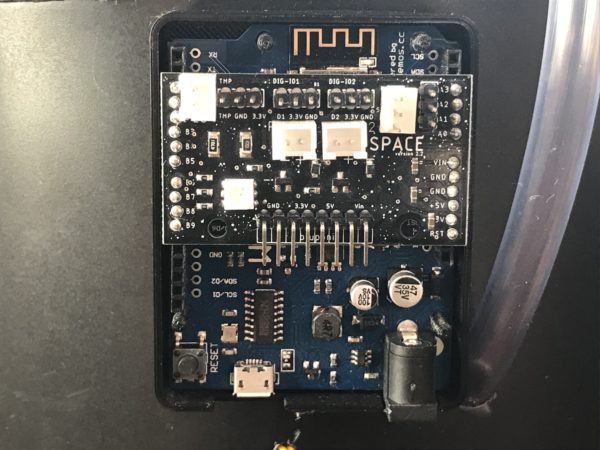
Build suitable housing for your self-watering pot. Here’s how to build the pot in detail: Connect the water level sensor switch, the submersible pump, and the moisture sensor to the Adosia SPACE IO board.

If using the Arduino, follow the steps below. If using the WiFi Module, follow the instructions included with your device.
Arduino
Connect the Arduino or WiFi Module to your PC and open up your Arduino IDE.
Paste the code below into your Arduino IDE:
Calibrating Moisture Sensor for your Self Watering Pot
[AdSense-C]
Calibrate the moisture sensor by placing it in water and recording the analog input reading using analogRead(A0). Remove the sensor from water, allow to dry, and again record the analog input reading. Replace the values below with your readings.
const int ms_H2O = 220; // REPLACE with water-submerged value
const int ms_AIR = 575; // REPLACE with open-air value
You may find it useful to re-calibrate the analog sensor every few months or so.
Conclusion
Your DIY self-watering pot should begin watering immediately. The light on the control board will blink blue when the water reservoir is empty. The easiest way to refill the reservoir is to simply pour 1 to 2 gallons of water directly onto the base of the plant when needed
The self-watering pot will prevent the pump from watering when the water reservoir is low.